Mini-Mill digital Z axis conversion
Yesterday, I started work on a little side project that should have only taken a few hours, but instead ended up taking all day. Don’t they all!
One of the things I wasn’t too happy about with my mini-mill, is the fact that the Z axis (vertical) has quite a bit of backlash due to the play in the gears, and this has a small but bothersome effect every time I use it.
Let’s say for example that I have just lowered the mill head until the cutting tool barely touches the part, so that I can find and set the zero height position. Next, I would raise the tool to reposition it somewhere else on the part I am working on. Backlash is such that it takes some turning of the knob in the opposite direction before the tool even starts moving up again. The same thing happens when I later want to lower the tool again to cut in the new position.
Backlash demo on converted mill
The only way to quantify how far up or down I have moved the tool, is by reading the graduations on the knob itself. Problem is that by now the numbering is all screwed up, and will give readings of a movement that hasn’t really happened, at least to the extent indicated on the dial.
To compensate for this, I have to first take up all the backlash every time I change the direction in which I turn the knob. Then, make a note of when the head starts to finally move. Finally, re-zero the indexing on the knob before its numbers can be trusted again. This is not always possible, or convenient all the time.
Backlash is a real pain in the rear. It slows me down, complicates every thing I do, and leads to inaccuracy. This troubling phenomenon occurs in different amounts on all three axes, but has been more of a problem in the vertical direction.
Fortunately for me, included in my lathe and mill purchase came a few extras, among which was a caliper-style digital measuring device. I decided to use it, and modify the mill in such a way that any actual head movements correspond to a new caliper position.
The beauty of this method is that no matter how bad the backlash is, the caliper only moves when the head moves. The end result is that I end up measuring only actual tool movements, and the backlash issue is eliminated altogether.
Unfortunately, I couldn’t just screw the caliper to the mill column, because it needed to clear a cylindrical part of the lift spring mechanism that protruded through the right side. So, I decided to make some aluminum standoffs on which to mount the caliper.
Here are a few pictures of the conversion in progress.
 |
| Aluminum from which the standoffs were cut, plus standoffs before and after |
 |
| Caliper-style device on the standoff |
 |
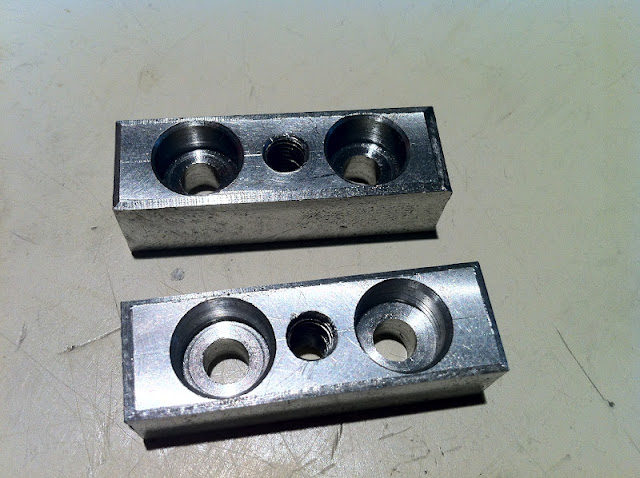
| Finished standoffs |
 |
| Tapping the top side of the mill column |
 |
| Top standoff bolted in place |
 |
| Tapping the lower holes in the mill column |
 |
| The cylindrical object in the middle of the column is the reason for the standoffs |
 |
| The whole shebang in position |
 |
| Tapping the hole on the head of the mill |
 |
| Digital measuring device on the mill, ready for use |


No comments:
Post a Comment