Cutting the longeron holes (4.0 hrs)
I have been waiting to cut the holes in the firewall until the sidewalls were ready, and now that they are, it is time to take care of this item.
Having previously drawn all the component details on the forward face of the firewall, has proven to be a really good idea, and has helped in many ways. I have been able to easily locate the screw holes for example, and now I can use the accurate drawings to determine where the longeron holes should be cut.
I will be using the same Dremel milling tool that I used before to cut the holes in the instrument panel. The only difference is that I will be cutting through wood, rather than foam.
To help make straight cuts, I enlisted the help of my favorite steel angle scrap, and to keep things clean and help me see how the cut is going, I set up the shop-vac.
 |
| Everything in place to start cutting |
The system worked fairly well. Nothing that couldn’t be cleaned up with a little sandpaper anyway.
 |
| Pretty straight cuts |
 |
| 3 longeron holes completed |
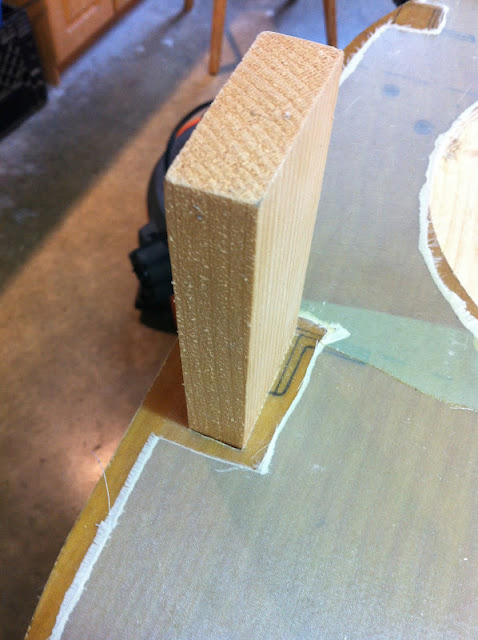
I used scrap wood I saved earlier on to check for size.
 |
| Checking for size |
 |
| Same thing, different hole. |
I tested and fitted the firewall on both sidewalls individually at first.
 |
| Test fitting on right sidewall |
 |
| Test fitting on left sidewall |
Then, I tried it on on both sides together, to make sure there were no surprises.
 |
| Firewall holding up both sides |
No comments:
Post a Comment