Another plans error
Enough of JT, let’s get back to my long term project (aka #2) for today.
You might remember I elected to spare the stress to my marriage, and buy foam cores already precut by Eureka CNC’s hot wire foam cutting machine.
Cutting foam by hand is simple, but it does require good coordination between two individuals. Any misstep could wreck the very reason to DIY this (aka cost saving), forcing one to purchase another load of fairly expensive foam. If that wasn't enough, depending on the level of frustration reached in the process, one could even earn himself a night in the doghouse.
In any successful marriage one develops a sixth sense about how far he can push things, and my spider senses tell me this would have been way out of bounds.
With that out of the way, the plans’ directions on how to cut the foam becomes a moot point, except to note that the winglet’s rear edge is cut 48” long (along the foam).
This will become important shortly.
 |
| Foam cutting directions. Red lines represent the hot wire cut lines. |
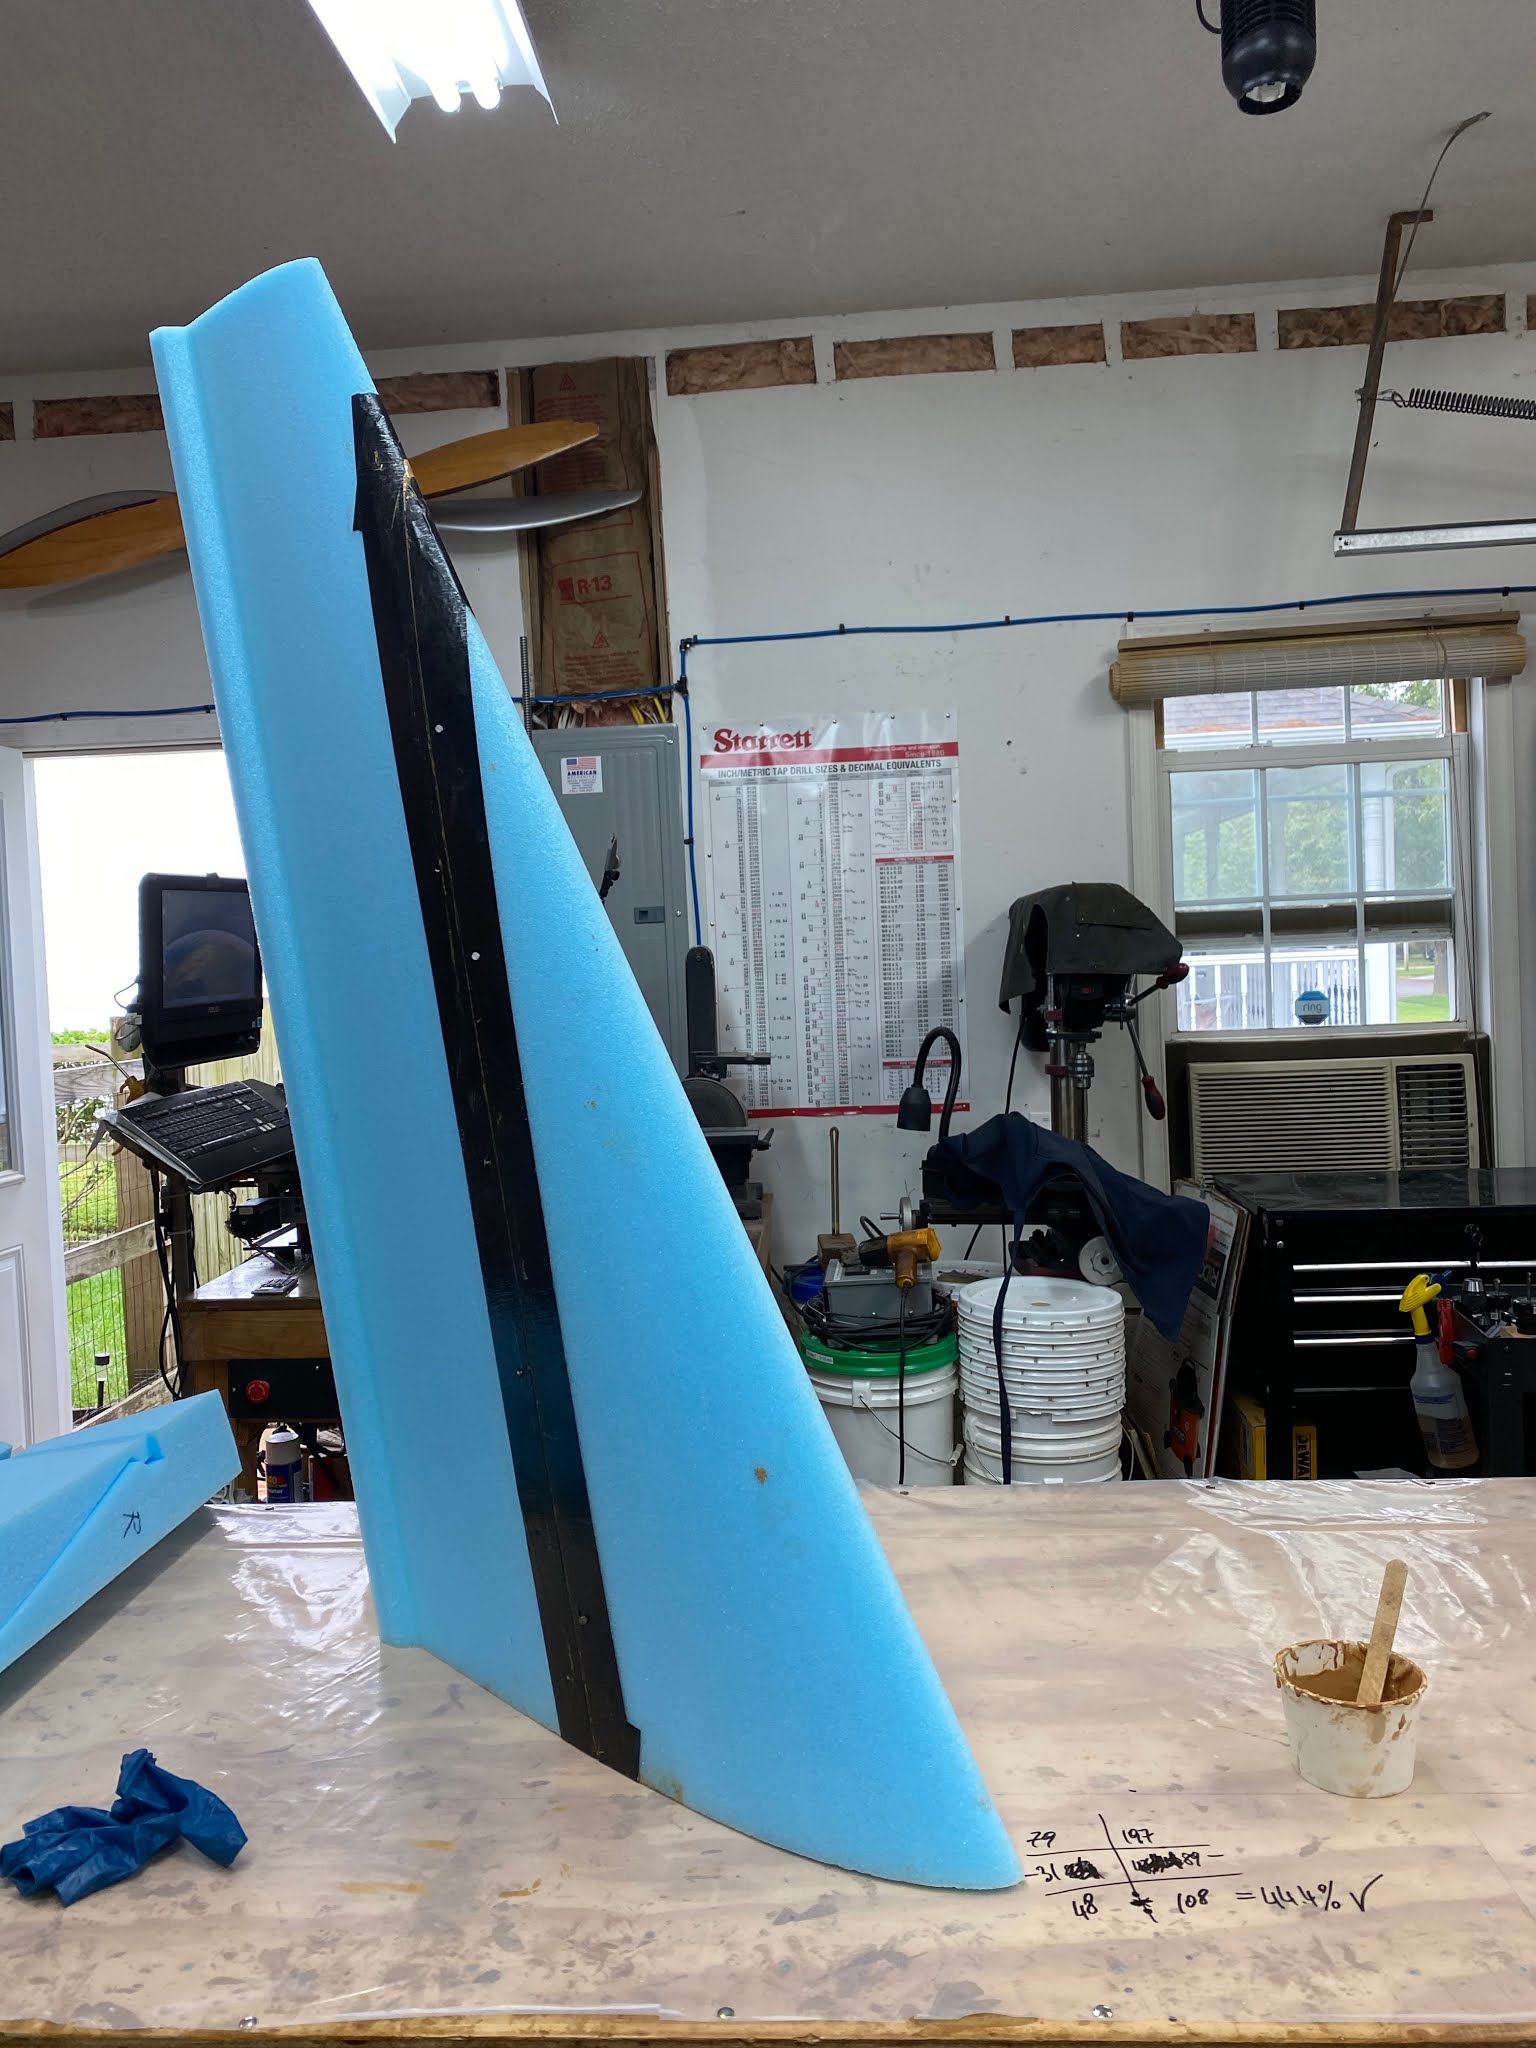
Eureka’s winglets foam cores come in three pieces each. The two tall ones make up the top winglet and need to be joined together, however they are left long for the builder to cut as needed.
 |
| Eureka CNC's breakdown of the winglet (I added the 48" dimension for clarity) |
 |
| Left and right winglet cores as they came from Eureka CNC |
 |
| Taping the seams in preparation for joining LUW1 and LUW2 |
 |
| Microslurry spread on the joint |
 |
| After slurrying both sides, I prepared wet-micro to add to the middle of the joint. |
 |
| I slide the cores back and forth, until the wet-micro works its way to the surface, then secure the foam in place with nails. |
 |
| With tape and nails removed the next day, we are ready to continue this journey. |
Now, let's take a look at some other key winglet dimensions from the original plans...
 |
| Original winglet plans with the small rudder. I cleaned this drawing up and added the red references. |
Note on the picture above that if one subtracts Water Line 18.4 from Water Line 65.4, one gets 47” which is the same vertical distance from the previous Eureka CNC’s drawing.
So far so good.
The small rudders were upgraded a long time ago with a supplemental optional set of High Performance Rudder plans (LEZHPR) to improve crosswind takeoff and landing handling, and shorten the crosswind takeoff distance required due to the reduced amount of brake-steering necessary.
The problems start when referring to these newer plans.
 |
| High Performance Rudder plans. I added all red markings. |
I have modified the above picture to reestablish some reference points from the original rudder plans, but did not otherwise change anything else.
The interesting thing in this image is that the distance along the winglet trailing edge (39” + 9”), and the vertical distance between waterlines (WL 66.4 - WL 18.4) both equal 48”, which is physically impossible.
Needless to say, this generated about a week's worth of back and forth between myself and a few other builders, stopping all progress on the winglets, and was never really resolved to anyone's satisfaction. Eventually most everyone agreed that either the Water Lines are wrong, or the dimensions of the rudder are incorrect.
Because nothing else references these Water Lines (that I am aware of), we all somewhat blamed them for being off. However, the more I thought about this discrepancy, the less I concurred with this decision.
You see, the High Performance Rudder plans were designed with a dual purpose, one can use them to make a major modification to an existing winglet, or build anew, and in the first case the winglets dimensions with their Water Lines would have been established a long time before, and with no sign of any errors. The confusion only surfaces after the introduction of the LEZHPR plans. So, if I were to pick a villain in this story, my money would be on the 9" dimension to the top of the winglet.
Now, the much more important question becomes how all of this affects one's build, and in my case I'd say not at all, since I plan on cutting the rudders very similarly to the way Terry cut them on JT.
 |
| JT's rudders are not cut perpendicularly to the hinge line, but parallel to the longerons, making the cuts look horizontal in flight. |
 |
| I am cutting my rudders 0.5" wider than JT's at the bottom to approximate the LEZHPR surface area |
Because some other builder will eventually run into this discrepancy in the future, I wanted to address it here so that new builders can quickly put this issue behind them, and press on with their projects without wasting any more time on it.
Since JT is already built that way, I guess you have a model to follow, but if the top & bottom of the rudder are not perpendicular to the hinge line, you will need additional clearance to allow them to pivot. Maybe the thicknesses are small enough, and the gap between the fixed and moving parts are already large enough that it does not create a problem, but I have encountered issues when hanging arched doors, because they run into their casings before they fully opened.
ReplyDeleteThat is a very real concern Stuart, and I want to thank you for bringing it up.
DeleteHad JT not already been flying this way, I would have never even considered doing this modification. Case is however that JT achieves full rudder deflection without any binding, and with very minimal gaps.
So, we know for a fact that although weird, this geometry works, and I am more than confident I will be able to replicate it on #2.
Wade Parton is also copying JT's rudders for his Long EZ, and he should be cutting them shortly. So we shall all be able to see this modification in action very soon on his blog (longezpush.com)
Thanks again for taking the time to comment Stuart.
Nice write up Marco.
ReplyDelete