Trimming the fuselage top (3.5 hrs)
The next task was trimming the top edge.
 |
| Fuselage edge to be worked on |
The biggest issue here was mostly a psychological one, because I needed to cut off a part that I worked so long and hard putting together.
 |
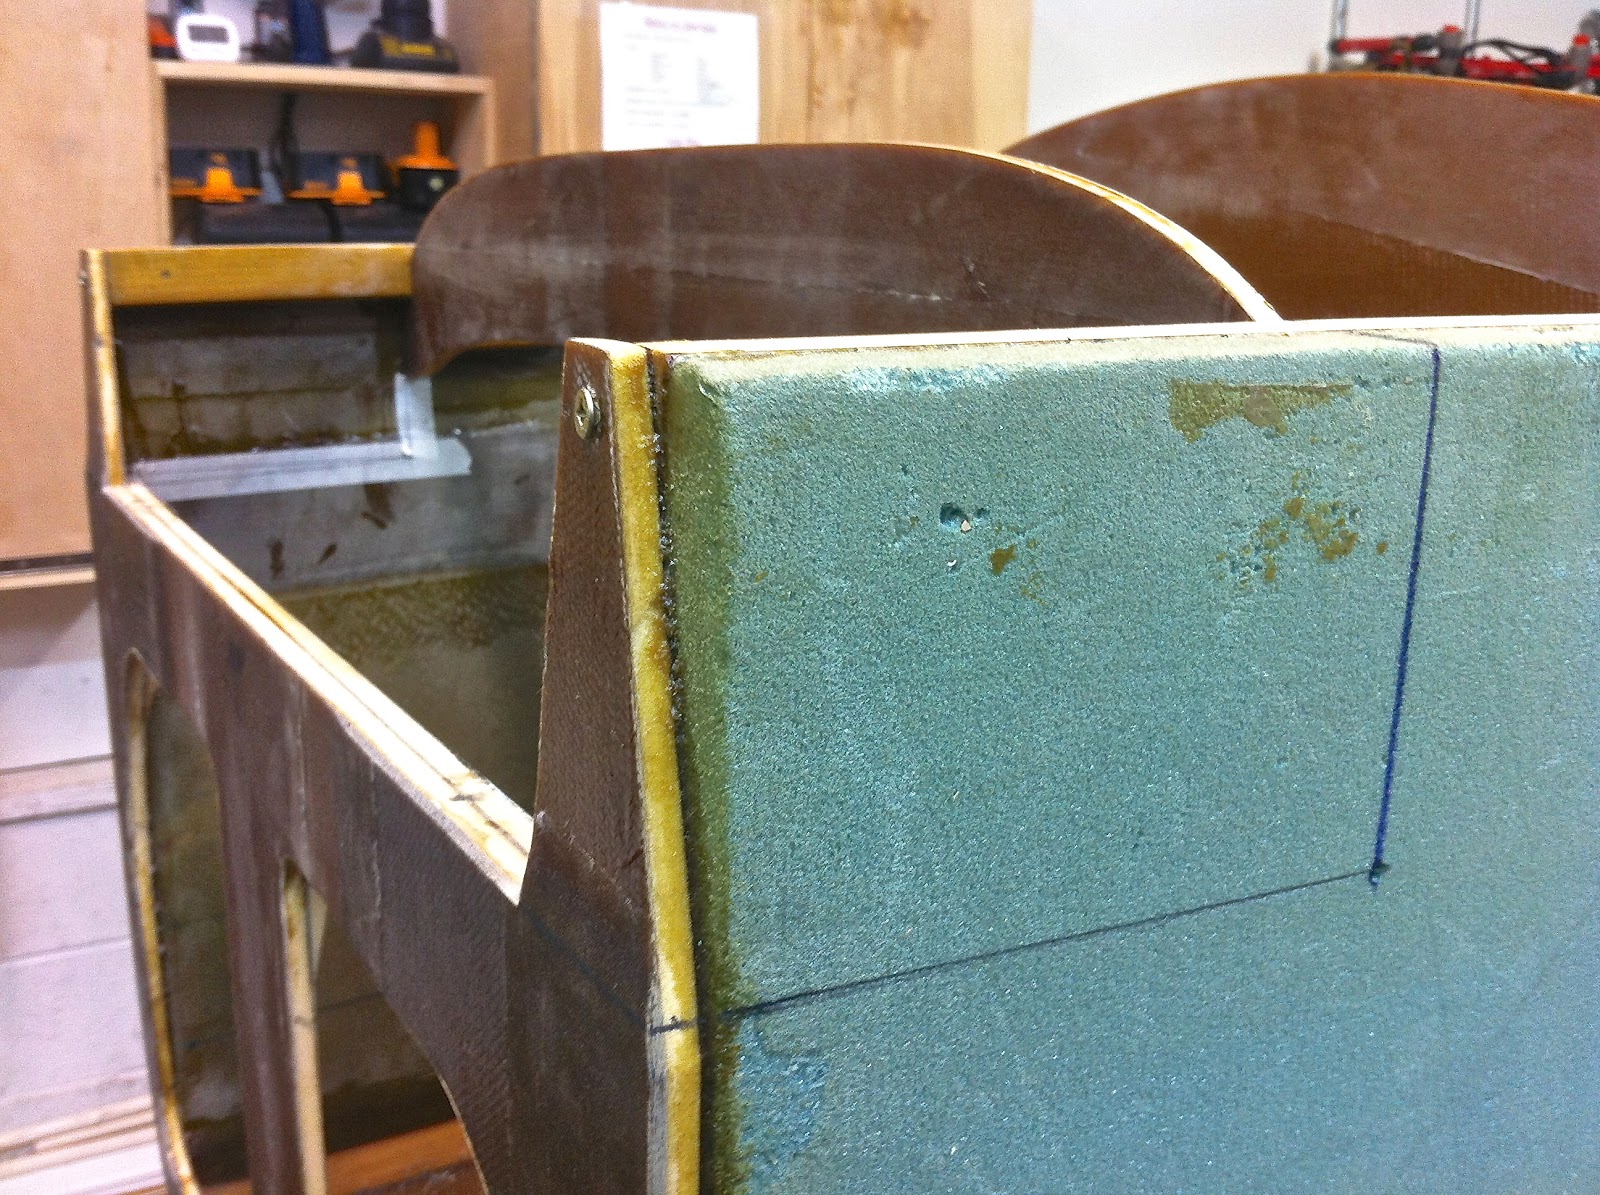
| Inner and outer measurements |
As the old adage goes “measure twice - cut once”, I spent a good 30 minutes looking at this cut from every possible angle, then finally just went for it.
 |
| No going back now |
 |
| Off you go... |
 |
| I sure hope I don't have to put this back on |
I cut it slightly high, than sanded it down to the drawn pencil line.
 |
| Sanding things down to the proper size |
 |
| Finished edge |
 |
| Interesting cross-section (up is forward) |
With the psychological barrier shattered, it was much less painful to cut the right side.
 |
| Here we go again... |
 |
| ... and again. |
I decided to refrain from cutting the round elevator tube hole for now, because I will be using the offset tube that the Cozy girls manufacture, and it is possible that it might require a slightly different size hole.
Like the fuselage bottom, the top required quite a bit of sanding to bring it down to match my wooden template's shape. This time it didn’t take nearly as long though, as there was a lot less to cut away, and it was purely foam.
 |
| Right side initial filing |
 |
| Opposite view |
 |
| Contour template in action |
 |
| Finished right side |
 |
| Checking the profile with a contour gauge |
 |
| Left side done |
 |
| Broader view |
 |
| Tonight's work |


No comments:
Post a Comment