Chronicling my Long EZ construction (and a few other things).
Disclaimer
This blog is for entertainment purposes only, and is not meant to teach you how to build anything. The author is not responsible for any accident, injury, or loss that occurs as a result of reading this blog. Read this blog at your own risk.
Monday, December 17, 2012
Ch. 7 - Fuselage exterior - Part 2
Trimming the fuselage bottom (7.6 hrs)
While the task proved to be a little repetitive, a fair amount of attention to details was necessary to prevent producing a lopsided fuselage. Unfortunately, the bigger of the two templates I spent so much time creating, proved itself useless due to a fundamental flaw.
The plans specify a foam bottom with a thickness of 1.6” (4.1 cm), but the only foam of that type produced nowadays is 1.75” (4.5 cm), so that’s what I purchased. Because this foam cannot be wire cut to the proper thickness, only 2 options remain to integrate this thicker foam into the existing structure. One is to sand it all down to size, the other is to leave a slightly thicker fuselage bottom, and sand only where needed to match the existing framework, basically from F-22 to the instrument panel.
Option two took about 2 hours of brutal, mindless, heavy duty sanding of the very tough foam, after which I hurt in places I forgot I had. So, I pronounced option two as the only reasonable option, and went on to contouring the bottom.
Oh, yeah... the template issue!
Due to the foam being thicker, the template could no longer accurately portray the required curvature, so I ended up eyeballing it on one side of the fuselage, and used a contour gauge to transfer the same profile to the opposite side.
This was not as difficult as it might sound, and a pleasing constant curve was attained without any major excitement.
Note the extra thickness of the foam sticking up above the middle of F-22
First rough cut made with the hand saw
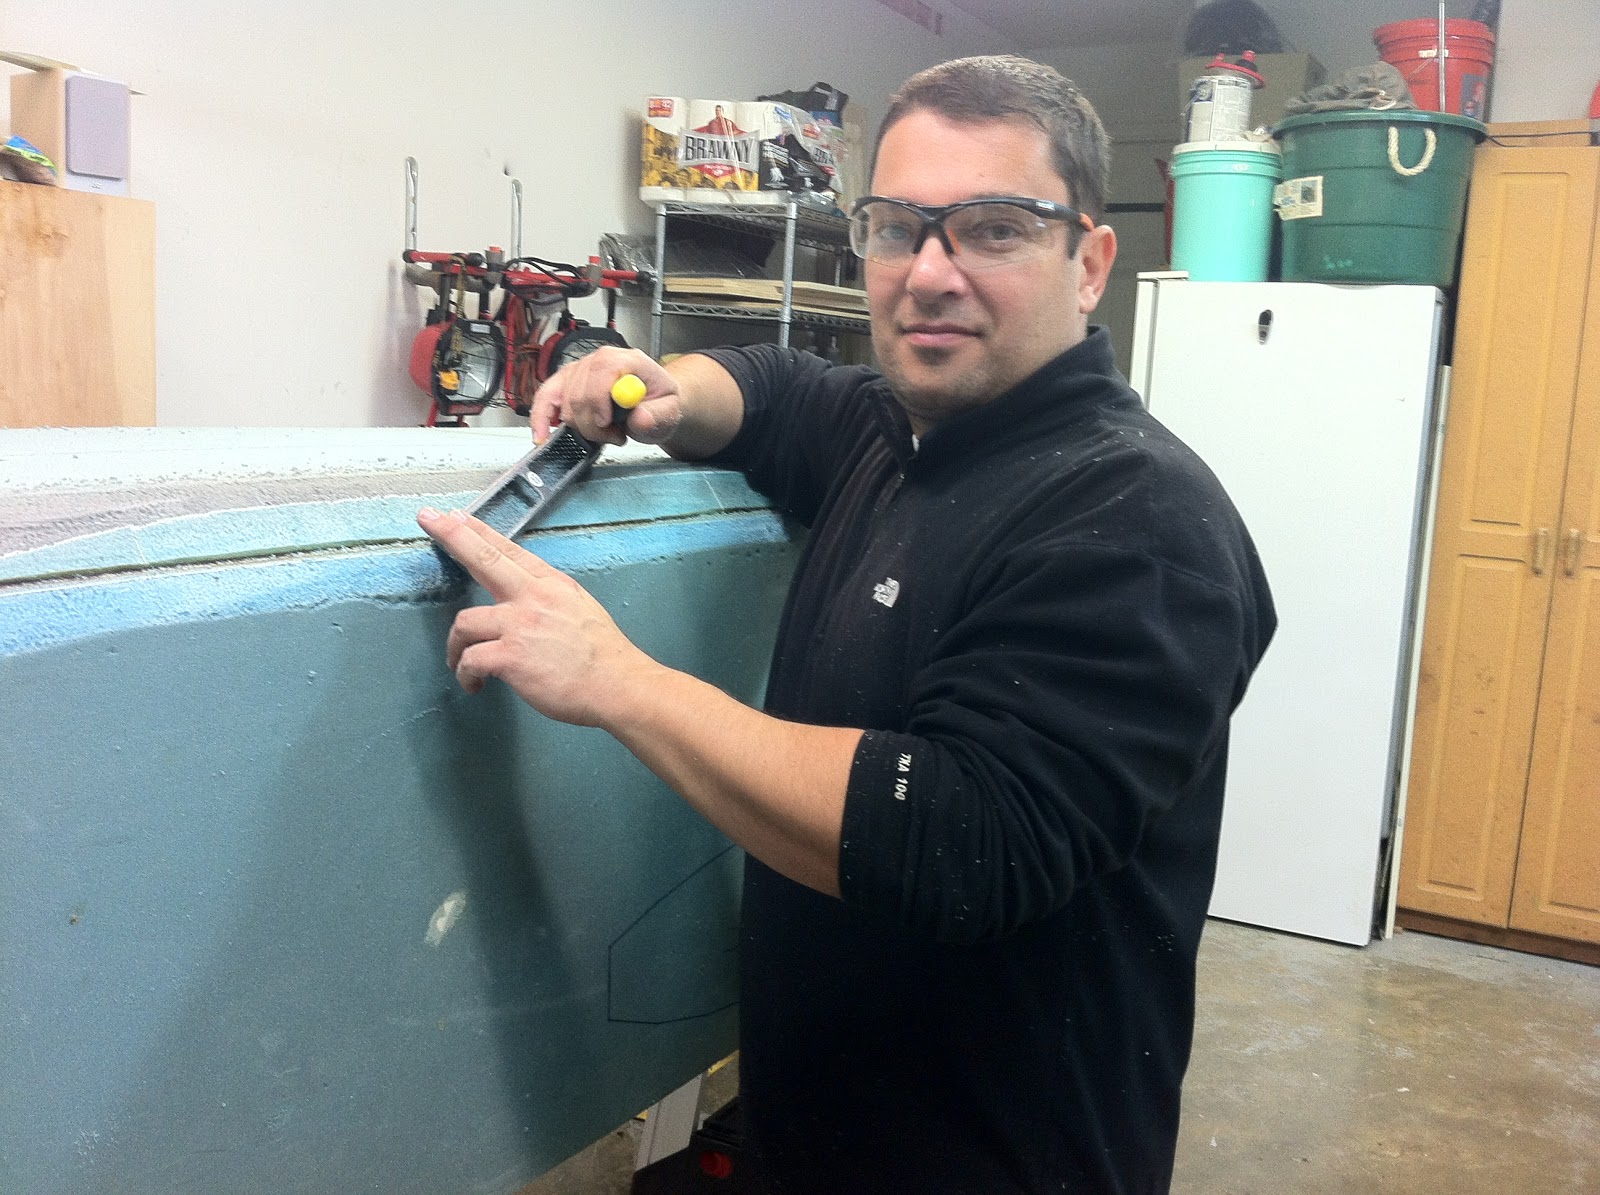
Bringing the foam down with a Surform flat mill file
Working on the tough foam/wood/fiberglass/Kevlar intersection with the 36 grip sandpaper
Rear foam left wide to avoid uncovering the gear bolts
Right side completed
Using a contour gauge to transfer the profile to the other side
Left side roughed out
Exposing 0.4" (1 cm) of longeron
Completed left side
Final fuselage contour
The template for contouring the top of the fuselage should still be good, since the sidewalls are of the correct thickness.


No comments:
Post a Comment