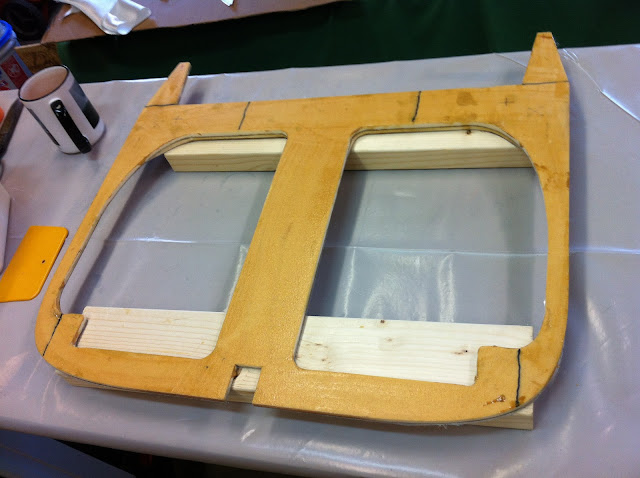
F22 glassing - front side (10.4 hrs)
Glassing the front side of F22 has been something I both looked forward to, and dreaded. You see, the layups are getting more complicated as the building process continues, and here we have the first big (as in thick) structural layup.
The main layup is the usual 2 plies of BID over the entire surface, but both edges require 9 additional plies of alternating UNI and BID.
Since I needed 8 pieces of BID (at 45˚), and 10 of UNI (at 0˚), I fashioned a slightly oversized cardboard pattern to help with the repetitive cutting task.
 |
| Cloth cutting pattern |
Actually I made two, so that I could cut a big rectangular piece first, and then split it into two.
 |
| BID getting cut at 45˚ |
 |
| UNI getting cut at 0˚ |
Once the fiberglass was cut, I was ready to roll.
 |
| Having everything ready before mixing epoxy is a must! |
I mixed a small batch of pure epoxy, added glass micro-balloons, and applied it to the foam. Then I added more micro-balloons into the mixing cup until it reached a frosting consistency, and with it I patched a few nicks and gouges I had caused earlier, while trimming the back side.
This time I decided to use a slightly different technique for wetting the fiberglass. Normally I’d just pour the pure epoxy over the cloth, and “go to town” with the squeegee. But working on the back side previously, I had some issues with weave disruption in the very narrow sides of this bulkhead. In essence, using more pressure with the squeegee trying to work the excess epoxy out of the material, resulted in dragging the cloth along, due to the small wet cloth surface in contact with the foam. So, I put a piece of plastic sheet (cut from the end of the work table) over the cloth, and used the squeegee over it.
 |
| Plastic film technique |
This technique worked so well that I ended up using the same piece of plastic film repeatedly all over F22.
With the first layer completed...
 |
| Rough looking, but showing generous (> 1") overlap. |
... I added the second layer, and since I had used up all of my BID scraps, I had to use a whole new piece of cloth.
Now, up until this point we didn't do anything we hadn’t already seen before, but this where norm gives way to new, and recycling the same piece of plastic film, I started adding the 9 alternating layers of UNI and BID.
 |
| First layer of UNI reinforcement being added to F22 |
Eventually one side was finished and peel-plied...
 |
| Dark brown area is the 9 layers of reinforcement |
.. then I started the other side...
and eventually finished that too.
Working time until now was already over 6 hours!
At this point, I let F22 cure for 24 hours in the heated shop, which has become the warmest place in the house this winter, and my favorite hangout.
The next day, with the fiberglass as hard as a rock, and after drawing some blood from the sharp edges, I flipped the piece over...
 |
| Back side showing |
... cut off the excess...
... and finally F22 was completed.
 |
| Before trimming, I lifted the top edges of the peel-ply to aid in its removal later. |
Below, I wanted to add a few close-ups to highlight some of the details of this odd looking bulkhead.


No comments:
Post a Comment