The next project in the education chapter is designed to inspire confidence in the construction method, as the part should be able to support the builder's own weight (at least momentarily).
This time, the piece would not be a flat sheet layup, but a tridimensional beam-like structure whose interior is made out of foam.
You might recall discussing the fact that the foam is never the structural component. That is precisely the case in this instance, as the beam owes all of its strength to the fiberglass, and its shape.
Enough with the theory, let's cut some foam!
 |
| "Honey, if you are still looking for that knife... I swear I put it back!" |
As I said previously, there aren't a lot of hi-tech tools involved in this, and a little smoothing of the surfaces with a sanding block is all that is required.
 |
| Smoothing the rough spots |
This is what I am trying to achieve ...
... and this is how to cut the foam ...
Here we have the first practical application of wet micro, as I used some to glue two pieces of foam together.
 |
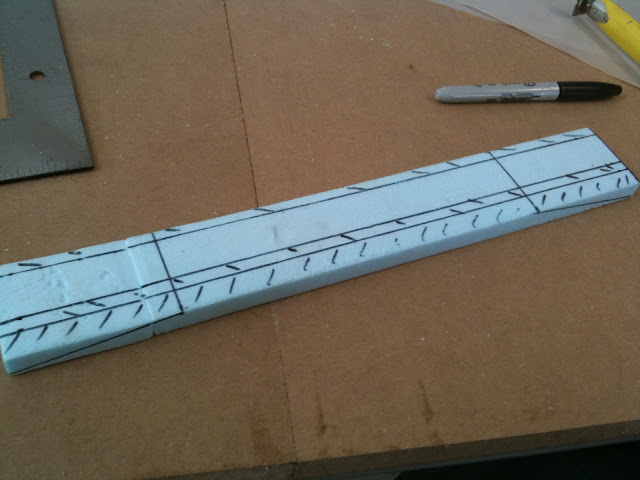
| Foam glued and marked, ready for shaping |
Shaping the foam should be a simple task, but It is easy to go overboard trying to be too precise, where precision is not necessary.
 |
| Improvised sanding jig |
The “layup schedule” (sequence and type of fiberglass to use) is a little more complex this time.
After cutting the multiple BID and UNI pieces of fiberglass to size, and laying the cloths in the order to be used, I whipped up some micro-slurry and some pure epoxy, and got busy.
The next day, after the epoxy dried up, I trimmed the part and sanded the sharp edges, then devised a very scientific test to check for strength.
 |
| Pull... up! Pull... up! Pull... up! |
I will not disclose how much weight the beam was able to withstand, let’s just say it was probably more than it was designed for.
To its testament, it held with no complaints, but eventually a karate kick finished it off, cracking it in half.
The second part of this story, and arguably the more rewarding one, is that I decided to fix the beam by using some kevlar and fiberglass.
First, I sanded both the jagged edges (so the two halves would match), as well as everywhere the repair fiberglass would go, on the outside surface of the piece.
Then I scooped about half inch of foam from the open ends of the beam, and sanded the micro off from under the exposed fiberglass.
Finally, I filled the empty cavities with flox, and loosely joined the two halves together.
I laid the patches from the smallest to the largest, keeping the kevlar on the inside, and waited another day for the repair to cure.
 |
| Notice the Dacron tape used to smooth the fiberglass ends (it will be removed when dry) |
I mistakenly cut the kevlar along the fibers, instead of “at a bias” (45 degrees). Since cutting kevlar is a pain, I didn’t want to cut four more pieces of it, so I laid them at an angle instead, hoping the patch would be strong enough.
And in my book there’s only one way to find out.
Introducing: the New Test Stand!
How did it perform?
I’d say it passed the test with flying colors!
 |
| "Please, don't break." |


No comments:
Post a Comment