Creating and installing the hard points (15.0 hrs)
This is one of those instances where I purposely got slightly out sequence from the plans.
The original progression calls for glassing the outer skin of the fuselage first, then install the seat belts hardware. Regrettably, this forces you to cut 8 holes into your newly skinned airplane.
My friend Wade had the insight of switching things around, and installing the hardware before final skinning. This allowed him to achieve a smooth surface free from of holes.
Being one not to let a good idea go to waste, I decided to reuse it on my own build.
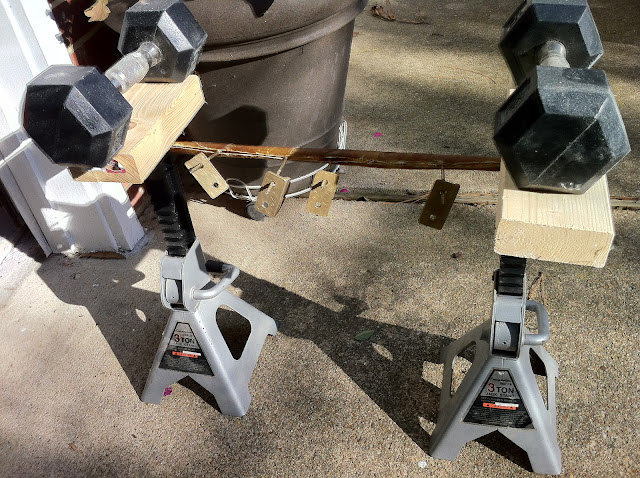
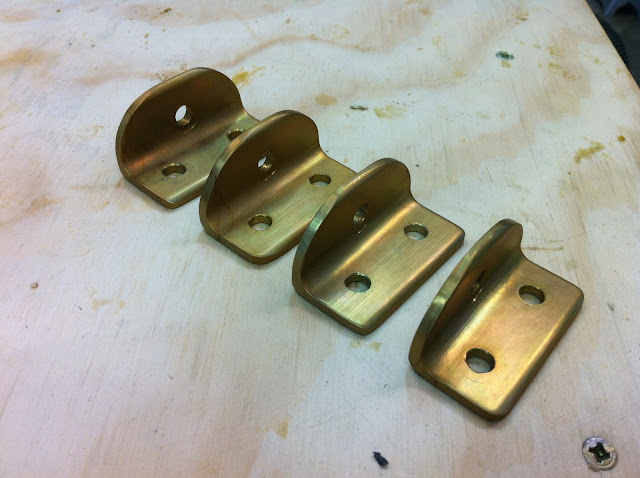
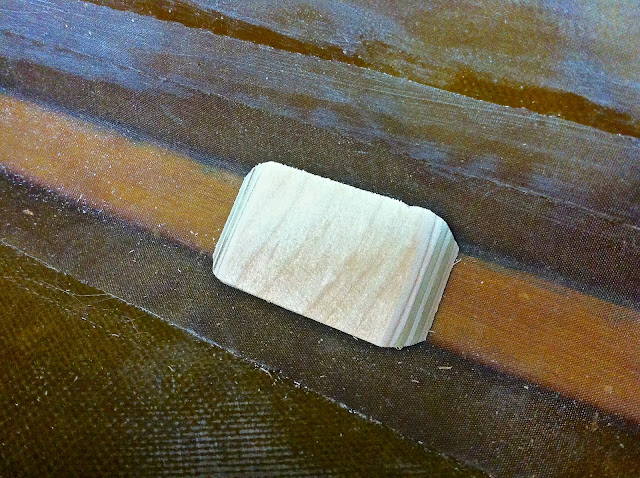
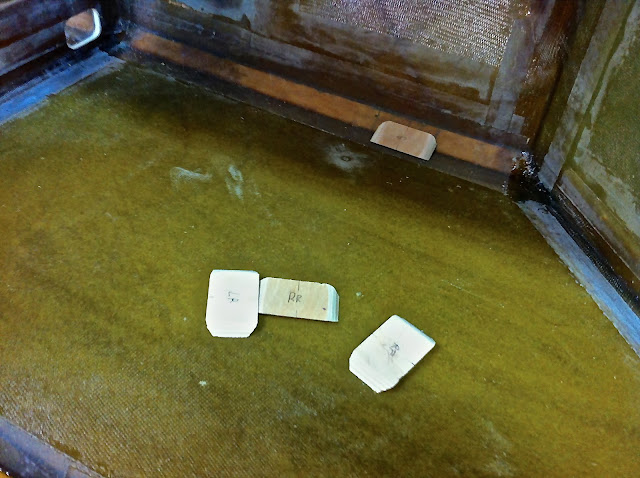
As usual, all I had to go on were two drawings from which to fashion wood and aluminum parts.
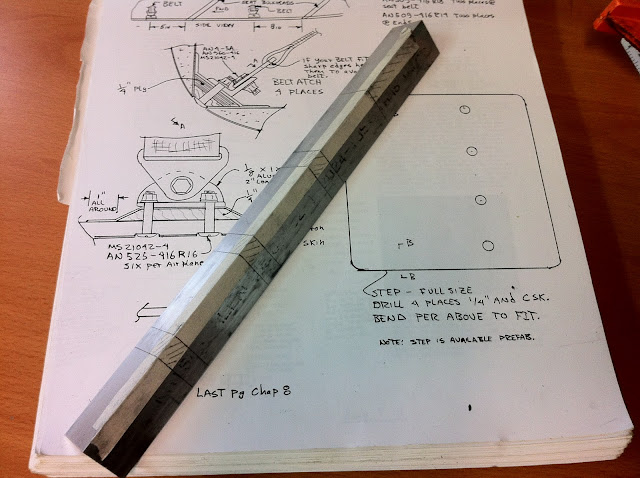 |
| 2024-T3 Aluminum Angle |
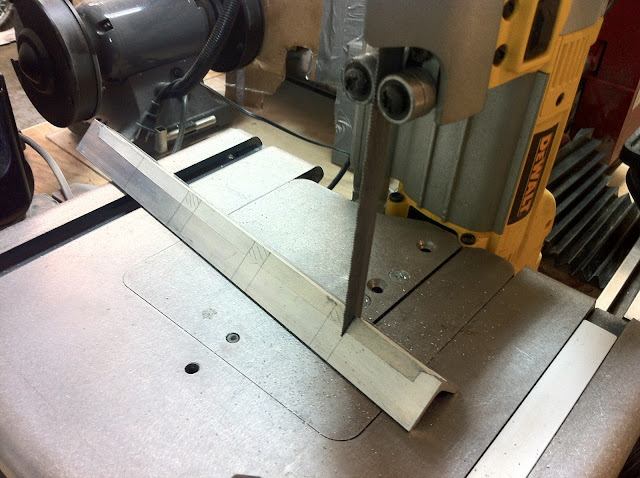 |
| Cutting the individual tabs |
 |
| Seat belt attach points to be |
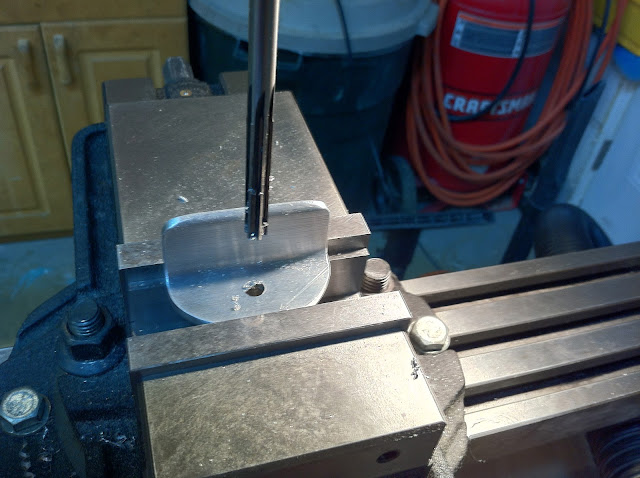 |
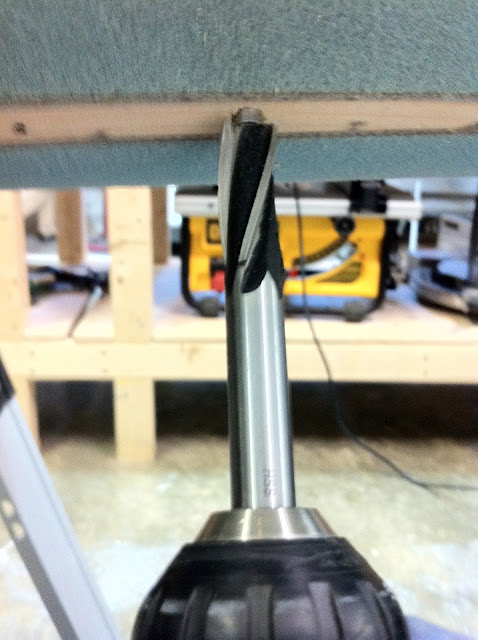
| Reaming one of the holes |
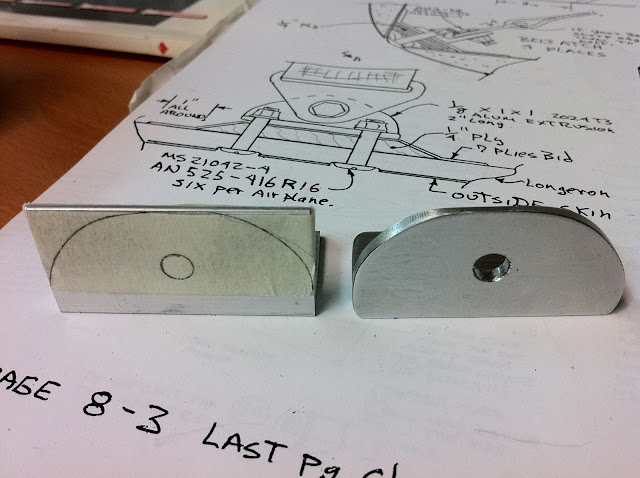 |
| Reproducing the chosen shape |
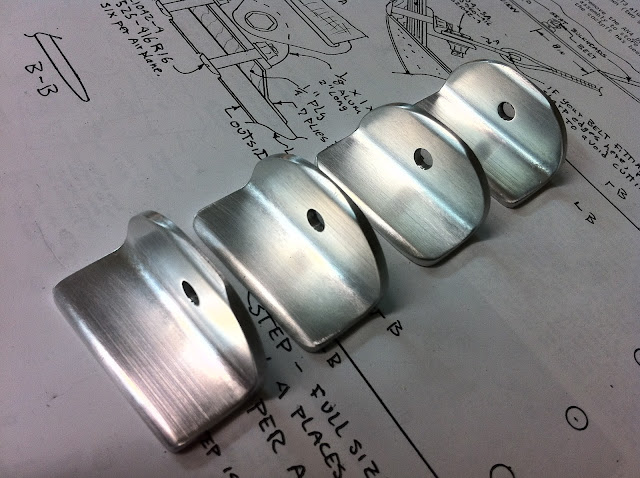 |
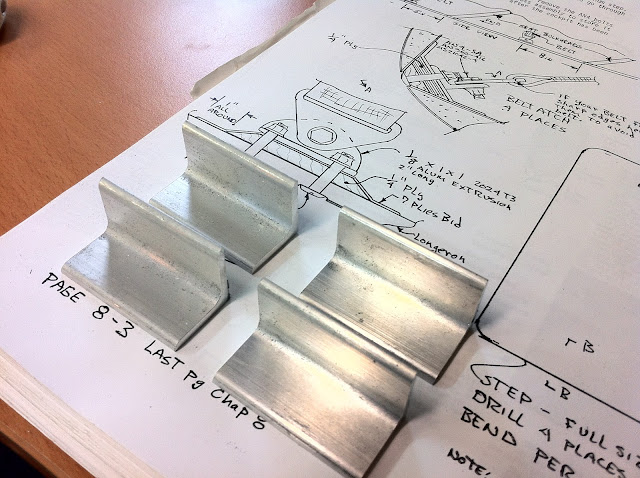
| Mostly finished tabs |
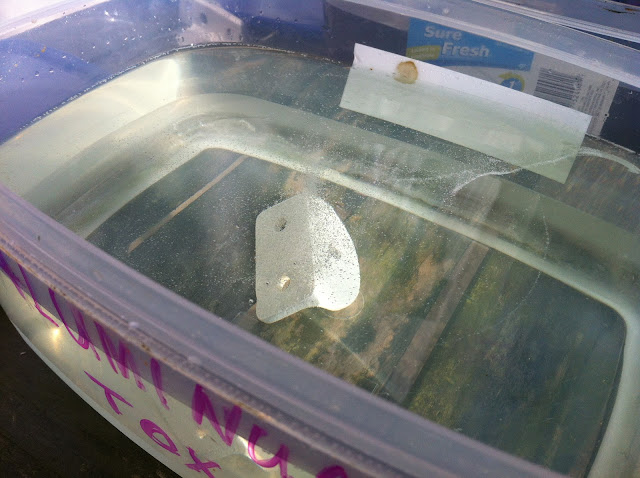
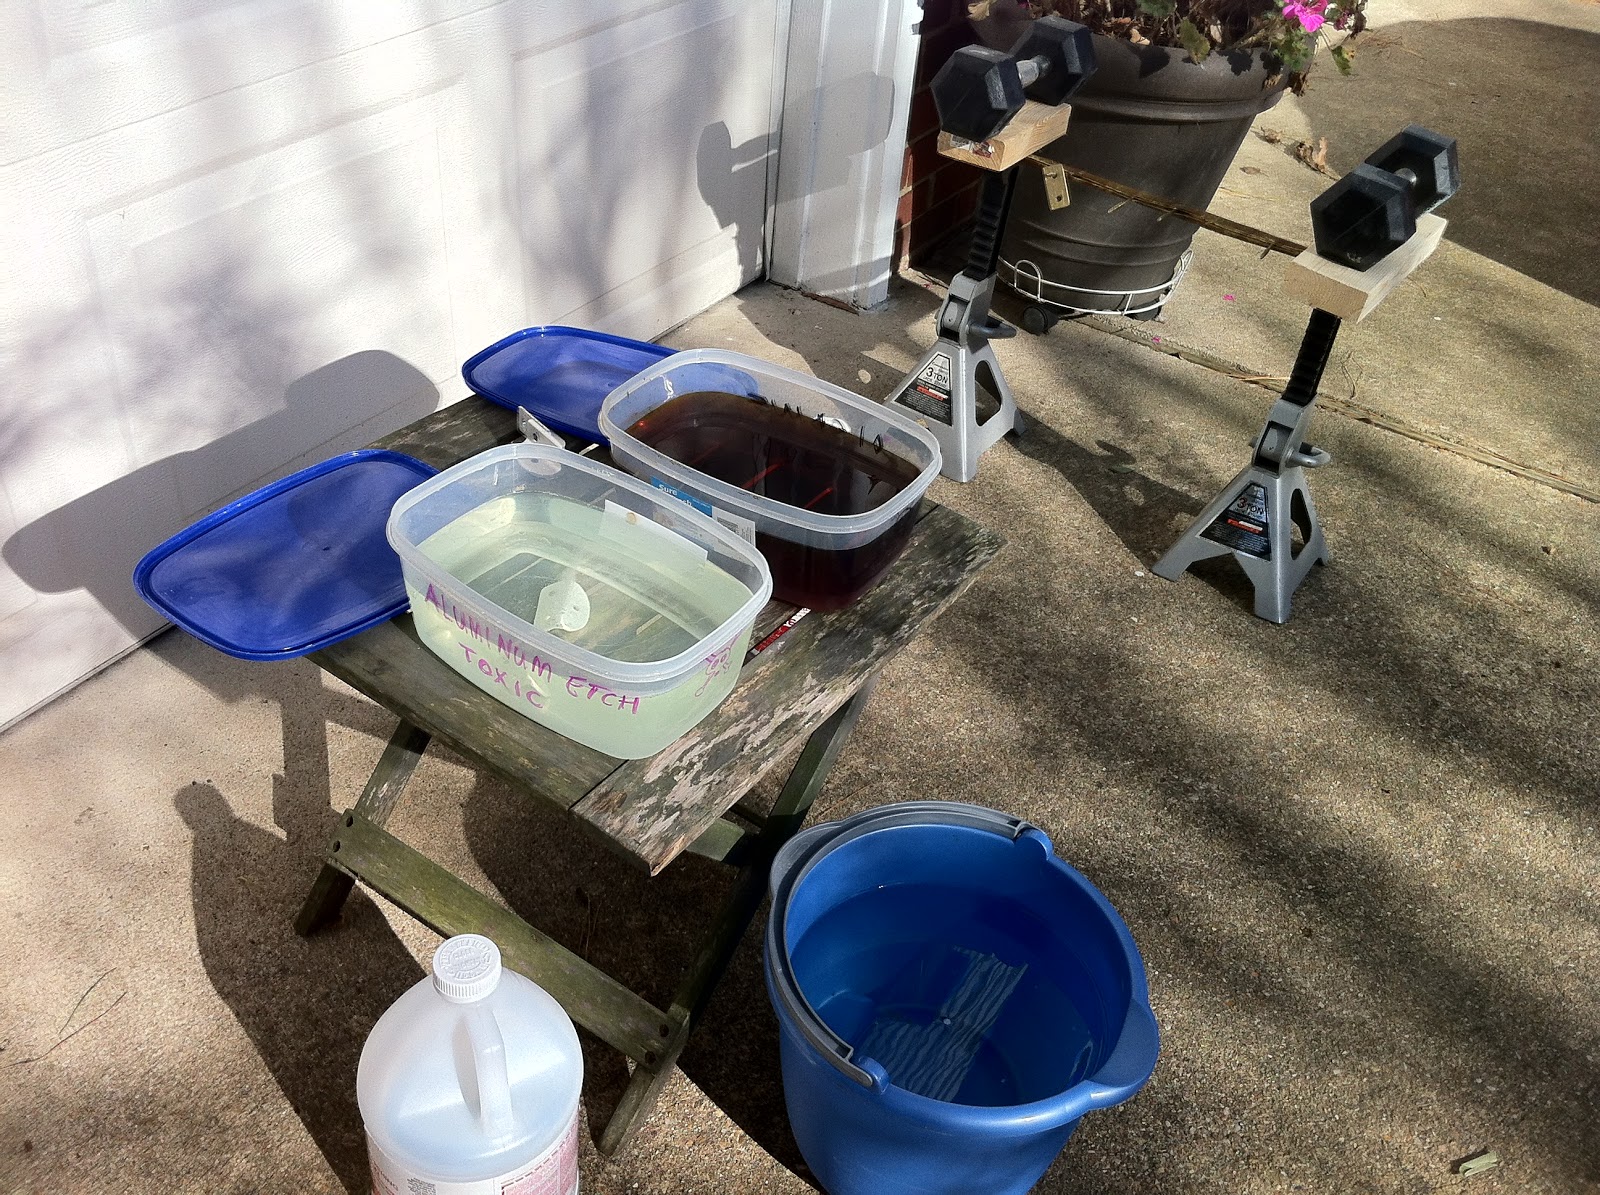
Just as I did with the main landing gear brackets, I used Alodine to help protect the parts from premature corrosion. This is some really toxic stuff, and it’s better used outside.
 |
| Alodining setup |
 |
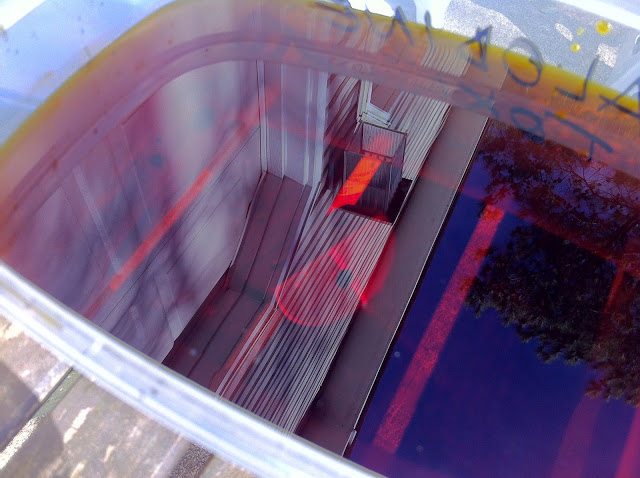
| Aluminum etching in action |
 |
| Alodining the seatbelt attachment |
 |
| Air drying |
 |
| Tabs ready for mounting |
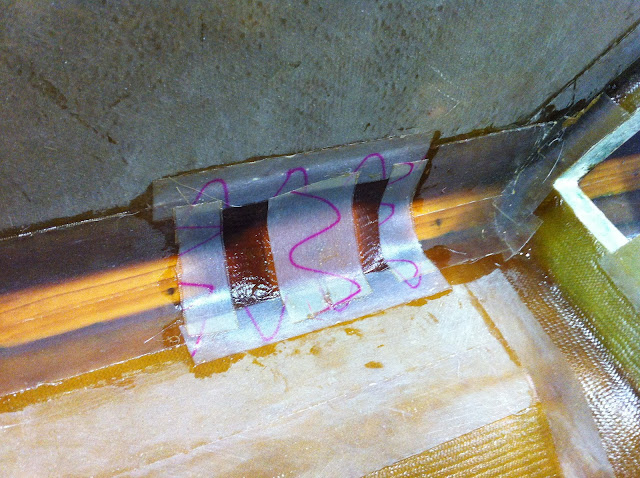
Before I could attach them, the airplane structure needed to be beefed up with additional plywood inserts, and 7 layers of BID.
 |
| Plywood reinforcement |
 |
| All parts ready for floxing |
 |
| Flox applied to the back of the plywood |
 |
| Plywood in place |
 |
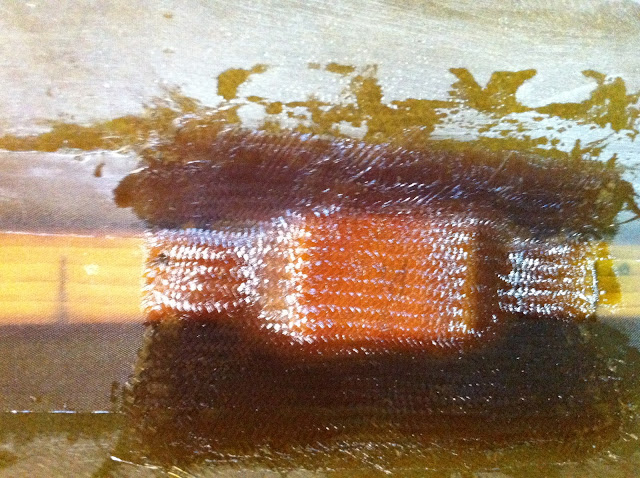
| BID getting readied |
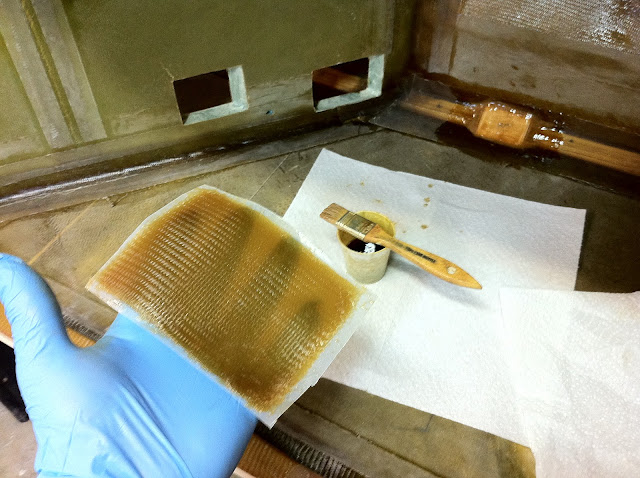 |
| 7 layers of BID |
 |
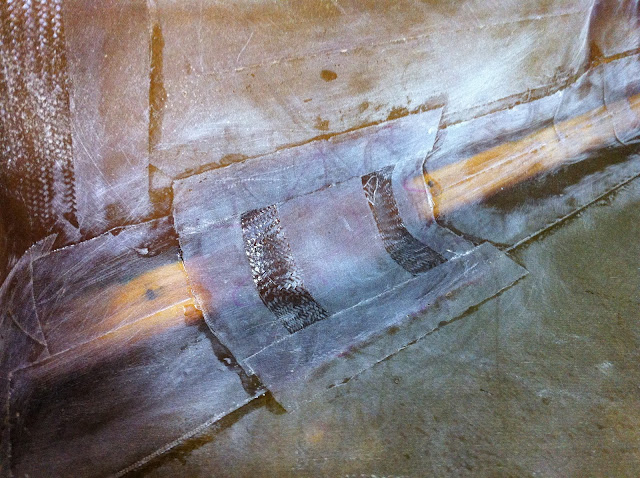
| BID in place before peel-ply |
 |
| Peel-ply in place |
At this point I let the fuselage cure overnight. The next day I removed the peel ply, drilled the holes for the bolts, and countersunk them on the outside.
 |
| Pee-ply removed |
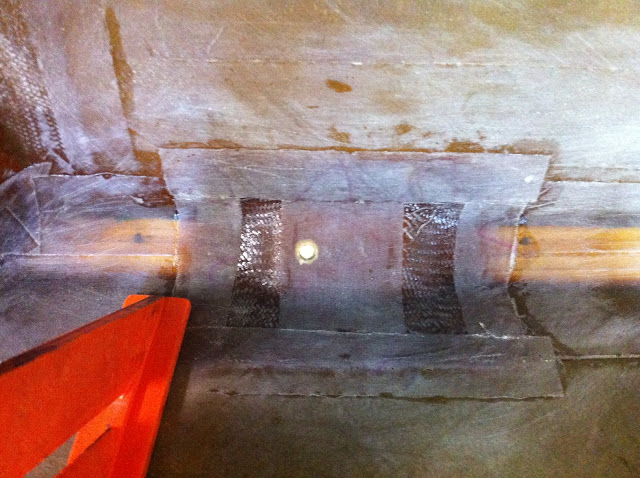 |
| The most difficult hole to drill - the first |
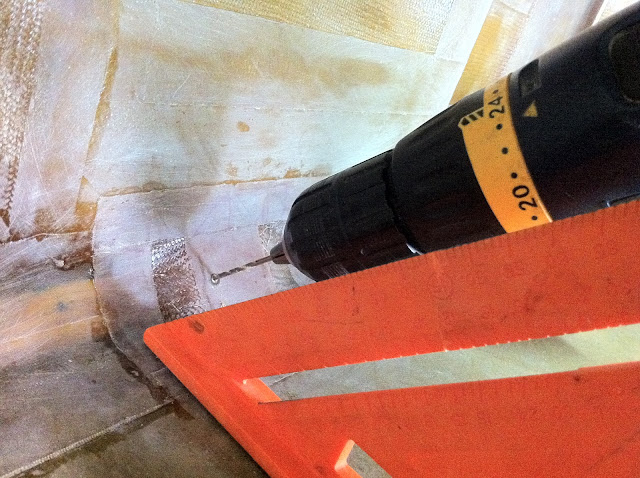 |
| Using the carpenter square to aim the drill bit |
 |
| Counter-boring the outer side |
 |
| Bolts inserted from the outside |
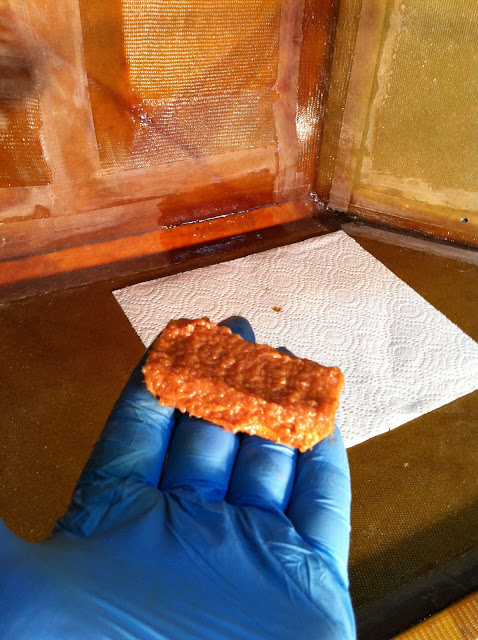
The final step was to flox the aluminum tabs, and torque the bolts.
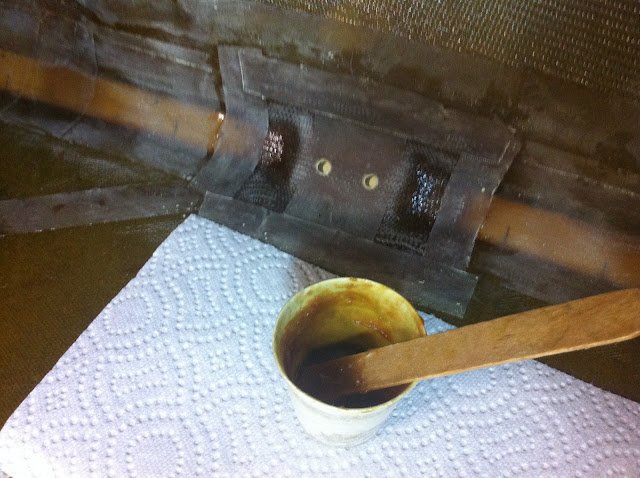 |
| Floxing the tabs |
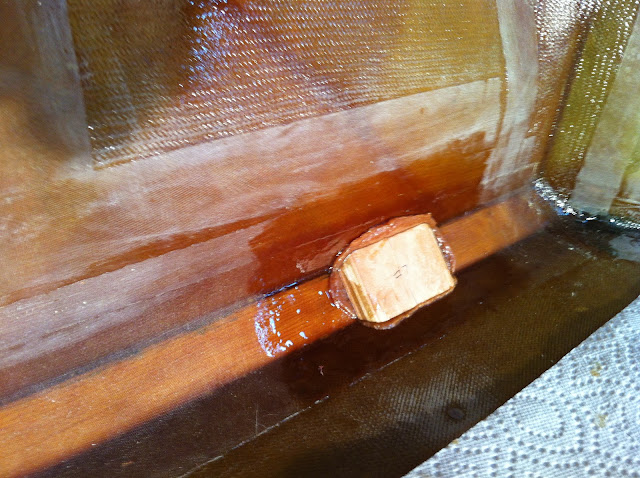
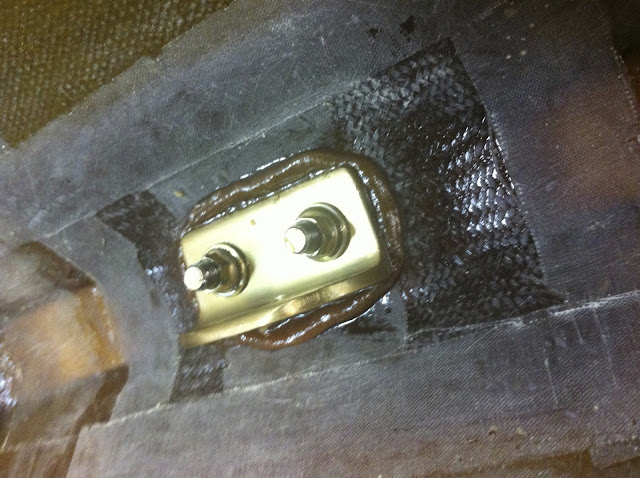 |
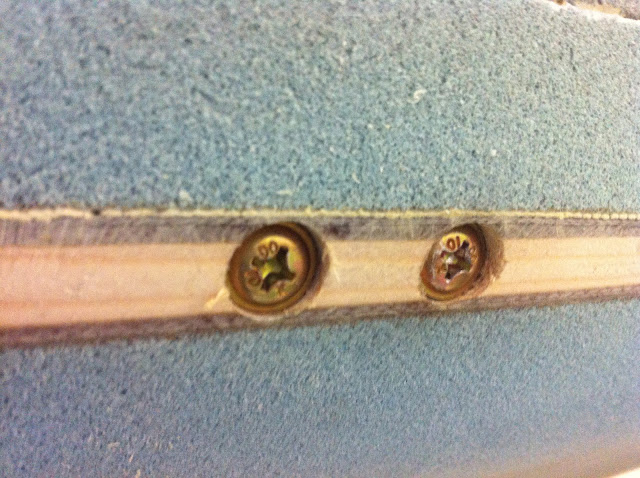
| Tab in place with nuts torqued to 60 in/lb |
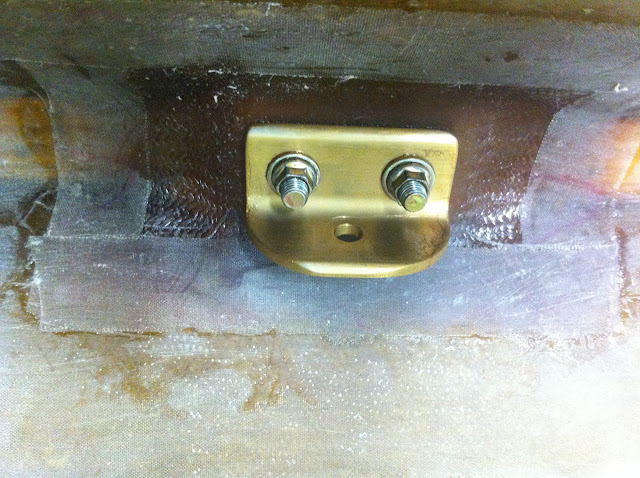 |
| Same thing after clean up |
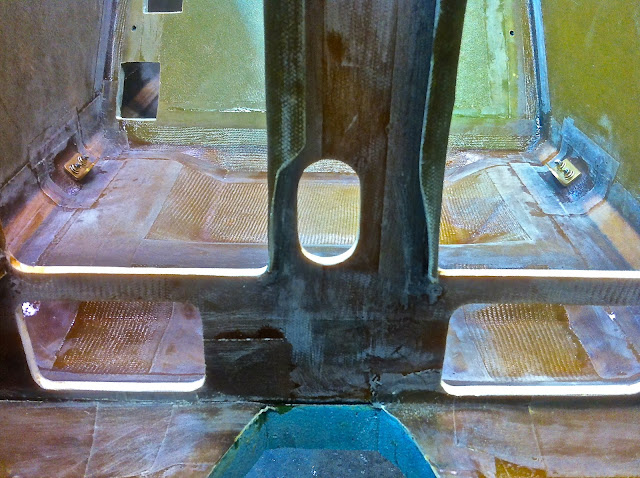 |
| Front seat with seatbelt tabs in place |
 |
| Rear seat with seatbelt attachment tabs |


Could you show your set up for machining the radii on your parts?
ReplyDeleteActually, I just cut along the pencil line with the band saw, then smoothed it out on the belt sander.
ReplyDelete