Disclaimer

This blog is for entertainment purposes only, and is not meant to teach you how to build anything. The author is not responsible for any accident, injury, or loss that occurs as a result of reading this blog. Read this blog at your own risk.

Sunday, June 19, 2016

Longeron repair

Left side (22.5 hrs)


Today I'll show you how I repaired the busted longerons. If you don't know or don't remember why they have to be repaired, check out my previous post about it. 

I will start with the left one. The right one will be made whole in the same manner.

Here's how it all went down...

The first order of business was to develop the easiest, most reliable, and reproducible way to precisely cut the longerons with a 7:1 ratio. You see, while this cut is pretty easily accomplished over the bench, it is no longer so once you are working suspended in mid air over the fuselage, nevertheless the parts still have to match precisely for the fix to be strong.

After a few failed wooden jig models, I decided to leverage the power of the recently acquired 3D printer to design a precise  7:1 custom wedge that would accurately mate to the longeron, minimize the chances of mistakes and misalignments, and allow me to concentrate on operating the hand saw correctly, instead of keeping track of multiple variables at once.

Ok… I did have to make three of them before I got one that I was happy with, but that seems to be the perpetual theme of this build anyway. 

Warning: Some pristine spruce longeron stock was harmed in the testing of these ABS jigs.


Yep, the nail holes were 3D printed right into the sides.


Pretty wild, isn’t it? Let see it in action on the fuselage!


The lower tab was mede for pushing against the sidewall (as depicted).


Using a drill to transfer the nail holes to the longeron


The small ABS "bridges" ensure perfect placement of the jig on either sides of the longeron


The "bridges" get cut away in the process


Almost there

ABS is pretty tough, and resisted the saw well with only minimal damage.


I decided to remove the busted foam and fill the space with flox.


Outer skin left intact to form the new old-shape


Tongue depressor wrapped in duct tape forms the back end wall 


Adding flox


Another tongue depressor forming the new inner sidewall (less sanding that way)


A day later, with all the masking removed.


Same thing after a little sanding


Outside view of the floxed part. The marked delaminated triangular piece will be replaced soon.


Using the same ABS jig on the table this time, I cut the longeron stock that would replace the broken one.


Last action this jig will ever see


On the inside of the fuselage I added two UNI plies that replaced the missing inner skin. This part of the repair was a bit of an academic exercise, since a big hole will be cut right over the top of the repaired section to fit the Center-Section spar.


Red is the UNI patch I just added, purple is the hole I will have to cut for the Center-Section spar.

With the new inner skin in place, I test fitted the replacement longeron on the fuselage, and with the tiniest amount of sanding I was ready to mix some flox.


Test fitting the longeron splice


Flox added to the joint


Longeron splice curing overnight


Same thing viewed from below


The next morning every distant doubt about lack of strength vanished after I tried picking up the fuselage by the new longeron splice uneventfully.


"Yep, that will do!"


Now, according to my engineer guide, the most important part of this repair was to take place. The replacement of the UNI outer skin (layer by layer, oriented accordingly to the original specifications) had to be carried out correctly.  A lot of this replacement fiberglass would eventually be swallowed by a gaping hole for the Center-Section spar, but some would not, and it would have to tie in to the lower layers as specified on page 3-22 of the plans, section 4.2 (Large Defects). 


How to fix large defects


A visual representation of how the fix is to be accomplished


The first area of concern was a slight delamination of the outer skin. This would have to be cut off and the surrounding area included in the overall skin replacement scheme.


The top right corner has to go


Foam and flox is revealed underneath


UNI plies exposed. Note the different orientations of the plies.


Corner absorbed into the overall repair scheme. The purple area will be removed for the CS spar


First off though was replacing some missing foam with micro.


Damming the corner


Building up the foam with micro


Whole area prepped and ready

Then came two UNI plies in the original orientations down to the 3” line, followed by a bigger BID piece extending 1” further (4” line on the fuselage). Plenty of peel-ply went over it all.


First UNI layer cut to size to the 3" line


Peel-ply going over the 2 UNI and 1 BID plies


A view from inside the fuselage

A day later the peel-ply came off, and the repair to the outer fuselage skin was completed.


Peel-ply removed. Note the large area to be removed for the CS spar.


Close up of the repair


Repair seen from the front looking back

The inside of the longeron still laid bare, but would receive one ply of BID, plus one more over it all, next.


Inner part of the longeron will get 2 plies of BID

Area sanded and prepped

Pure epoxy mixed with a little Cab-O-Sil to prevent runs

Cab-O-Sil is a fumed lightweight silica thickener used to reduce the flow of epoxies on vertical surfaces.


Flox applied from a plastic bag

Flox fillet under the longeron

2 ply BID pre-preg

Pre-preg folded to follow the contour of longeron and sidewall

Pre-preg plastic backing removed

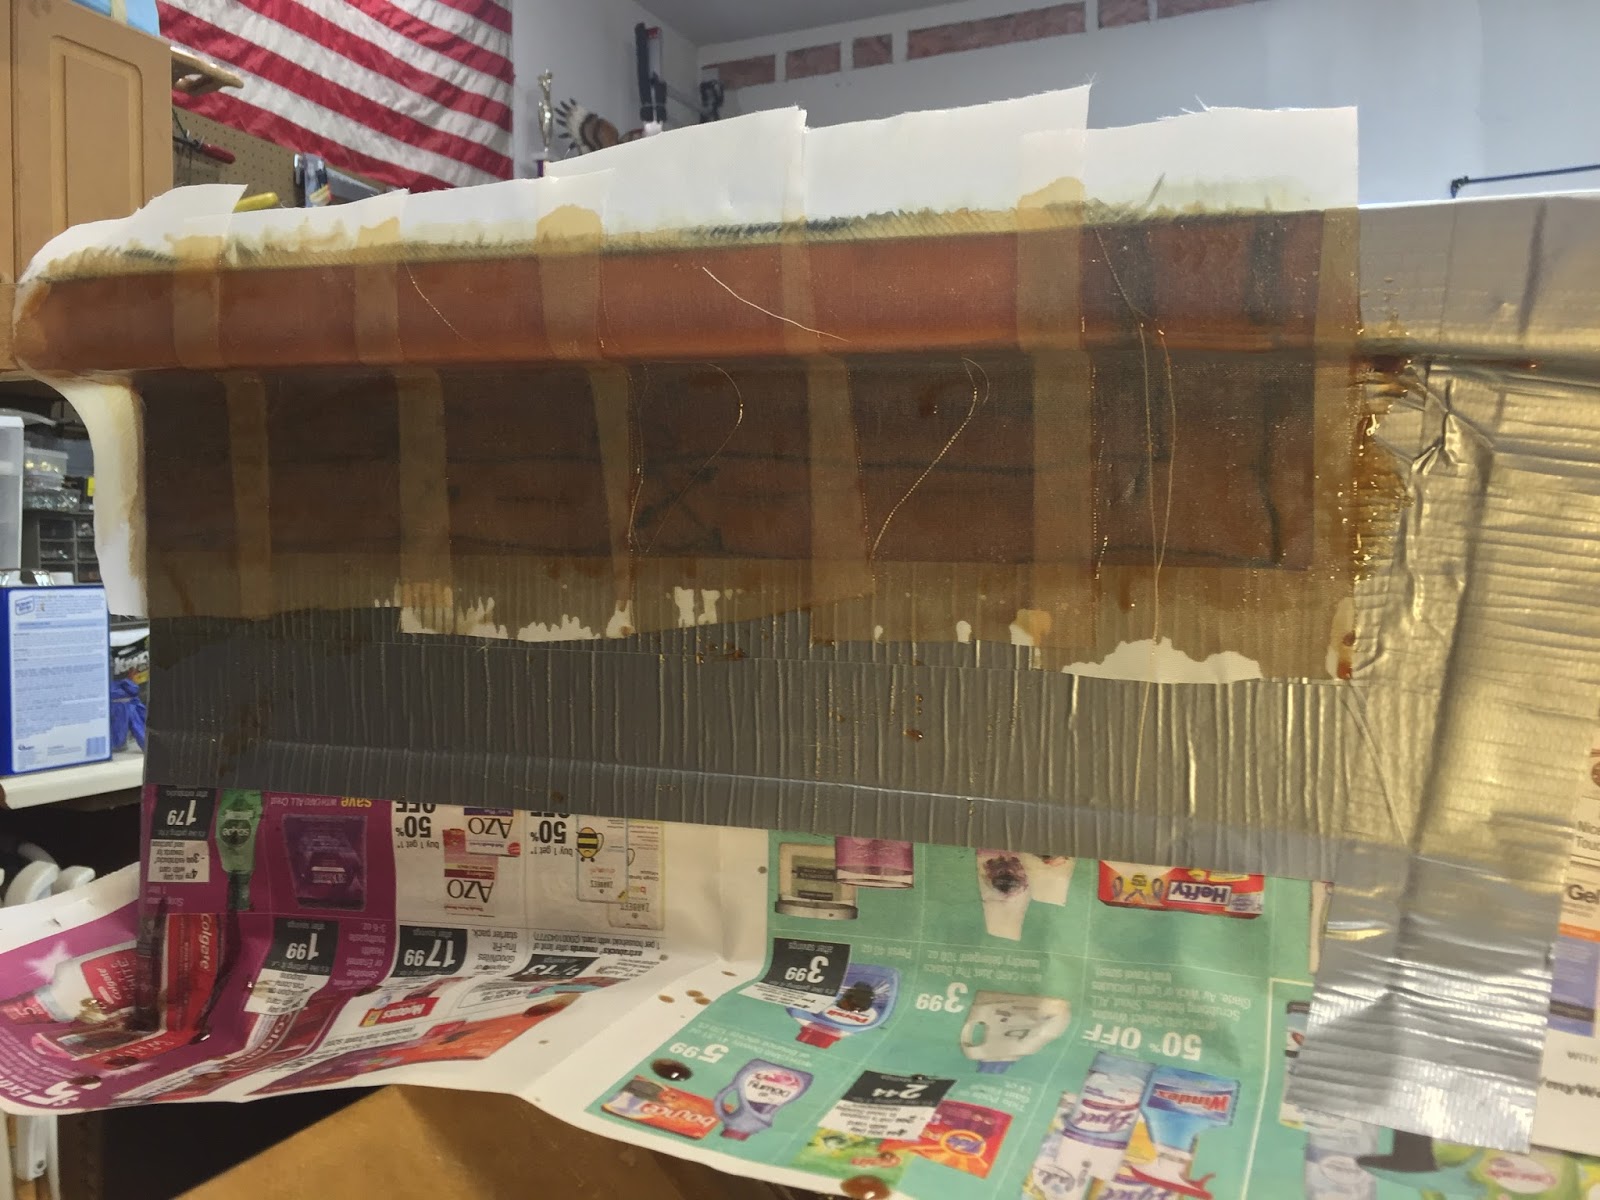
Peel-ply over the repair for the overnight curing cycle

After it cured, I removed peel-ply, duct tape, and newspaper. Then I sanded the rough edges smooth, and this is what I was left with...


I'm very happy with the results of this repair.


Sunday, June 05, 2016

When disaster struck - part 2

Disaster recovery

Just in case you might have missed it, I had a terrible construction mishap last year, and the time has come to fix it.


These images are still painful to look at

About 6" (15 cm) of damage on the left longeron

Same amount and type of damage on the other side

The foam and outer skin took a beating as well

Deciding how to fix the longerons was one of those things I didn’t want to do in a vacuum, on in a rush, so I polled as many Long EZ “experts” as I could find on this repair. I even had the head of CSA email Burt Rutan and Mike Melville with sadly to say, no reply. Not that I realistically expected one (though it would have been awesome)

Eventually, I offered as much money as needed to a well known engineer with extensive composite canard construction and modification experience. He graciously would have none of my money, offered expert advice, and cheerfully tried to put my many worries to rest. 

“I am very grateful for your input, Sir (you know who you are)!”

After all of this, I went on to build the Center-Section Spar instead, in order to create emotional and time distance from this problem, so that I could be more rational and deliberate when the time came, but even then, I secretly harbored serious reservations about the advice I had received. 

Like the doubting Thomas that I obviously am, I ended up trying to test those theories, albeit in a very unscientific manner, and I thought you might enjoy seeing what happened.

Let’s take a look at what this incredible epoxy our airplanes are built with allows us to accomplish…

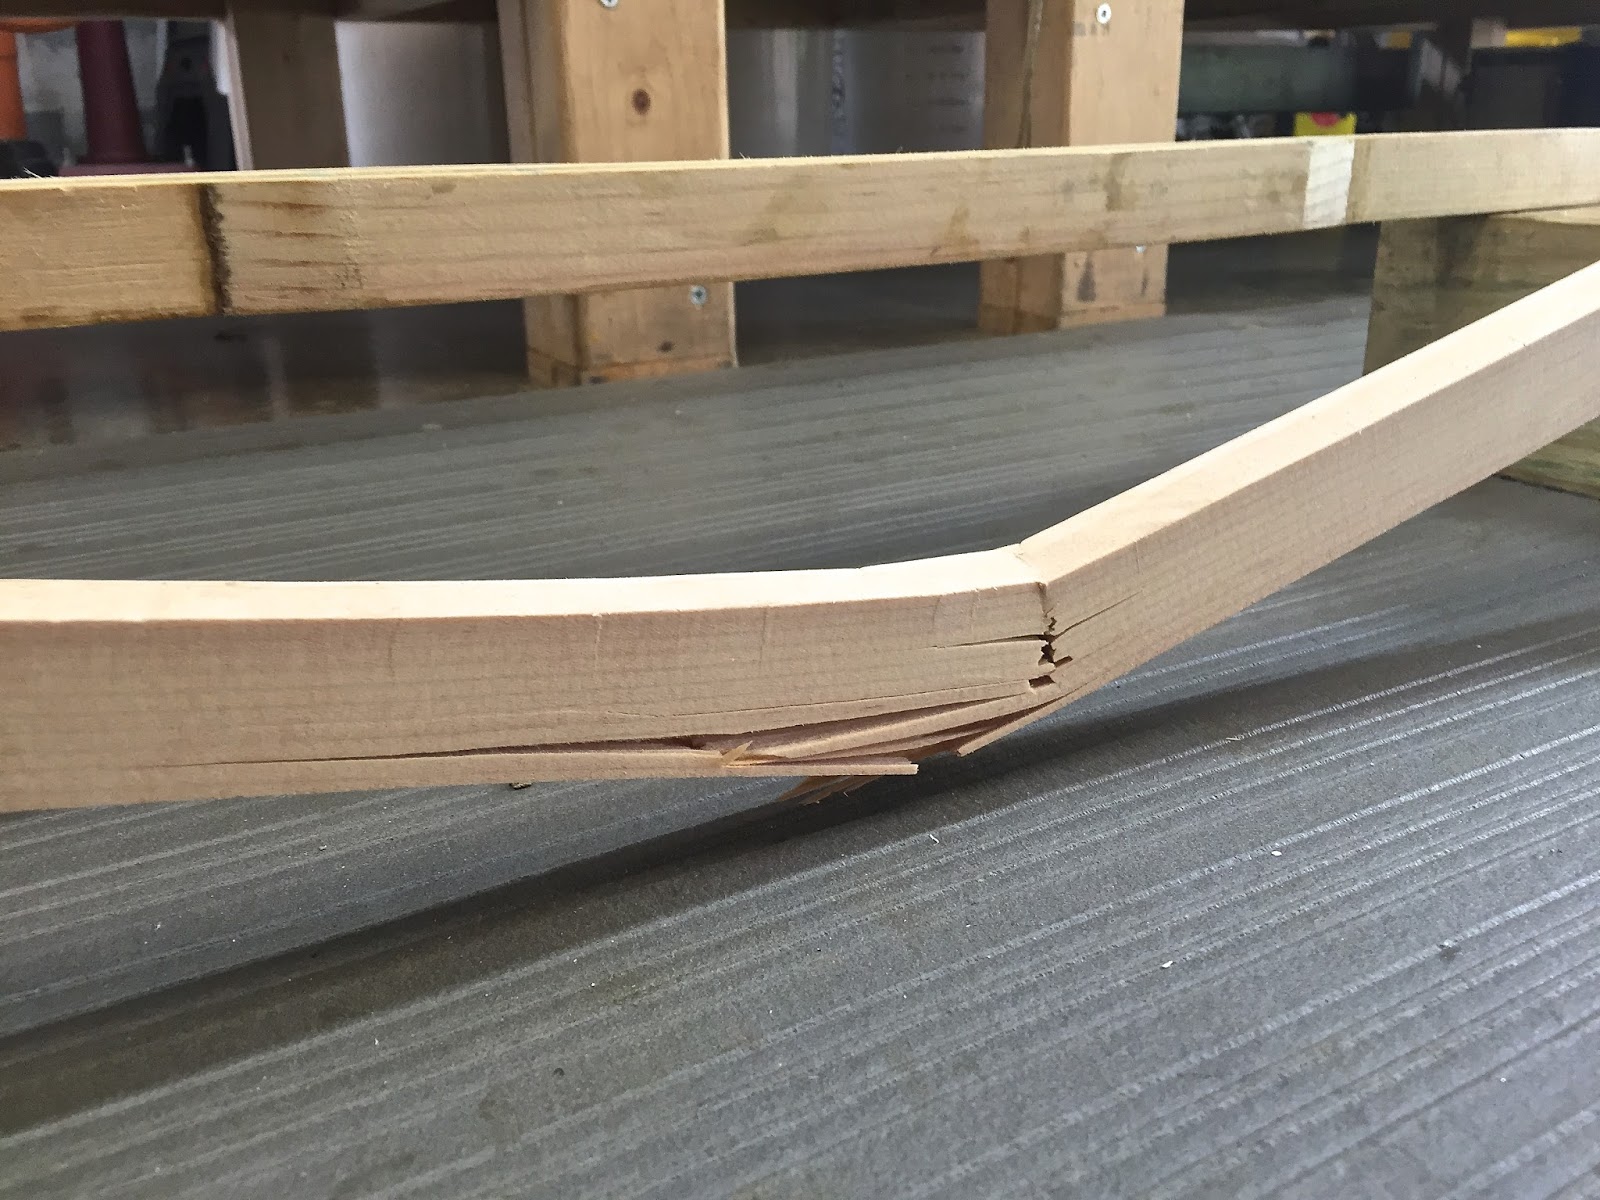
The first "loading to fracture" experiment on longeron stock vs the cut-then-repaired longeron stock ended with the fracture of the pristine longeron, and the survival of the repaired one. 


Sacrificial stock for testing as well as repairs (this stuff ain't cheep!)

Cutting at a 15:1 ratio

The battle of repaired vs new begins...

Flox is the only bonding agent

Spending the night up

Ready to slug it out!
 I wish I had taken pictures of me climbing on these pieces. I stood with both feet in the middle of the repaired one, then lifted a foot, and... nothing. Then I did the same with the new stock, and when I lifted the foot... it just gave away.


As I said, unscientific and unrepresentative, but fun.

The results of this experiment were hard to believe 

I suppose Aviation Circular 43-13 really knows what it's talking about

According to AC43-13 this is the type of repair to be carried out on broken wooden wing spars, however it was explained to me that these longerons are nowhere nearly as stressed, nor similarly loaded, and was advised to use much less than a 15:1 scarf, and ditch the side reinforcements. 

In this 2nd totally unscientific, and once again hardly representative loading experiment, I have cut the spruce longeron stock (the broken one from the previous experiment) at a 6:1 angle (closely matching my future repairs), and used just flox to glue the pieces back together. 

If you have never tried doing this yourself, it is the most unbelievable thing you can imagine, I will let the following pictures speak for themselves...


Just a straight cut and some flox

Wanna bet?!

Let's just say... a lot!

Doubling the pressure (same force applied to half the area) on the poor joint


As you can imagine, I am obviously no longer worried about repairing my longerons this way. 


Friday, May 20, 2016

Foam cores

A man’s got to know his limitations” is a great line taken from Dirty Harry, and so true in many ways.


from Dirty Harry (1971)


In my case, I was afraid that enlisting Gina in cutting the foam cores would have sadly stretched the limits of our nearly 30 years old vows beyond the “death do us part” clause.


Enjoyable perhaps, stressful for sure.


Enter… Eureka CNC.

I am sure most of you are familiar with the name, but should you not be, let it be known that Steve James, owner of Eureka CNC, built his own CNC hot wire cutting machine, and can reproduce a number of canard airplane parts with great precision. 

He is also a delightful person to deal with, and operates from Alamogordo, New Mexico, home of Holloman AFB, the same place where I did my T38B flying back in the day (1989).


Good times!

You might say that I am taking the easy way out, and missing out on a fundamental skill set of building a Long EZ, and I would partially agree, but there were other considerations that factored into my decision. 

For one thing, I’ve been married most of my life, I like it, and I wanted it to remain that way, so I didn’t have any desire to unduly burden my relation with Gina. Also, while profile accuracy might not be all that important on the fuselage section, it is very much so with the wings, canards, elevators, and winglets. 

I was after the most accurate foam cores available, regardless of who made them or where they came from, and in my humble opinion Steve is king. 

Price was a concern as always, but screwing up a few cores would have put me back in the same price range (though perhaps no longer married) as having Steve do them perfectly the first time, so I basically bought everything he had for sale. 

Gulp!

It might have taken a month or so to get the cores from Eureka CNC, and coincidentally they were delivered in my absence by my neighbor who works for FedEx, and has already helped me in the build a few times.


My good friend and neighbor delivering the goods


When I finally got to see them, I was astonished by the mountain of stuff I had purchased, and even more so by the quality of Steve’s workmanship. These parts are truly beautiful. 


Where the hell am I going to store all of this stuff?!

These Roncz canard and elevator sections are incredible

Wings and winglets parts

Dunno

More wing stuff

Still wing stuff, I think.

I'd have to guess winglet

??

How much wing stuff is there?

...and this is how I knew not to get Gina involved.

Wow again! Steve, you da man!

There was some very minor damage to the corner of one box, but nothing a little micro couldn’t easily fix.


Not bad at all

Gina wasn’t very happy to have me take over a bedroom with the new stuff, but as graciously as a New Yorker could muster when backed against a wall, she allowed the Trojan horse in.


Thursday, May 05, 2016

“Tooling up” - Horizontal bandsaw

My little DeWalt portable bandsaw has been doing an admirable job for years. With the addition of a steel table and a foot pedal, I converted it to a vertical bandsaw and have cut plenty of aluminum and steel with it. 


Poor man's vertical metal cutting bandsaw


Back then however, I could not have imagined I’d eventually come to enjoy machining as much as I do, or that I’d be doing so much of it. Heck, I had never even seen a mill or a lathe before! Needless to say, the little saw has seen more action than I had planned for it on the onset, and I have been looking for a better way to cut larger stock for some time.

In my research, I saw most people going for the Grizzly G0622 light duty style of saws. Many retailers sell them as their own, after painting them with their color scheme, and at less than $300 they are hard to pass up. 


Harbor Freight's version. Looks a lot better in photographs than in person, but it's inexpensive.


I was all primed to buy one many-a-time, until I actually saw it in the flesh, and left with my money still in my wallet. It just looked truly cheap, and felt very flimsy.

The one I actually really liked was the next step up in the Grizzly lineup, the G9742, but at twice the price I just could not bring myself to buy it.


Not as much bang for the buck, but a sweet looking saw, with many upgrades.


Then, the other day, I stepped into a Northern Tool store to buy something  completely unrelated, and as I walked by the clearance section, I saw (no pun intended) their last one of this kind still in the box for $423. 


"Where do I know you from?"


Well, I didn’t even know where I’d put it, but I just couldn’t pass on this deal, and after some forklift magic, the 250 lbs box was in my Honda Element, if only barely.

Make no mistake about it, this thing is heavy, and the box is big (for my truck), but four adults were able to take it out of the car and sit it on the shop floor without too much trouble.


You'll be better appreciated here, than in the clearance section of Northern Tool.


Putting it together was pretty simple, and took about an hour, but don’t count on using the provided instructions, since most of the time you cannot even tell what they are referring to.


She's pretty big!

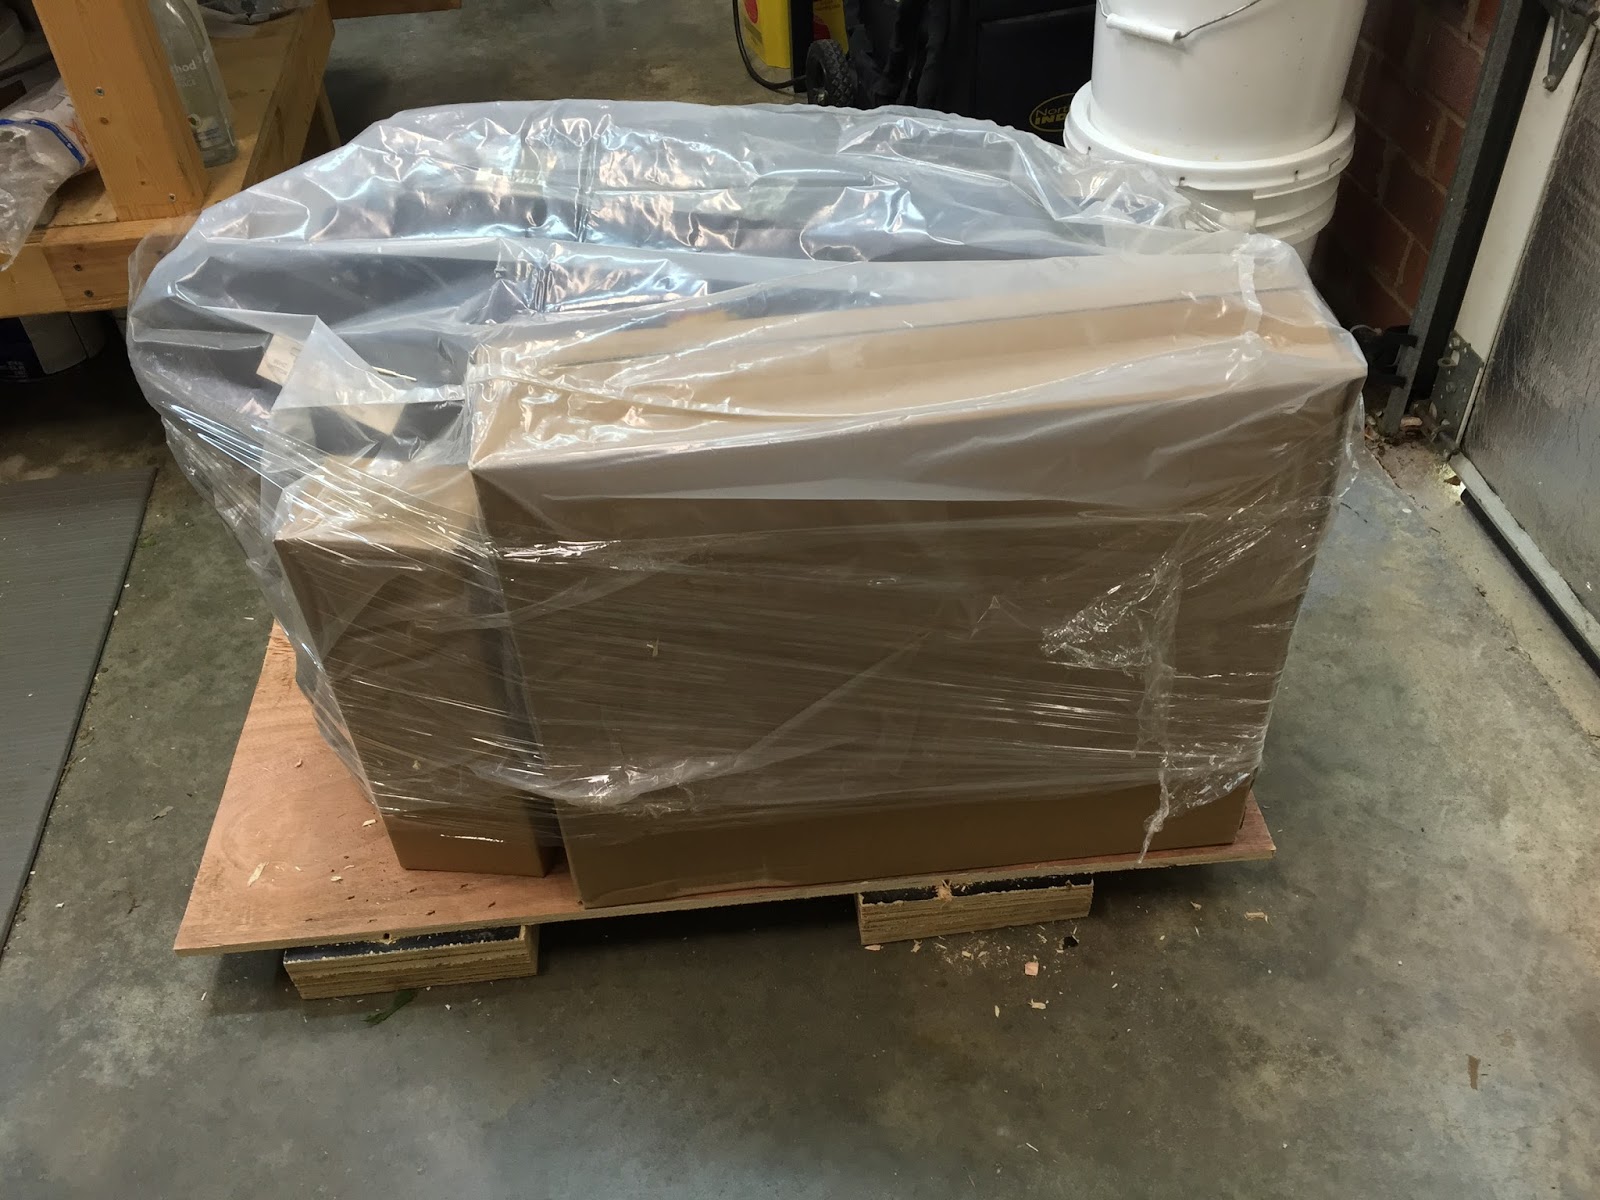
Packaging was good

Nothing bent, broken, or missing.

I'm going to need some help picking her up

The square piece and the black bracket make up a table that turns the horizontal saw into a vertical one.

The base had to be reassembled a few times, no thanks to the useless instruction pamphlet.


Putting the saw on the stand is just too much for one person, but is very doable with the help of an assistant (thank you Gina).


The retractable handle (not present in the Grizzly version) makes moving it in the shop a breeze.

No tendency to flip over (thank goodness) in the vertical position

Here's a pretend 45º cut


So, how does it cut?

Slicing 4130 steel with the original blade


I was actually pleasantly surprised. 


Right out the box the cuts were perfectly square in all directions, and I was actually able to slice very thin rings out of a 4130 steel tube.


I'm not sure if this really tests anything, but it was fun.

0.026" (0.66 mm) steel slice

0.023" (0.58 mm) steel slice


I did not use any coolant for these cuts, but I did set the saw to its slowest speed of 80 fpm (24 m/min). After the cuts, the blade was still cold while the rings were pretty warm.

The hydraulic down-feed of the blade is a beautiful thing, and operates smoothly, with plenty of adjustment.

So far I'd recommend it, especially at the clearance price. We'll see how it holds up in time.