Disclaimer

This blog is for entertainment purposes only, and is not meant to teach you how to build anything. The author is not responsible for any accident, injury, or loss that occurs as a result of reading this blog. Read this blog at your own risk.

Wednesday, June 27, 2012

Ch. 5 - Fuselage sides LH - Part 1


Glassing the left fuselage side (11.0 hrs)

Wow, was that a BIG job! 
Well, at least the biggest so far. 
This baby gulped epoxy faster than I could mix it! 
But, let’s back up a few hours... starting with planning the layup.

Planning the UNI cuts


It turns out that just two pieces of UNI are enough to cover the whole side-panel. Multiply that by two, since the layup requires two plies.
To cut down on the mess, I borrowed my friend’s Wade idea of masking the edges with duct tape. That worked very well, as there was a lot of runoff.
Taped edges


Unfortunately I was too busy mixing epoxy, spreading it, stressing out about it getting hard before I could finish, running out, mixing some more, etc., to stop and take pictures of the process.
Really, it was the same basic idea as previous layups, actually easier since the panel was flat, but the size of it added an extra dimension (no pun intended) to the process.
After I finished glassing, I mixed some flox, buttered up the longeron, and pressed it in place, then added some weights to it, and let it rest overnight. 
Before shutting down for the night, I peel-plied everywhere I thought I might need to later attach anything.

Longeron in place


Back in the house, looking at Walter’s pictures, I realized I forgot to peel-ply in front of where the spar will go. So, I went back in the shop while the work was still wet, and quickly added some.

There's always one...


That was a good save!
For some reason, seeing the black lines I had drawn on the foam through the fiberglass, was more difficult than usual. Since I was getting tired, and was having a hard time determining where LWX and LWY (wood pieces) should go, I peel-plied the whole back section, and “lived to fight another day”.
The next day I removed the peel-ply, and spent the rest of the morning picking at the peel-ply strands that did not come off, using razor blades, scribes, sandpaper and such. 
What a colossal waste of time that was!
I’m starting to hate the quality of this peel-ply, since the time I should be saving by not sanding, I am instead using trying to remove little elusive and embedded peel-ply strands.

Inner left side of fuselage


The next thing to do was to redesign the whole gear mount geometry back there. That took quite sometime, as it did the first time, but it eventually came together, and I marked the positions on the hardened fiberglass.

Head scratching time


One last trial fitting session was in order before committing to flox.

Looks good to me!


Finally satisfied, I floxed LWX and LWY in position, and put some weights on them.

LWY with flox


LWY in position


Working on the opposite side of the side-wall, I was able to knock out another item, the glassing of the longeron. This consists of 3 plies of UNI (0˚) covering the stiffener area, and 1 ply of BID (45˚) covering the whole longeron, including the aforementioned UNI plies.


Cutting BID strip at 45˚


Glassing the longeron


All in all, not a difficult job, but I eventually got into a struggle for supremacy with an air bubble, and spent quite a considerable amount of time, and brain cells, figuring out how to squash it. 
I am still not sure if it is gone or not. I guess I’ll find out in the morning.
So, here's how far I’ve come in the past two days.

Done for the day


Barring any other slowdowns, tomorrow I’ll be working on the bottom longeron.


Monday, June 25, 2012

Ch. 5 - Longerons

Smooth transition (0.5 hrs)


In “Epoxy 101” I discussed the fact that fiberglass does not like making 90˚ transitions. 

When rounding an inside corner we must lay down a fillet to ease the transition, usually made of dry-micro, but sometimes flox as well, depending on the situation.

Covering an outside corner with fiberglass, we have to round the corner for the same reason, but we use a different radius depending on whether the glass fibers run perpendicularly, or diagonally across the edge.

Plans directions

In the case of the longerons, the plan calls for BID laid at a 45˚ angle, so a 1/8th radius of rounding should be sufficient to allow the fiberglass to lay smoothly around the corner.
Naturally, one could easily eyeball this, and take a sanding block to the inner/lower edge of the longeron, and “go to town” with it. But why go through all that trouble, when one could just as well acquire a rounding bit, pop it in a router, and perform the same action at 10 times the cost?
That’s what I thought! Something about power tools...
So, here’s the more expensive, though easier way of getting the job done.


The result is at the very least consistent throughout the 103” length of the longeron.

Longerons ready to go


Epoxy 102


Un-Gelling the hardener
Before I left for my latest trip, I ran into a problem when I tried to use the E-Z Poxy hardener. It had turned into a big lump of Jell-O, and was basically unusable. 

Looking into the hardener canister

This had me a little concerned since this stuff is not cheap, and it's only 4 months old. 

I had read that this might happen if the container is kept in a cold environment, but this year we have had an unusually warm winter, and my shop never got below 50℉ (10℃), nevertheless... there IT was.
Tracy, at Aircraft Spruce, hinted that heating up the hardener to 120℉ (49℃) would probably return it to usable conditions. 
Still skeptical, and expecting the worst, I decided to give it a try with a small scale test on the little container I employ for ratio testing, itself afflicted by this apparently infectious condition.

Coagulated hardener

You can see the video I took of this experiment below.


UPDATE #1:

I heated up the canister of hardener to 120℉ as directed, and it worked beautifully.


Heating up the hardener to 120℉

Compare the way it looked in the pictures above, to the way it looks now.


UPDATE #2:

CP 29 page 5 states that this temperature should have been between 160℉ to 190℉  (71℃ to 88℃). 

Check out Epoxy 103 for more details


UPDATE #3:

Apparently the resin can crystallize as well. 


Resin solidifying

Solidified resin (later melted back with heat)


Just follow the procedure highlighted above.


Saturday, June 23, 2012

Ch. 5 - Fuselage sides - Part 3


Shaping the fuselage sides (9.8 hrs)
With the second fuselage-side-panel completed, I took some time to sand them together, ensuring they are identical, then I moved on to marking the location of all the bulkheads on the sidewalls.

Two fuselage-side-panels stacked for sanding

This was pretty simple to do, as all the dimensions are clearly stated on the drawings. As far as the complex geometry of the landing gear support structure, located behind the rear seat, I had to resort to copying the drawing, and locating important intersections with my paperclip method.

Transcribing landing gear mount structure details

Gear mount structure outline

Here’s a look ahead to how it will all fit together, hopefully.

Test fitting

The space between the wood pieces will be filled in with foam, then the whole support structure will be glassed over. Enough plies will be laid, to strengthen the attaching point for the gear mount.
Another item on the agenda for today was digging out a circular depression next to where the joystick will go.
The purpose of this is to provide some room for the pilot’s knuckles as he hand-flies the plane, especially during full right stick deflection (I plan on lots of those). This is not a big concern in my case, because I have an extra inch of width right there, nevertheless I think it looks cool, and might remove a gram or two of foam.
I decided to go high-tech with my foam removal approach, reasoning that sanding blue foam looked a lot like hard work. Besides, it gave me some excuse to try out some router accessories that I bought a while back, but never used.
I decided to proceed in small increments, trying real hard not to make a mess of things. First I cut a circular groove 1/2” deep, to make sure this circle making attachment actually worked.

I can't believe this thing actually works!

Encouraged by the results, I switched to a 45˚ edge cutter, minus the bottom roller bearing. I raised the cutter to make sure the bottom of the tool would not dig deeper than the 1/2” groove I just cut.

Shaping the sloping sides

It wasn’t the perfect tool for the job, but it was the closest to it, and left a little edge that I could cut smooth with a razor blade later.
So far so good.
Finally I used a cylindrical(ish) cutting tool to remove all of the inner circle foam. Unfortunately for me, I forgot to lower the tool stop back to the 1/2” mark, and so I took this beautiful, as well as too shallow and useless cut next.


Basically, I ended up with 1/4” of foam left to cut by hand, which turned out to be as painful as I had imagined. The real shame is that it could have really been an awesome looking depression. Oh well!


Moving on!
The last thing I did before packing it up for the night, was floxing the stiffeners to the longerons. 

Stiffeners floxed to the longerons


That would normally be a pretty easy thing to do, but this time I had to disassemble the hardener side of my pump and clean it up with Acetone, as I couldn’t get much out of it anymore. 
Somehow the hardener had turned into some sort of sludge, and the ratio between hardener and resin had dropped from 44 to 100, to 4 to 100.
Not good at all!
This should emphasize the need to do a ratio test before each job, especially if the pump has not been used in some time.
Opening up a brand new can of hardener revealed a similar situation, and its content couldn’t even be poured out. When I called Aircraft Spruce, Tracy told me to heat it up to 120℉, and it should become like new again.
I remember reading about this somewhere, but I guess I’ll find out whether it works or not when I get back, because I’ve got to get on the road tomorrow.
I’ll try to take some photographs of the gelatin-like epoxy, and post an update on the results of the heating technique. 


Thursday, June 21, 2012

Wet-Micro foam bond demo


Braking the bond
In case you ever wondered how strong can the wet-micro bond between foam pieces really be, I have decided to show it to you.


Maximize the video and select a higher resolution for better viewing.


Wednesday, June 20, 2012

Ch. 5 - Fuselage sides - Part 2


Fuselage: the other side (6.0 hrs)
Today I measured and cut the panel I made yesterday, and I also glued the second fuselage side. 

Fuselage bottom traced onto the foam for cutting


One thing I have learned about cutting foam with a razor blade, is that it is sometimes difficult to make a vertical cut consistently. I decided to combine the blade with a machinist square, held together with a C clamp.

Home-spun foam slicer

Foam cutter business end

Foam cutter at work


I know what you are thinking, but this thing really rocks! 


It makes slicing foam with precision a piece of cake, and gives you a beefy something to hang on to, instead of the skinny sharp blade.

Check out the quality of the cut below.

Nice, even, on the black line, orthogonal cut

Sidewall ready

Of course, I couldn't resist the opportunity to set up the scene for a photo op.

A sign of things to come...


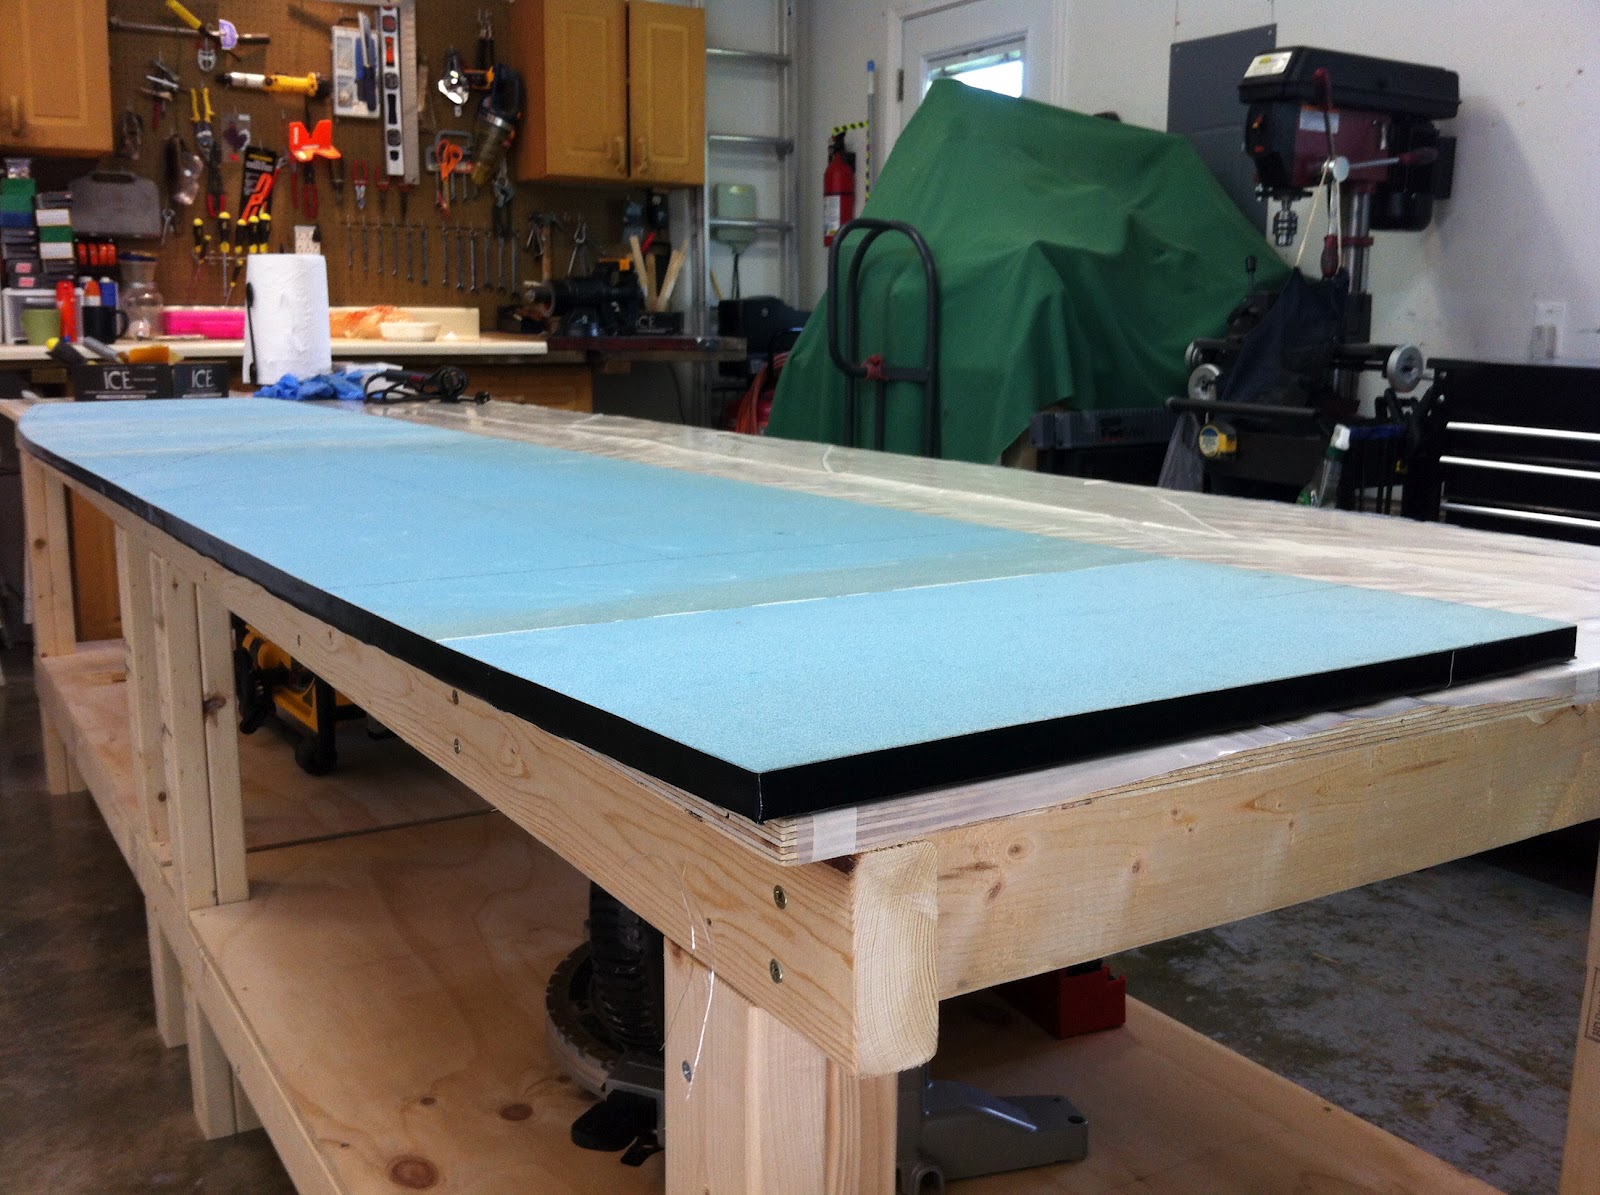
Next, I got started on the other side, but I only had one complete foam panel left, and a lot of smaller pieces that did not fit very well.  I had to sand them square, and assemble them into a contiguous piece. This process actually took a lot longer than anticipated, and generated a lot of blue foam dust that ended up everywhere.
I eventually got all of the mosaic pieces lined up long enough to tape the seams.


Then flipped it over...

Foam sidewinder


And glued it, just as I did on the other sidewall.

Weighing things down


As soon as the micro cures, I’ll trim it so that both sidewalls match.