Oil door repair
“I’ll just come out and admit it… I haven’t always fixed things right away!” 😱
Case in point the oil door on the top cowl. Perhaps six months ago it started separating from the aluminum hinge.
So, I asked myself… what would any Airline’s mechanics do in a situation like that? Having been on the receiving end many a time the answer was more than obvious: Duct Tape!… I mean: Speed Tape!
With the solution to all my problems just a drawer away, I performed the tidiest repair I knew how, and cleared JT back to flying status.
 |
| What can I say? It did get JT back in the air right away! |
Yeah, I was a little embarrassed by it, but we were still flying after all.
Ok, it was starting to piss me off a little when people would ask me about the tape on the oil door, rather than about the John Denver crash (get used to it if you fly an EZ).
With Sun & Fun 2019 (Florida) just around the corner (as in… the next day), I decided I could not fly to such an event with any kinesiology tape look-alike holding JT together.
The time to fix the oil door had finally arrived.
I’m not sure what held me back for so long, because the fix was pretty simple as you’ll see. I decided to use West System epoxy because strength was not a big factor, and I needed it done by the next morning.
First I had to take the door apart, and get down to bare metal and fiberglass...
 |
| Aluminum and fiberglass sanded thoroughly |
 |
| Hinge half drilled and mounted back in place. Pre-op taping. |
 |
| Back side |
 |
| Door back in place, and taped shut. |
 |
| Back side. Note the holes drilled into the hinge-to-door flap. |
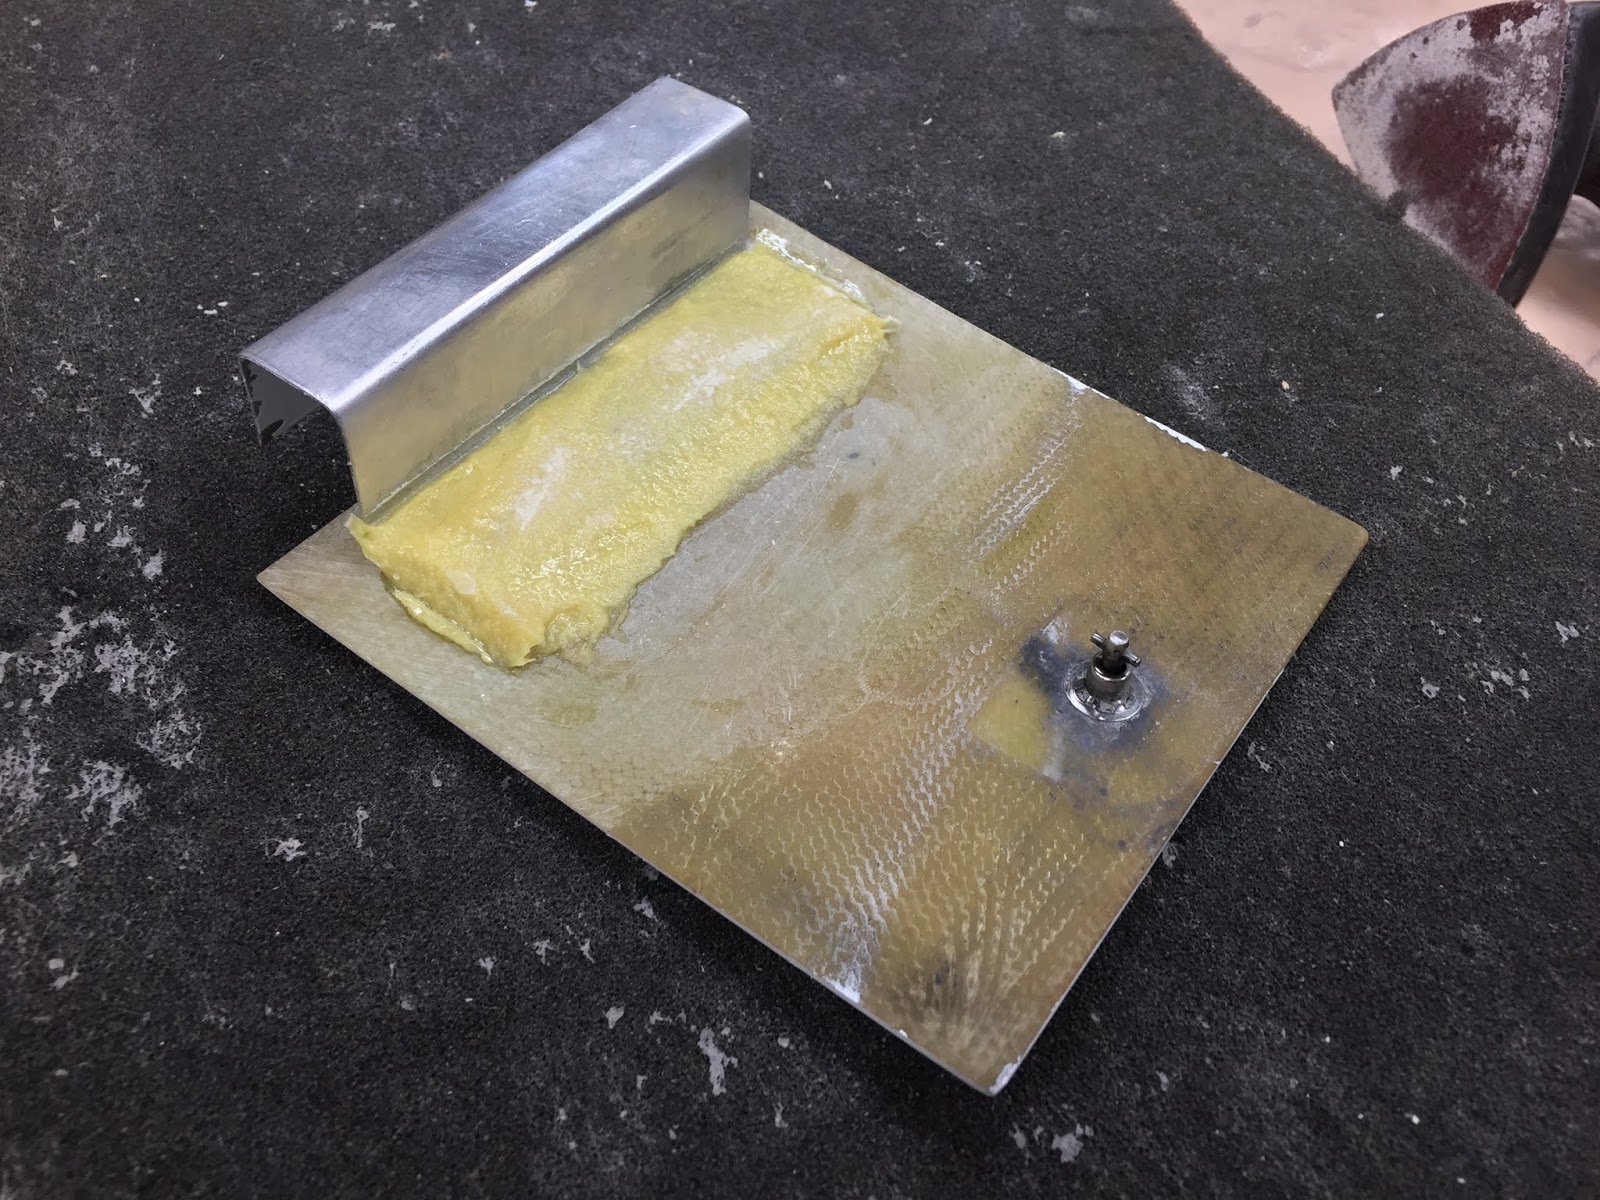
 |
| Liberal amounts of flox applied to both sides |
 |
| Pressing on hinge flap to extrude flox |
 |
| More flox to encase the aluminum flap |
 |
| Flox hardened, and door removed. "This hinge ain't breaking no more!" |
 |
| Flox sanded to a smooth transition |
 |
| More masking door in preparation for fiberglassing |
 |
| I applied a couple of BID plies, then peel-plied over the top. |
 |
| Finished hinge repair after a little sanding |
 |
| Side view of the repair |
 |
| Hinge back in position after the repair |
 |
| Close up of the back side |
 |
| Hinge operates normally |
 |
| Door closed and locked after the repair. "Let's go to Sun & Fun!" |
As you can see, this was a pretty simple repair. I still feel the oil door needs more than just one fastener, but that project's priority is way down on my list.
For now, JT is up and running as good as new.
"Sun and Fun here we come!"


Nice job!!
ReplyDelete