Chronicling my Long EZ construction (and a few other things).
Disclaimer
This blog is for entertainment purposes only, and is not meant to teach you how to build anything. The author is not responsible for any accident, injury, or loss that occurs as a result of reading this blog. Read this blog at your own risk.
Friday, March 11, 2016
Nose and nose gear - part 31
Nose bumper - take #2 (hrs - way too many)
With a raging OCD episode in full swing, I found it hard to sleep. The thought of a better, easier-to-make nose bumper kept me up at night, thinking. Rest wouldn’t be had until I settled the questions floating in my mind. Could there be another way?
Pressing the iPhone camera back into perilous service inches from spinning end-mills, I set out to prove that the hockey puck machining method was a thing of the past, and that a more production-style approach could improve the bumper quality, and make life a heck of a lot easier for me.
Much work would have to be put forward in order to reap these benefits though, so let’s dive right into it…
Designing the mold in CAD/CAM
Machining the mold
Making a part from the mold
This experiment turned out a great success, and I loved the results, but even as the urethane was curing, ideas for improvement were percolating through my brain.
Although I have no plans on starting a bumper business, I think this technology might still prove itself useful in the future on other needed components.
All parts of the mold before pouring urethane
Highlighting the removable parts
Urethane rubber poured in the mold
Bumper curing in the heated epoxy box
Bumper ready to be pulled from the mold, just 12 hrs later.
Urethane bumper just extracted from the mold
Closeup of the new bumper
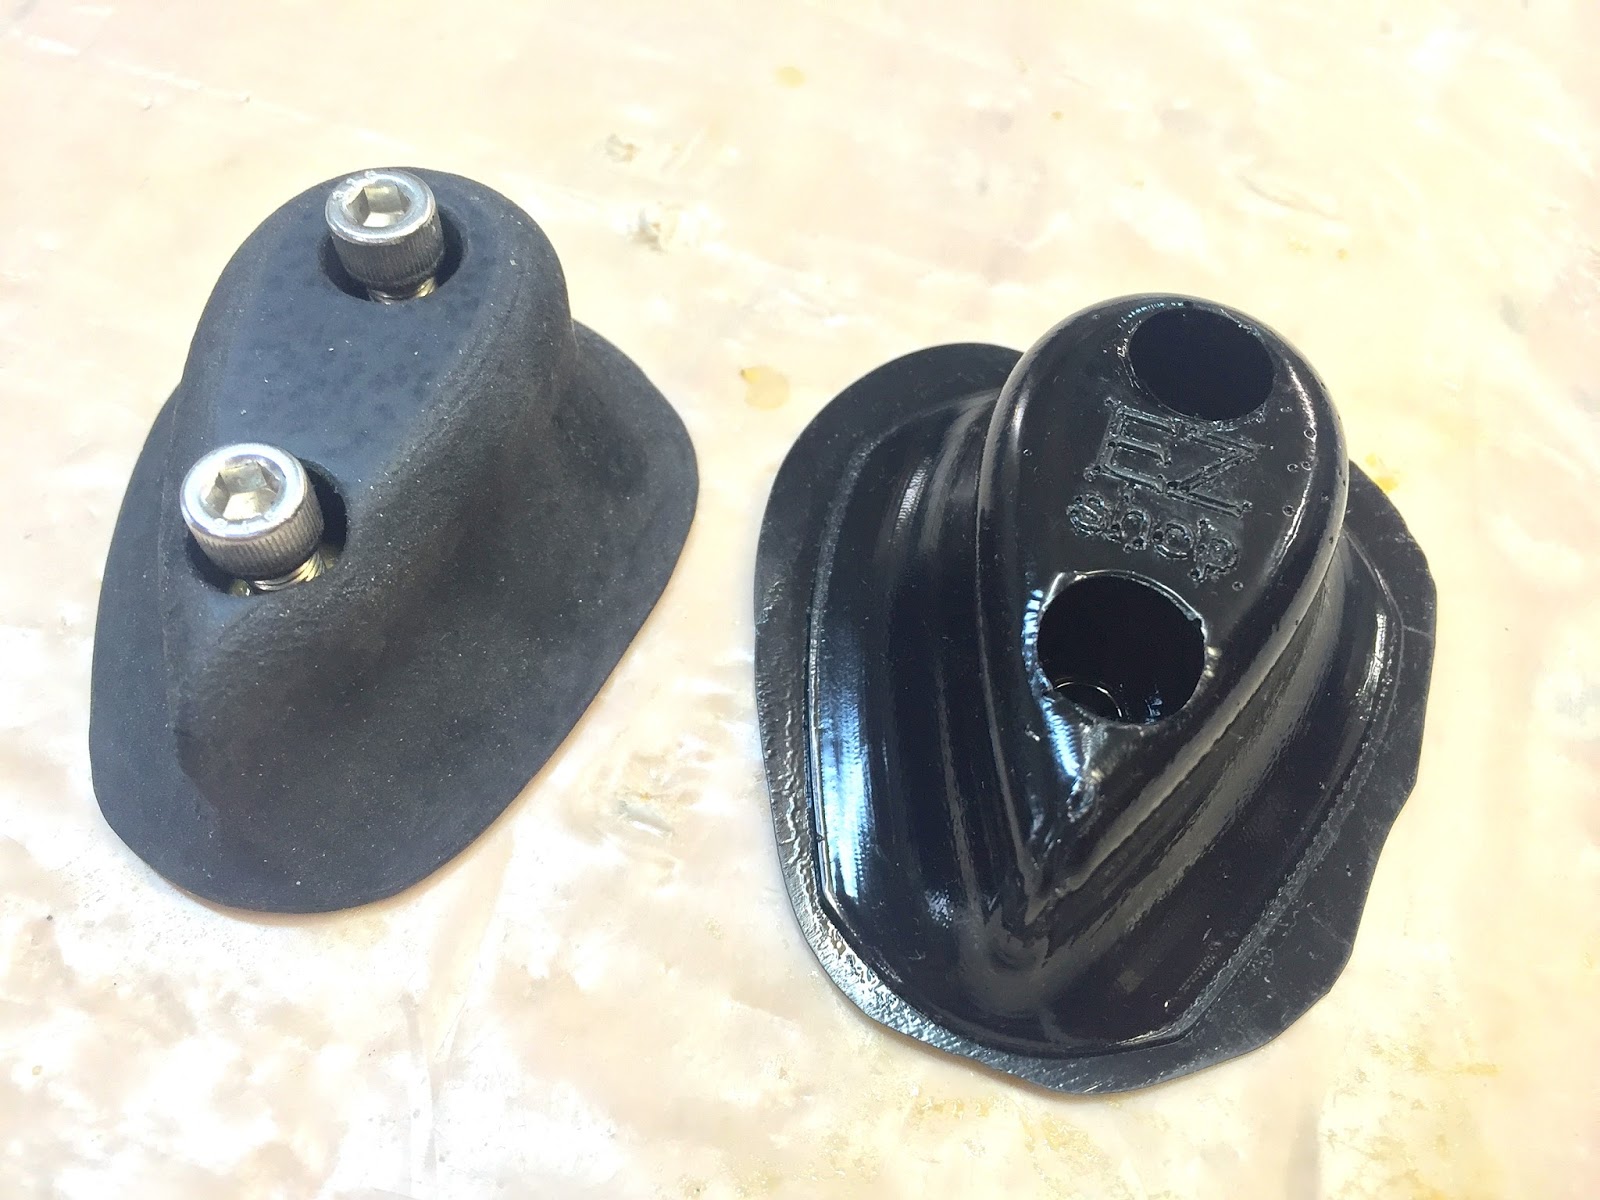
Old vs new
A few imperfections occurred in the form of surface bubbles


No comments:
Post a Comment