Foam board magic (5.0 hrs)
I have finally arrived at the first substantial part of the construction, and part of the reason why I built the “monster-table”.
The fuselage sides are way too big to be made out of one single piece of 3/4” thick foam, so I will have to glue at least 3 pieces together, and cut as necessary.
 |
| Blue foam and wood longerons |
The upper part of this drawing shows the blue foam already cut to dimension, while the bottom shows the assemblage of foam, and wood longerons, and the location of the bulkheads.
Because the top longeron will become a very important reference point later on, it is necessary that the foam that attaches to it, be as straight as possible to begin with. I used a straight edge to line up the foam boards while I glued them.
 |
| Making sure this edge is straight |
Once again, I used some duct tape in the back of the seam, so that I could spread the joint apart without losing the careful alignment.

Next, I whipped up a new batch of wet-micro.
 |
| Wet-micro |
The reason it looks so white, is that I used leftover West epoxy instead of the usual E-Z Poxy. This is not a structural connection, so I elected to go with the fast curing stuff, in order to get this project back on the road.
Anyways, like I was saying, I whipped up some wet-micro, and filled the joint with it.

After unfolding the foam boards, I cleaned up the excess.

Then, I used every heavy item I could find, and weighted down the boards to allow them to dry as flat as possible.
 |
| Using every heavy object in sight to keep the foam down |
Later, I flipped the foam boards over and ripped the duct tape off.
 |
| Taking off the band-aid |
Needing more foam to reach the 103” dimension, I cut the width in excess of 21”.
 |
| Excess foam trimmed off |
Then cut a piece off of that, and glued it in the back of what is now a really big foam piece.


While waiting for the wet-micro to set, I decided to start cutting the wood for the longerons, stiffeners, and gear mount build-up area.
Oddly enough, while laying out the drawing on the wood, I kept coming up with some misalignments in LWX.
So, I decided to verify the angles on the plan’s drawings, and I noticed that one of the angles is incorrect. It was probably just rounded down to 35˚ for simplicity, but the correct angle should have been 37.5˚.
 |
| atan(1.0/1.3) = 37.57˚ |
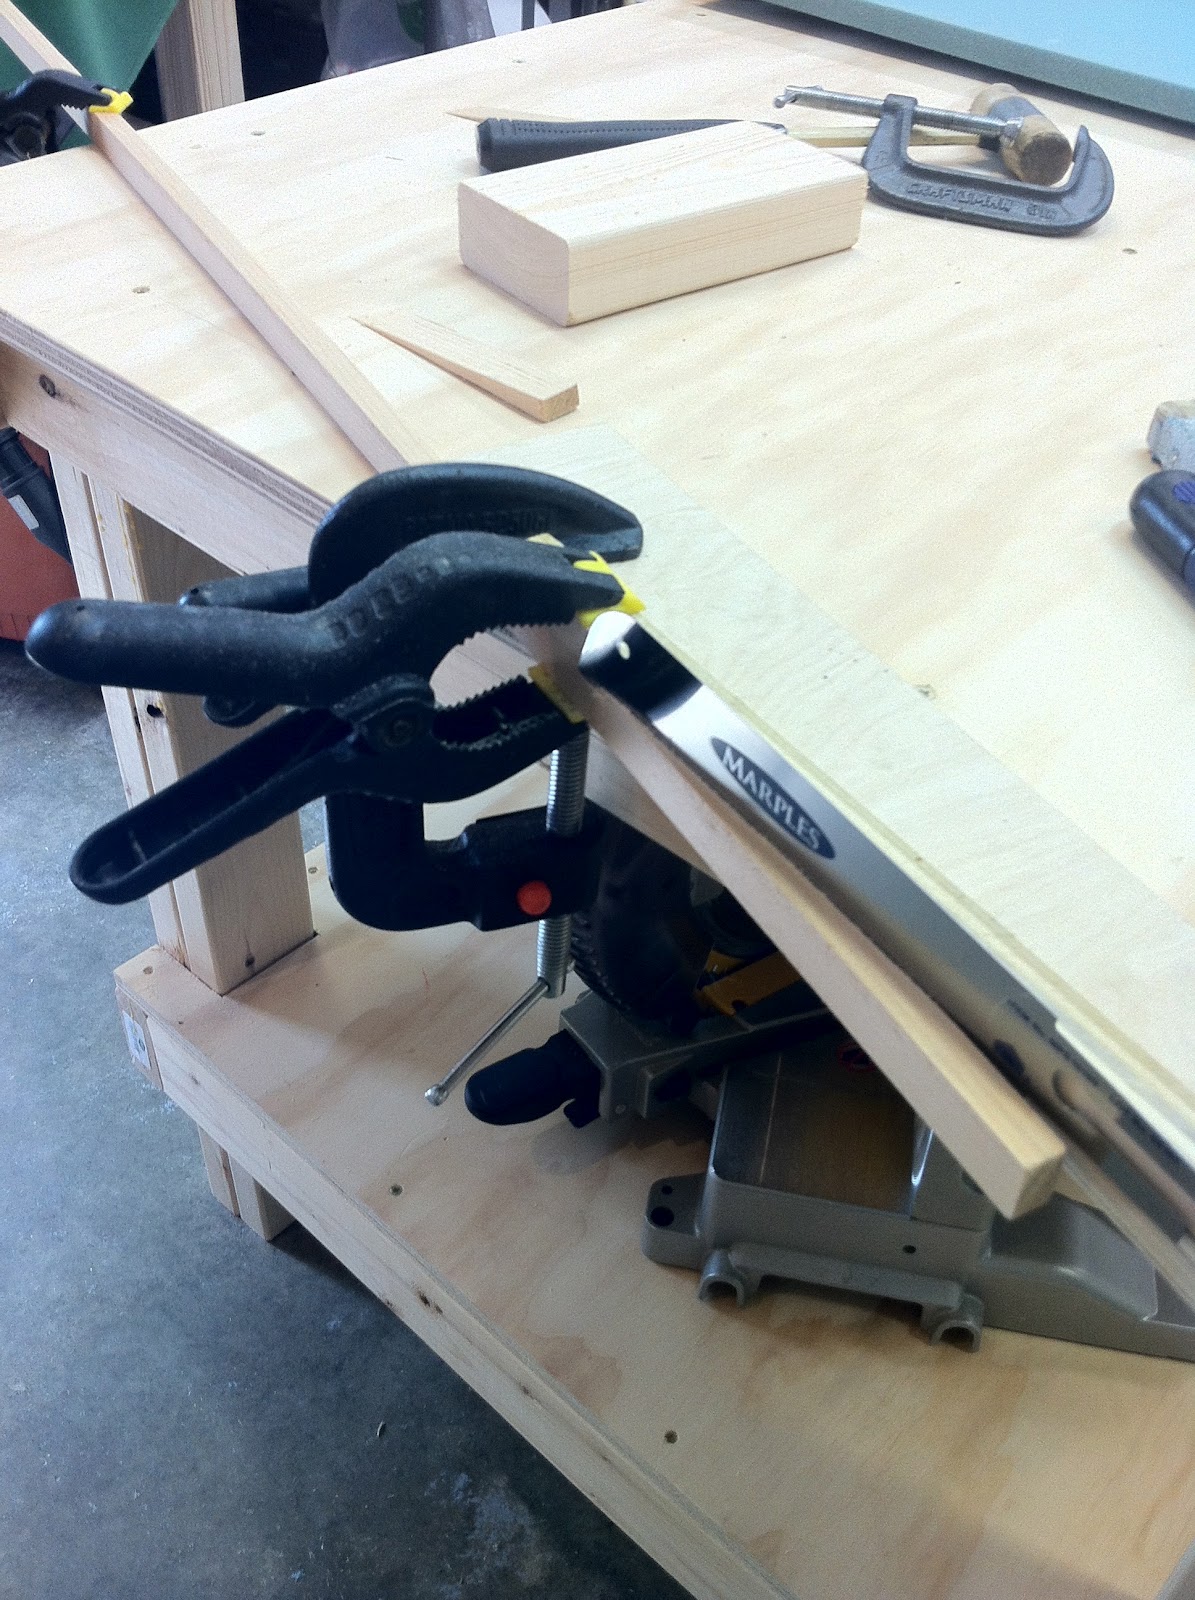
Setting up a cut like that on the miter saw is impossible, because one would have to cut the complementary angle 52.5˚, while the saw only reaches 50˚. To get around this limitation, I cut a 2.5˚ slope in a piece of scrap 2” x 4”, and used it to back up the part I was trying to cut.
With the miter saw set at its maximum 50˚, and the 2.5˚ slope cut into the scrap wood, I was finally able to line up my blade with the target cut-line, and easily produce a 37.5˚ angle.
 |
| Note the shadow of the blade lined up with the cut line! :-) |
The opposite end of LWX, as well as LWY, were easy 45˚ cuts.

Producing the 103.5” longerons was as easy as measuring, and cutting. The stiffeners though were a bit more involved. First, I had to rip a 1” piece into two 0.4”.
 |
| Ripping him a "new one"! |
 |
| Two "ones", perhaps? |
Then, I had to shape them at an odd 4.6˚ by hand.
 |
| Are all these weird cuts really necessary Mr. Rutan? |
 |
| This thing could put an eye out! |
So, this is as far as I’ve gotten today.
 |
| This is as close to a "Long EZ kit" as it gets. |
In the next session, I will shape the fuselage side I made today, and try to glue, and shape another one as well.
UPDATE
I should have left LWY a couple of inches longer because I ended up having to extend it later.
I have heard from a few builder friends that they ran into the same issue as well, so I'd suggest leaving it long and trim it at a much later date.
No comments:
Post a Comment