Chronicling my Long EZ construction (and a few other things).
Disclaimer
This blog is for entertainment purposes only, and is not meant to teach you how to build anything. The author is not responsible for any accident, injury, or loss that occurs as a result of reading this blog. Read this blog at your own risk.
Wednesday, March 21, 2018
"Tooling up" - 3D printer update
It didn’t occurred to me until today, when I went to write an update, that I might have never made a blog entry about purchasing my 3D printer in 2016.
“How rude!”
Well, you have probably seen it on the blog by now, so it’s a bit late for an announcement, however I shot a YouTube video of the delivery, unpacking, and first use at the time, so I’ll splice it right here…
Special delivery
If you are wondering if the $2K I spent on it were worth it, I’d say… “Without a doubt!”
Yes, I could have spent less for a model that used PLA primarily, but I needed to be able to print components I could actually rely on to be used and abused, and that meant ABS at a minimum.
I have been through a lot of ABS with this unit, and it has hardly ever skipped a beat. I just design a part, send it to the printer, and go do something else.
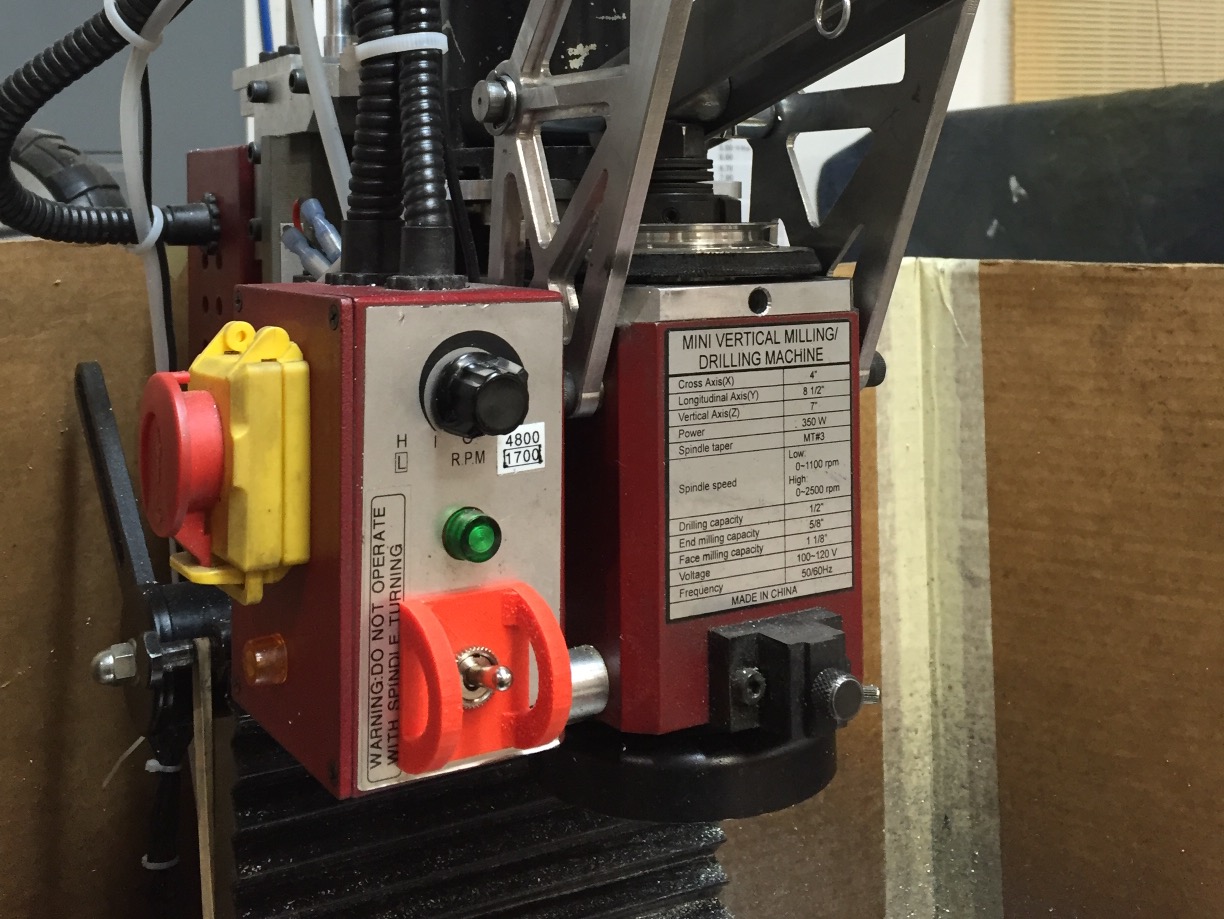
Here are just a few examples of things I made with my Zortrax some of my own design, some from thingiverse.com...
ABS requires higher nozzle temperatures, and is notoriously difficult to make it stick to the plate. The heated and perforated plate of the Zortrax M200 is designed for it, and I rarely if ever have had first layers unsticking problems messing up my prints.
This issue when it happens is due to the ABS cooling down too fast and contracting, curling up and off the table. My printer came with three sides and a door to contain the heat as long as possible, and this has been working very well for small to medium parts.
Recently though I tried printing a part that was nearly the size of the plate, and I ran into the issue over and over again.
I even tried rigging up a hair dryer on a tripod to keep the temperature up, but it actually cooled down the nozzle when blowing from the top, giving an error code, and didn’t prevent separation when blowing from the bottom.
Adding heat from above with a hair drier (did not work)
Same thing from below (no improvement)
I was able to salvage one of the parts, at the cost of six failed attempts.
"House of horrors"
That is just too many scrapped parts for my liking, and the waste of time and material started to add up. So, I looked online for ways to reduce this occurrence, and I ran into this factory image of a bunch of M200s running jobs at the factory…
Zortrax printing center
All of those machines obviously generate a lot of fumes that need to be removed via the overhead hoses, but I thought I could adapt the design to help close the top hole of the machine, thereby reducing heat loss, and perhaps get better parts.
I studied this image for a long time, then went on to designing my own version of enclosure, including all the 3D printed bits.
What I am trying to achieve
The main plan
2 hole 2 sides connector and 1/4-20 hardware
3 hole 2 sides connector
3 hole 2 sides reduced stick-out connector for rear left corner
3 hole corner connector
door hinge
2 hole 2 sides connector getting printed at 30% infill
2 hole 2 sides connector finished
2 hole 2 sides connector cleaned up and ready for use
Hinges and 3 hole corner connectors
I made the sides out of a 2’x4’ (61x122 cm) sheet of Lexan from Home depot.
All panels fitting inside a 2'x4' Lexan sheet
Panels (1:2 scale) laid out for drawing on Lexan
Lexan sheet ready to be cut
The Lexan is nominally 0.220" thick, but it averaged 0.210, so that's what I used in my plans.
Lexan cuts well on the table saw. The more teeth the better. Mine has 80 teeth.
After cutting the sides, I drilled the holes using the 3D printed parts as guides for the drill bit. This worked well, and I soon started assembling all the parts.
Test-fitting/hole-drilling the enclosure
The only modification I made to the printer was to drill and tap a small M4-0.75 hole in the back panel. I did this to reroute the black ribbon cable a little closer the center of the rear pass-through cutout, thus eliminating wire rubbing issues.
I moved the top ribbon cable holder about an inch toward the spool
So, here how it turned out in the end…
Enclosure door closed
Enclosure door open
Checking for wire interference at the limits of motion
I like the way it turned out a lot even though I accidentally cracked the rear left tab while drilling the half inch hole radius, and I had to superglue it back together then add a Lexan doubler to it as well.
Cracked Lexan repaired
I could redo that piece, but why? It works well, it’s out of the way, and I can hardly see it.
“It’ll eat!”
I should have probably done this project a long time ago, and if it does "deliver", I’d consider it a must-have on a high volume ABS capable 3D printer such as the M200.
Hmmm... I don't think we ever took a picture of that. A ton more things didn't "make the cut", like my rudder pedal extensions and a bunch of Arduino bases to name a few. This technology has certainly empowered us to be much more creative, and enabled us to get ideas out of our heads, and into the real world, sometimes just as proof of concepts, sometimes as real life usable objects. It's a great time to be creating indeed.
I had similar problems with very long and narrow ABS pieces curling up at the edges. I finally solved it with a 600w halogen work light positioned over the print. It keeps the entire print much warmer, reducing the contraction and warping almost entirely. Once the print is finished, I turn the light off, let the bed cool, and by the time I've come back to check on it the part has freed itself from the bed and it's straight as an arrow.
Perfect, Bill. That validates the concept. I have been 3D printing under-cabinet LED replacement fixtures non stop since the enclosure and have had no more issues. Also, I no longer freak out when my wife gets home and opens the garage door, letting the cold air in. I haven't taken any measurements, but the environment inside the printer feels a lot warmer than before.


You forgot the prop spinner spacer.
ReplyDeleteHmmm... I don't think we ever took a picture of that. A ton more things didn't "make the cut", like my rudder pedal extensions and a bunch of Arduino bases to name a few. This technology has certainly empowered us to be much more creative, and enabled us to get ideas out of our heads, and into the real world, sometimes just as proof of concepts, sometimes as real life usable objects. It's a great time to be creating indeed.
DeleteI had similar problems with very long and narrow ABS pieces curling up at the edges. I finally solved it with a 600w halogen work light positioned over the print. It keeps the entire print much warmer, reducing the contraction and warping almost entirely. Once the print is finished, I turn the light off, let the bed cool, and by the time I've come back to check on it the part has freed itself from the bed and it's straight as an arrow.
ReplyDeletePerfect, Bill. That validates the concept. I have been 3D printing under-cabinet LED replacement fixtures non stop since the enclosure and have had no more issues. Also, I no longer freak out when my wife gets home and opens the garage door, letting the cold air in. I haven't taken any measurements, but the environment inside the printer feels a lot warmer than before.
Delete