Left side (22.5 hrs)
Today I'll show you how I repaired the busted longerons. If you don't know or don't remember why they have to be repaired, check out my previous post about it.
I will start with the left one. The right one will be made whole in the same manner.
Here's how it all went down...
The first order of business was to develop the easiest, most reliable, and reproducible way to precisely cut the longerons with a 7:1 ratio. You see, while this cut is pretty easily accomplished over the bench, it is no longer so once you are working suspended in mid air over the fuselage, nevertheless the parts still have to match precisely for the fix to be strong.
After a few failed wooden jig models, I decided to leverage the power of the recently acquired 3D printer to design a precise 7:1 custom wedge that would accurately mate to the longeron, minimize the chances of mistakes and misalignments, and allow me to concentrate on operating the hand saw correctly, instead of keeping track of multiple variables at once.
Ok… I did have to make three of them before I got one that I was happy with, but that seems to be the perpetual theme of this build anyway.
Warning: Some pristine spruce longeron stock was harmed in the testing of these ABS jigs.
 |
| Yep, the nail holes were 3D printed right into the sides. |
Pretty wild, isn’t it? Let see it in action on the fuselage!
 |
| The lower tab was mede for pushing against the sidewall (as depicted). |
 |
| Using a drill to transfer the nail holes to the longeron |
 |
| The small ABS "bridges" ensure perfect placement of the jig on either sides of the longeron |
 |
| The "bridges" get cut away in the process |
 |
| Almost there |
 |
| ABS is pretty tough, and resisted the saw well with only minimal damage. |
I decided to remove the busted foam and fill the space with flox.
 |
| Outer skin left intact to form the new old-shape |
 |
| Tongue depressor wrapped in duct tape forms the back end wall |
 |
| Adding flox |
 |
| Another tongue depressor forming the new inner sidewall (less sanding that way) |
 |
| A day later, with all the masking removed. |
 |
| Same thing after a little sanding |
 |
| Outside view of the floxed part. The marked delaminated triangular piece will be replaced soon. |
Using the same ABS jig on the table this time, I cut the longeron stock that would replace the broken one.
 |
| Last action this jig will ever see |
On the inside of the fuselage I added two UNI plies that replaced the missing inner skin. This part of the repair was a bit of an academic exercise, since a big hole will be cut right over the top of the repaired section to fit the Center-Section spar.
 |
| Red is the UNI patch I just added, purple is the hole I will have to cut for the Center-Section spar. |
With the new inner skin in place, I test fitted the replacement longeron on the fuselage, and with the tiniest amount of sanding I was ready to mix some flox.
 |
| Test fitting the longeron splice |
 |
| Flox added to the joint |
 |
| Longeron splice curing overnight |
 |
| Same thing viewed from below |
The next morning every distant doubt about lack of strength vanished after I tried picking up the fuselage by the new longeron splice uneventfully.
 |
| "Yep, that will do!" |
Now, according to my engineer guide, the most important part of this repair was to take place. The replacement of the UNI outer skin (layer by layer, oriented accordingly to the original specifications) had to be carried out correctly. A lot of this replacement fiberglass would eventually be swallowed by a gaping hole for the Center-Section spar, but some would not, and it would have to tie in to the lower layers as specified on page 3-22 of the plans, section 4.2 (Large Defects).
 |
| How to fix large defects |
 |
| A visual representation of how the fix is to be accomplished |
The first area of concern was a slight delamination of the outer skin. This would have to be cut off and the surrounding area included in the overall skin replacement scheme.
 |
| The top right corner has to go |
 |
| Foam and flox is revealed underneath |
 |
| UNI plies exposed. Note the different orientations of the plies. |
 |
| Corner absorbed into the overall repair scheme. The purple area will be removed for the CS spar |
First off though was replacing some missing foam with micro.
 |
| Damming the corner |
 |
| Building up the foam with micro |
 |
| Whole area prepped and ready |
Then came two UNI plies in the original orientations down to the 3” line, followed by a bigger BID piece extending 1” further (4” line on the fuselage). Plenty of peel-ply went over it all.
 |
| First UNI layer cut to size to the 3" line |
 |
| Peel-ply going over the 2 UNI and 1 BID plies |
 |
| A view from inside the fuselage |
A day later the peel-ply came off, and the repair to the outer fuselage skin was completed.
 |
| Peel-ply removed. Note the large area to be removed for the CS spar. |
 |
| Close up of the repair |
 |
| Repair seen from the front looking back |
The inside of the longeron still laid bare, but would receive one ply of BID, plus one more over it all, next.
 |
| Inner part of the longeron will get 2 plies of BID |
 |
| Area sanded and prepped |
 |
| Pure epoxy mixed with a little Cab-O-Sil to prevent runs |
Cab-O-Sil is a fumed lightweight silica thickener used to reduce the flow of epoxies on vertical surfaces.
 |
| Flox applied from a plastic bag |
 |
| Flox fillet under the longeron |
 |
| 2 ply BID pre-preg |
 |
| Pre-preg folded to follow the contour of longeron and sidewall |
 |
| Pre-preg plastic backing removed |
 |
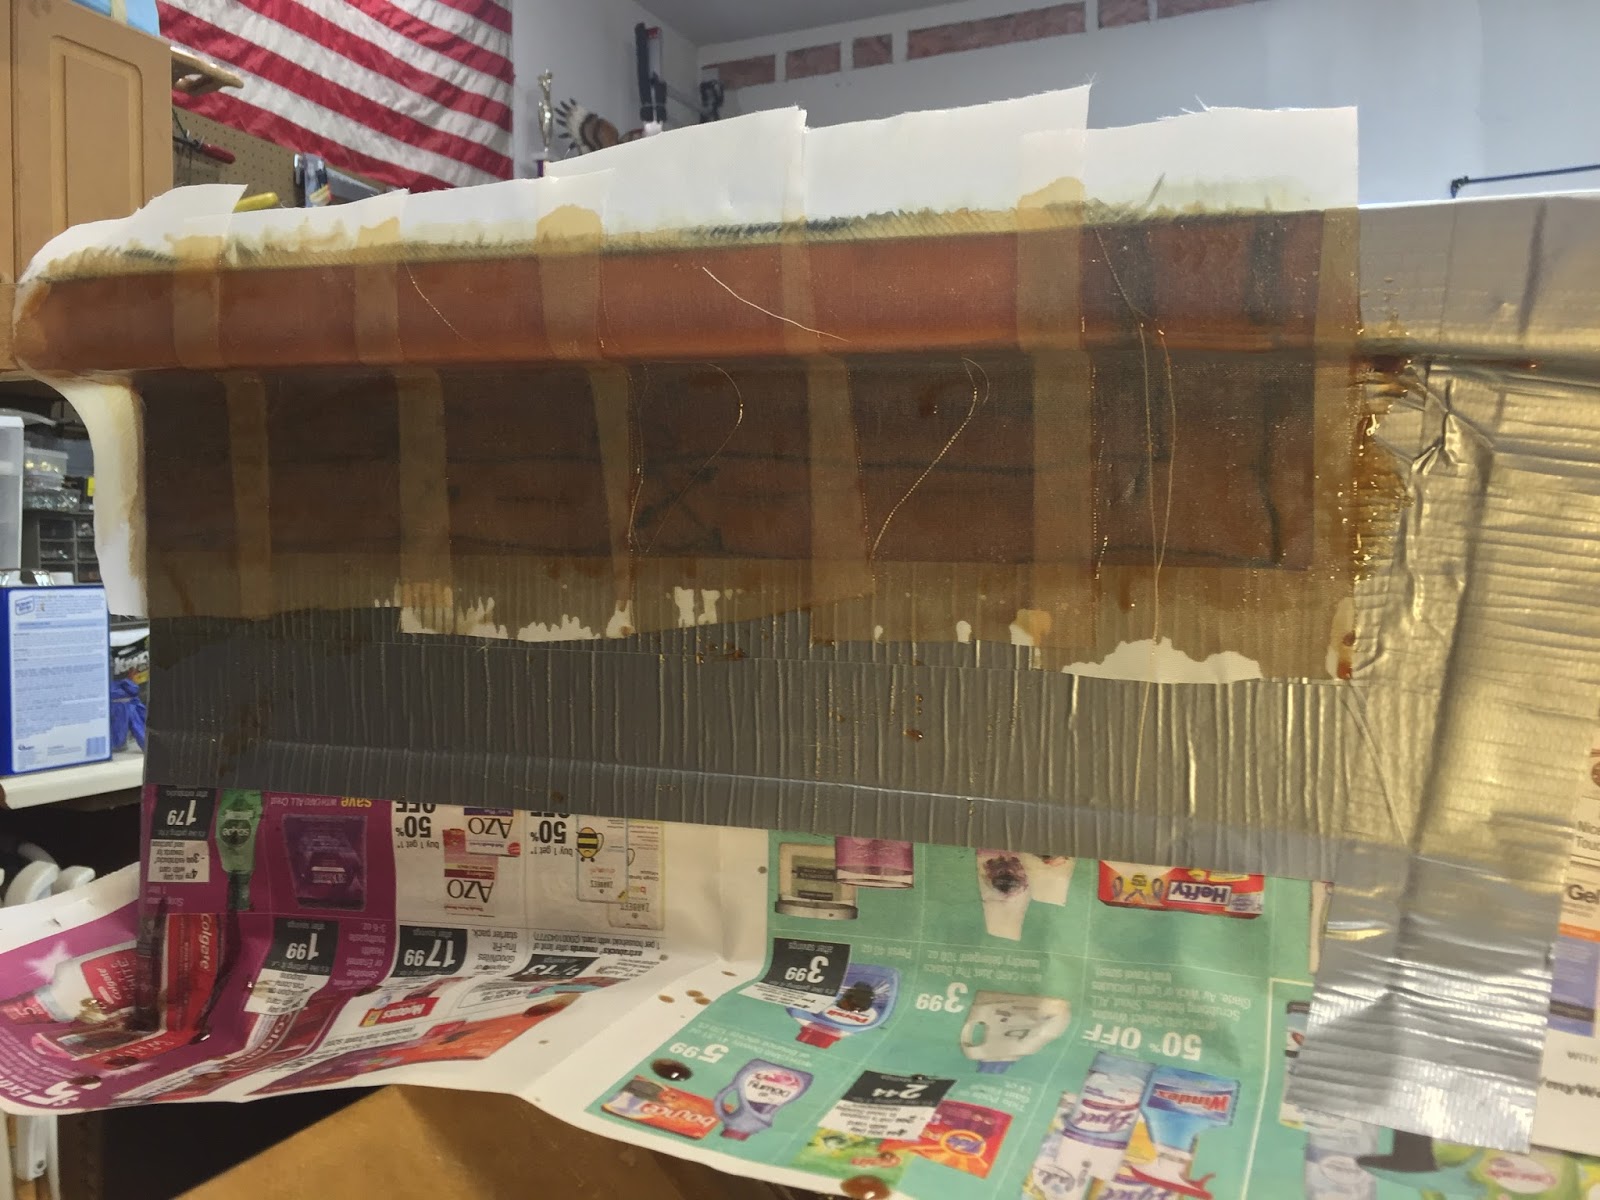
| Peel-ply over the repair for the overnight curing cycle |
After it cured, I removed peel-ply, duct tape, and newspaper. Then I sanded the rough edges smooth, and this is what I was left with...
I'm very happy with the results of this repair.


Marco,
ReplyDeleteVery nice. Love the quality of your work!
Mike
Thanks BizMan, one more of these fixes on the right side and I'll be able to move on :-)
DeleteBeautiful work Bro!
ReplyDeleteYou don't have to say that Wade, I still give you a ride ;-) ... Just kidding Bro, thank you.
Delete