Chronicling my Long EZ construction (and a few other things).
Disclaimer
This blog is for entertainment purposes only, and is not meant to teach you how to build anything. The author is not responsible for any accident, injury, or loss that occurs as a result of reading this blog. Read this blog at your own risk.
Sunday, October 11, 2015
Center section spar - part 4
Prepping for Step 4 (6.5 hrs)
Since fiberglassing the inside of the spar was going to be a big job, I decided to get as much prepared ahead of time as possible, and while it was still fairly easy to do, I also marked all Butt Lines (BL) on the center-section spar, for future reference.
Marking Butt lines every 5" (12.7 cm)
BL 35
BL 55
Next came the 6 aluminum plates (LWA1) that would be bonded to the inside of the spar. The easiest way to cut these 2” (5 cm) wide tabs is to buy a 2” wide strip of aluminum then cut as needed, so that’s what I did.
Marking the aluminum tabs for cutting
Six tabs are required inside the spar
One requirement for these tabs is to have one corner rounded to a radius of 0.100” (2.5 mm). Since I butchered my first attempt at sanding such radius on the first tab, and sanded part of my my gloves, I decided to leverage technology in order to make the job easier, and to preserve my digits.
Cutting the LWA1 radius with a CNC mill
The result speaks for itself…
That is exactly a 0.100" radius
Over and over and over...
With the radius situation under control, I scuffed all the tabs, and Alodined them.
A bit Neandertal after the previous CNC operation
This Alodine is a bit weak
Alodine is pretty expensive, and degrades quickly over time. My one year old Alodine required 15 minutes for a thin covering, while 1 to 2 minutes was normal when new. Anyway, next item on the list was to make the interior bulkheads CS6 and CS7.
Finding a scrap piece of foam that fit
Here's a brand new bulkhead
Finally, I cut all the fiberglass I would be needing.
Scraps of cardboard taped together to make a fiberglass cutting template
BID getting marked at 45˚
BID for layup #2 getting cut
Cutting the BID for layups #3 and #4
Testing the BID of layup #4
Testing the BID of layup #3
Cutting the UNI for layups #3 and #4
Testing the UNI of layup #3
Testing the UNI of layup #4
All fiberglass and bulkheads sealed in ziplock bags awaiting "the day".
CS7 inner bulkhead and fiberglass in a ziplock bag
CS6 inner bulkhead and fiberglass in a ziplock bag
Fiberglass for the outer bulkhead CS5 in a ziplock bag
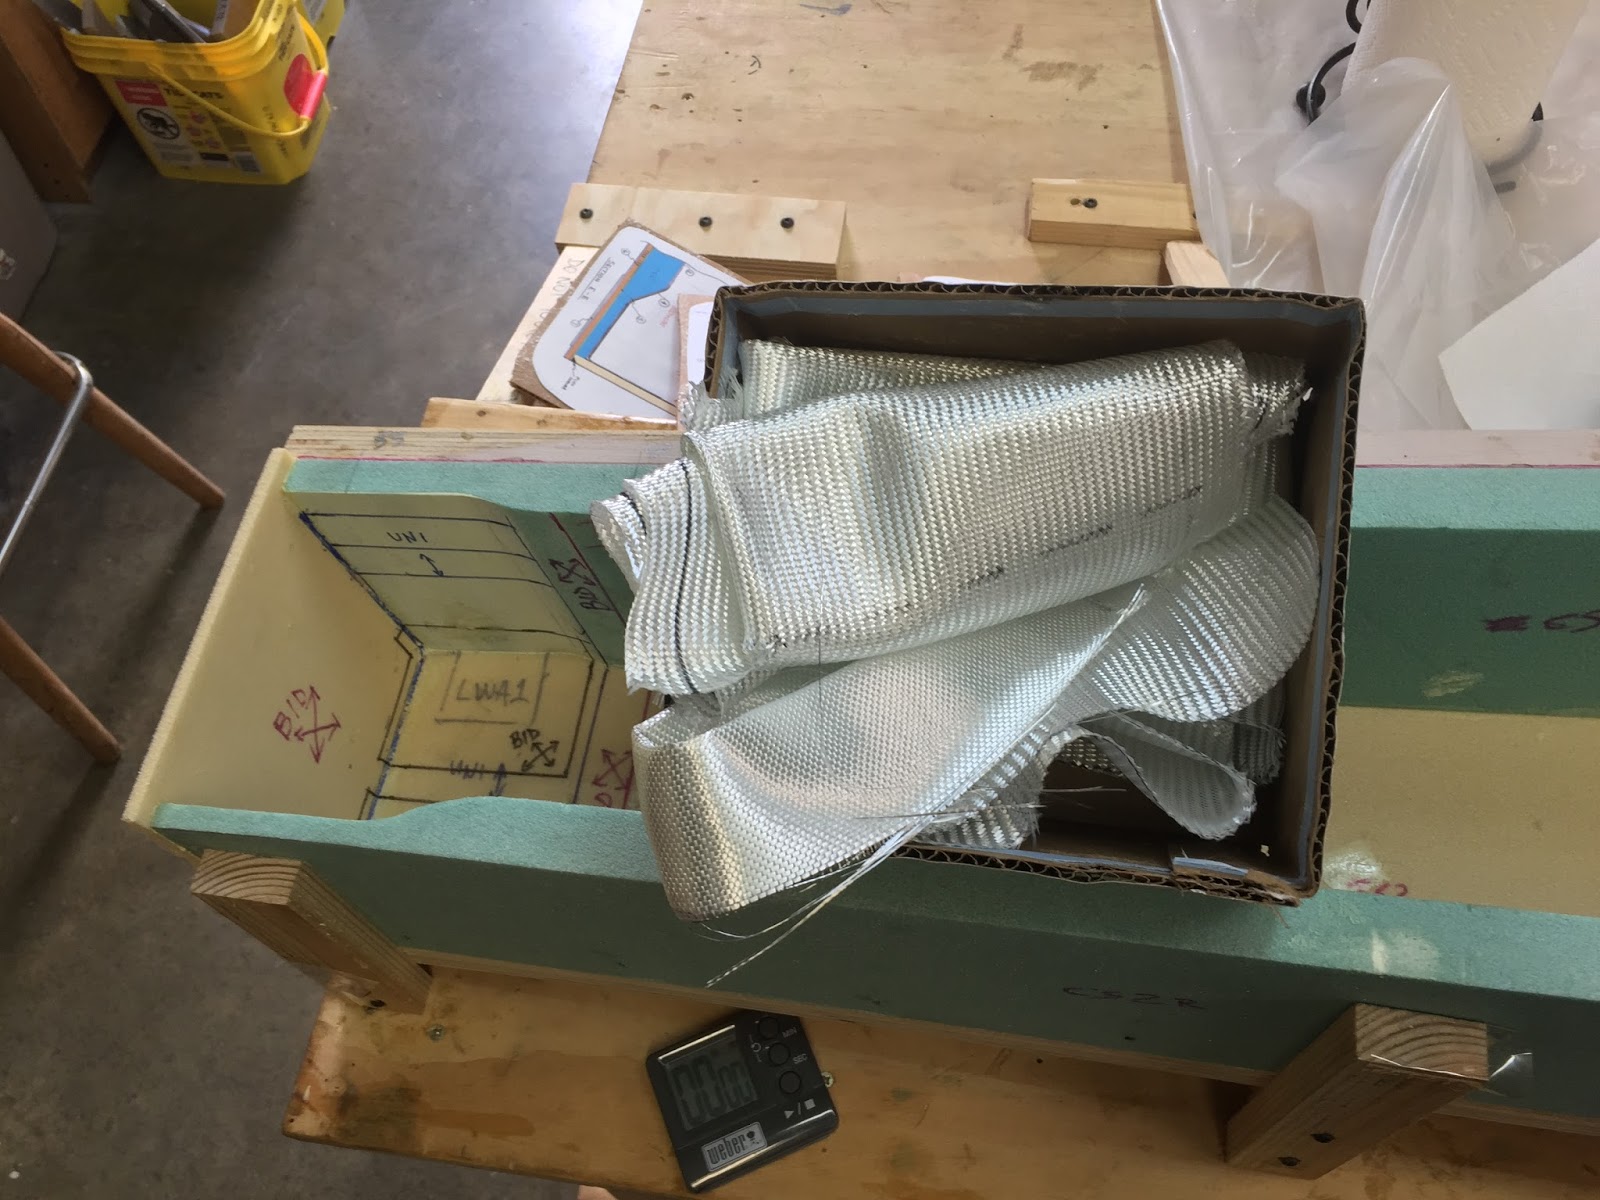
Fiberglass for the outer bulkhead CS8 in a box (I ran out of ziplock bags)
The plans require the use of a 5 lbs (2.3 kg) weight over each tab during cure. However, because of the slant in the spar, the weights tend to slide off the tabs. One excellent tip I received from BizMan was to fashion some kind of device ahead of time, in order to keep the weights from moving. Introducing the EZ-Puppy…
Leveling the legs
This system actually worked great
Being a four legged animal adept at carrying weight, it should have perhaps been named the EZ-Mule. One last small tip I picked up from Valerie Harris from EZ-Jets, was to cut the handle off the paintbrushes in order to reach inside the spar more easily.
That's how you know Valerie has done this many times
I would grow to appreciate her advice over the next couple of days.


No comments:
Post a Comment