The jig (15.5 hrs)
Welcome to chapter 14.
This is a very important chapter, because I will be building the center section spar, the real backbone of the airplane. Most of the important parts of the plane like wings, fuselage, and engine connect here, so it is paramount that it is built correctly.
The wing spar is basically a rectangular box with swept ends, and it is initially assembled facing upward in a wooden jig. Get the jig wrong, and your spar will be just as wrong, so it behooved me to invest as much time and effort as necessary in doing it right.
One of the clues to how important this jig is can be gleamed by the dimensions specified in the drawings. All dimensions are given to the hundredth of an inch!
 |
| Measure with a caliper, cut with a table saw! |
I am no carpenter, but I’d be willing to bet that not a lot of carpenters make pieces of furniture to that kind of accuracy. Nevertheless this is our path forward, so I’ll be striving to be as accurate as possible.
Normally, I would have gone to the store and bought some cheap plywood to erect this temporary structure, however I still had some suitable scraps of cabinet-grade plywood around the shop, leftovers from building the heated epoxy box and the fiberglass cutting table. These had been sitting around for 4 years awaiting some good use, and they were already paid for, so they were called for duty. They will be suitably reused in other parts of the project when this jig is no longer needed.
The only issue with this plywood was that it wasn't 100% straight (more like 95%), but I decided to use it anyway, and to take care of it during the assembly.
Task #1 was to recreate the exact measures from the drawing onto the wood, cut it as close as possible to the lines, then sand where necessary.
 |
| Following the pencil line with the right edge of the fat part of the saw blade's teeth. Yikes! |
 |
| Manning the table saw |
It helps to have a lovely assistant for tasks such as these…
 |
| Thank goodness for the help |
To avoid having to draw and cut everything twice, I doubled up the plywood, screwed the two pieces together, and cut along the lines with the help of a straight edge.
 |
| Two boards screwed together |
 |
| Same two boards after a couple of cuts |
This method was not as precise as I had hoped, and left a 0.047” (1.2 mm) saddle, that I later filled with Bondo, and sanded to flatness heaven.
 |
| This edge will be used to shape the foam to size, so it needed to be repaired. |
To help hold the vertical back piece D (I actually used two half pieces for this) perpendicular to the table, I bought some 90 degree steel bracket.
 |
| Bomb proofing the jig |
They turned out to be a bit off right out of the box, but after a good beating they changed their minds and decided to get on with the program.
 |
| This might be good enough for a bookshelf |
 |
| There we go, all better now! |
Before erecting part D, I attached the two halves together on the table, with the help of a straight edge.
 |
| Attaching the two D halves |
 |
| Joint closeup |
While I was at it, I screwed 2x4s on its back to ensure it would remain straight once vertical.
 |
| That's what I'm talking about! |
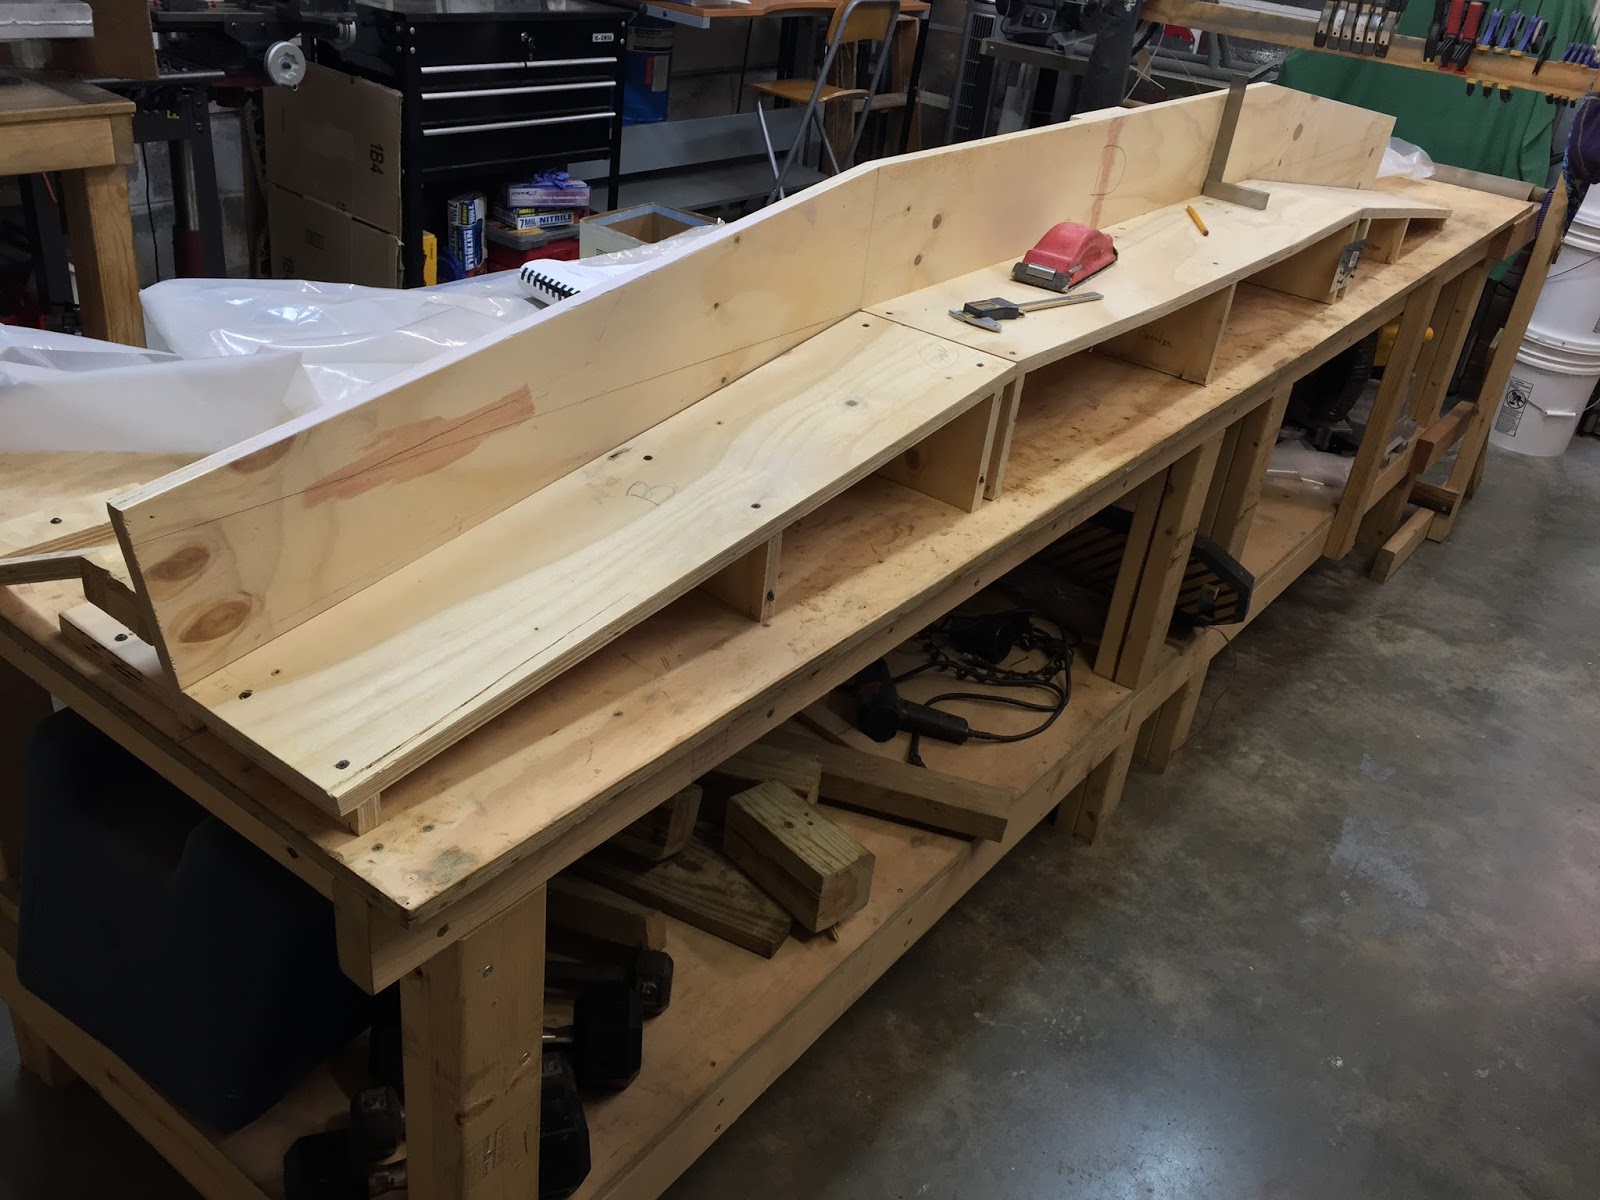
Next, I cut and assembled the remaining pieces of the shelf (A, B and C), and the supports (E,F, and G) that went under them, then performed the Bondo magic trick.
 |
| The jig and its components |
 |
| Adding Bondo to level the shallow saddle |
 |
| Sanding the Bondo flat |
 |
| The completed jig |
Everything got screwed to the tabletop, with enough screws to be able to withstand a nuclear blast.
 |
| This jig not going anywhere! |
I had to do some minor tweaking at the very ends, where the plywood was ever so slightly out of square, but it was pretty easy to do, and it was all brought back to resemble a cartesian dreamscape.
 |
| Minor adjustment |
 |
| Both ends needed a tiny help |


No comments:
Post a Comment