Glassing the left fuselage side (11.0 hrs)
Wow, was that a BIG job!
Well, at least the biggest so far.
This baby gulped epoxy faster than I could mix it!
But, let’s back up a few hours... starting with planning the layup.
 |
| Planning the UNI cuts |
It turns out that just two pieces of UNI are enough to cover the whole side-panel. Multiply that by two, since the layup requires two plies.
To cut down on the mess, I borrowed my friend’s Wade idea of masking the edges with duct tape. That worked very well, as there was a lot of runoff.
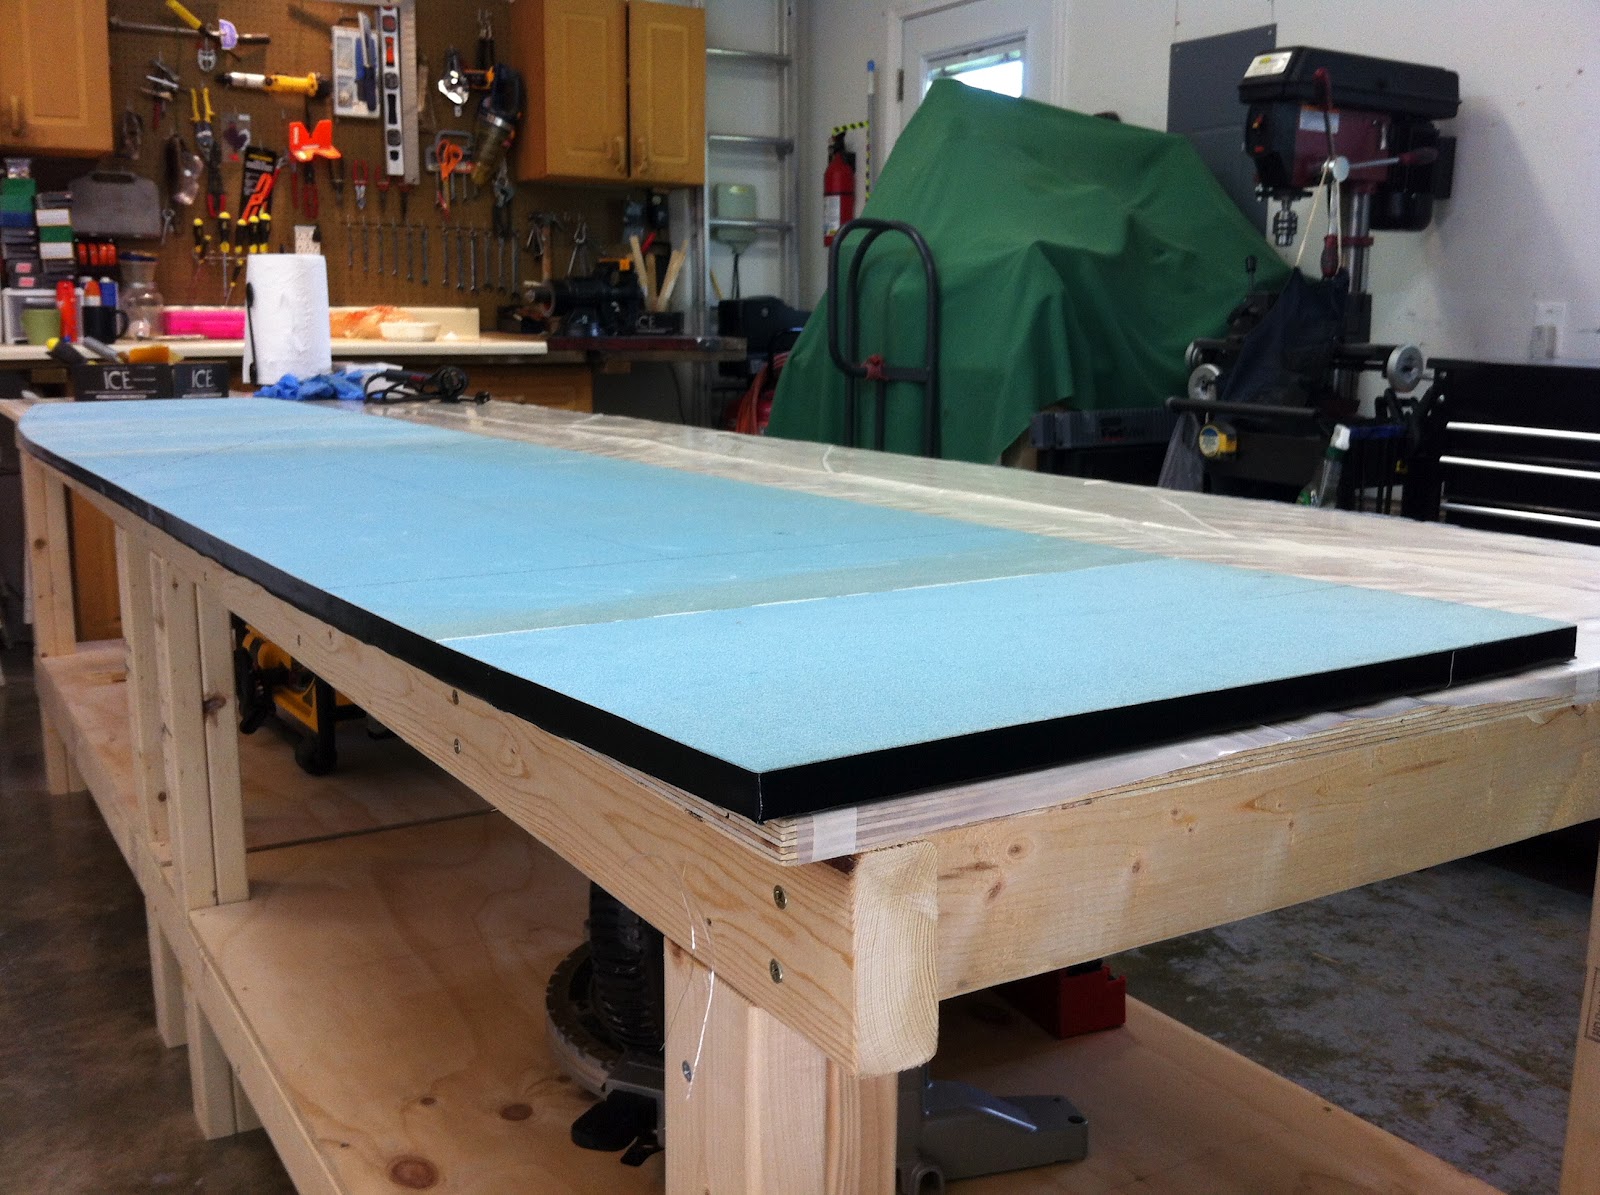 |
| Taped edges |
Unfortunately I was too busy mixing epoxy, spreading it, stressing out about it getting hard before I could finish, running out, mixing some more, etc., to stop and take pictures of the process.
Really, it was the same basic idea as previous layups, actually easier since the panel was flat, but the size of it added an extra dimension (no pun intended) to the process.
After I finished glassing, I mixed some flox, buttered up the longeron, and pressed it in place, then added some weights to it, and let it rest overnight.
Before shutting down for the night, I peel-plied everywhere I thought I might need to later attach anything.
 |
| Longeron in place |
Back in the house, looking at Walter’s pictures, I realized I forgot to peel-ply in front of where the spar will go. So, I went back in the shop while the work was still wet, and quickly added some.
 |
| There's always one... |
That was a good save!
For some reason, seeing the black lines I had drawn on the foam through the fiberglass, was more difficult than usual. Since I was getting tired, and was having a hard time determining where LWX and LWY (wood pieces) should go, I peel-plied the whole back section, and “lived to fight another day”.
The next day I removed the peel-ply, and spent the rest of the morning picking at the peel-ply strands that did not come off, using razor blades, scribes, sandpaper and such.
What a colossal waste of time that was!
I’m starting to hate the quality of this peel-ply, since the time I should be saving by not sanding, I am instead using trying to remove little elusive and embedded peel-ply strands.
 |
| Inner left side of fuselage |
The next thing to do was to redesign the whole gear mount geometry back there. That took quite sometime, as it did the first time, but it eventually came together, and I marked the positions on the hardened fiberglass.
 |
| Head scratching time |
One last trial fitting session was in order before committing to flox.
 |
| Looks good to me! |
Finally satisfied, I floxed LWX and LWY in position, and put some weights on them.
 |
| LWY with flox |
 |
| LWY in position |
Working on the opposite side of the side-wall, I was able to knock out another item, the glassing of the longeron. This consists of 3 plies of UNI (0˚) covering the stiffener area, and 1 ply of BID (45˚) covering the whole longeron, including the aforementioned UNI plies.
 |
| Cutting BID strip at 45˚ |
 |
| Glassing the longeron |
All in all, not a difficult job, but I eventually got into a struggle for supremacy with an air bubble, and spent quite a considerable amount of time, and brain cells, figuring out how to squash it.
I am still not sure if it is gone or not. I guess I’ll find out in the morning.
So, here's how far I’ve come in the past two days.
 |
| Done for the day |
Barring any other slowdowns, tomorrow I’ll be working on the bottom longeron.
No comments:
Post a Comment