Antennas (9.8 hrs)
To make a long story short, I decided not to mess with success, and go with a proven setup.
As many before me have done, I will bury my Localizer/VOR and Glide Slope antennas under the top skin of the canard. Being that fiberglass is transparent to radio waves (carbon fiber is not, mind you) this is a perfectly acceptable practice, and it is indeed a smart thing to do. I will also bury two COM antennas in the winglets, and perhaps a spare VOR antenna into one of the wings.
All antennas on the plane will be made out of a roll of very thin copper strip I purchased from RST engineering, and have to be assembled. Jim Weir ships a CD with very thorough instructions, but it can also be downloaded for free on his website.
Jim's kit is not expensive and includes enough copper tape and ferrite baluns to make all the antennas on the plane. The length of each antenna is determined by the frequency at which it is trying to receive/transmit, and its aspect ratio (length/width) determines the bandwidth. The wider the copper foil is in relation to its length, the larger the bandwidth.
The 22.8" (57.9 cm) length of the VOR/LOC antennas corresponds to the middle frequency of the VOR/LOC range 113 MHz, and the width of the copper strip allows it to stretch its reception to both ends of the frequency spectrum (108 MHz to 117.95 MHz). The GS dipoles are only 7.5" (19 cm) since the center of its frequency band is roughly three times higher.
The one thing that cannot be substituted in this installation is your typical home coax cable. Home coax is a 72Ω cable, and will not work well with aircraft radios. The correct choice of coax is 50Ω cable, with the most popular being the cheap RG58. I chose to go with the more expensive RG400 for upward compatibility, just in case my future radios might required it, and found a reasonably good deal on eBay on 100 feet of it.
 |
| One hundred feet of RG400 coax cable |
 |
| Cutting one of the two dipoles of the VOR/Localizer antenna to the proper length |
 |
| Getting the geometry of the antenna fixed |
 |
| Before soldering |
 |
| Voilà! One VOR/LOC antenna completed. |
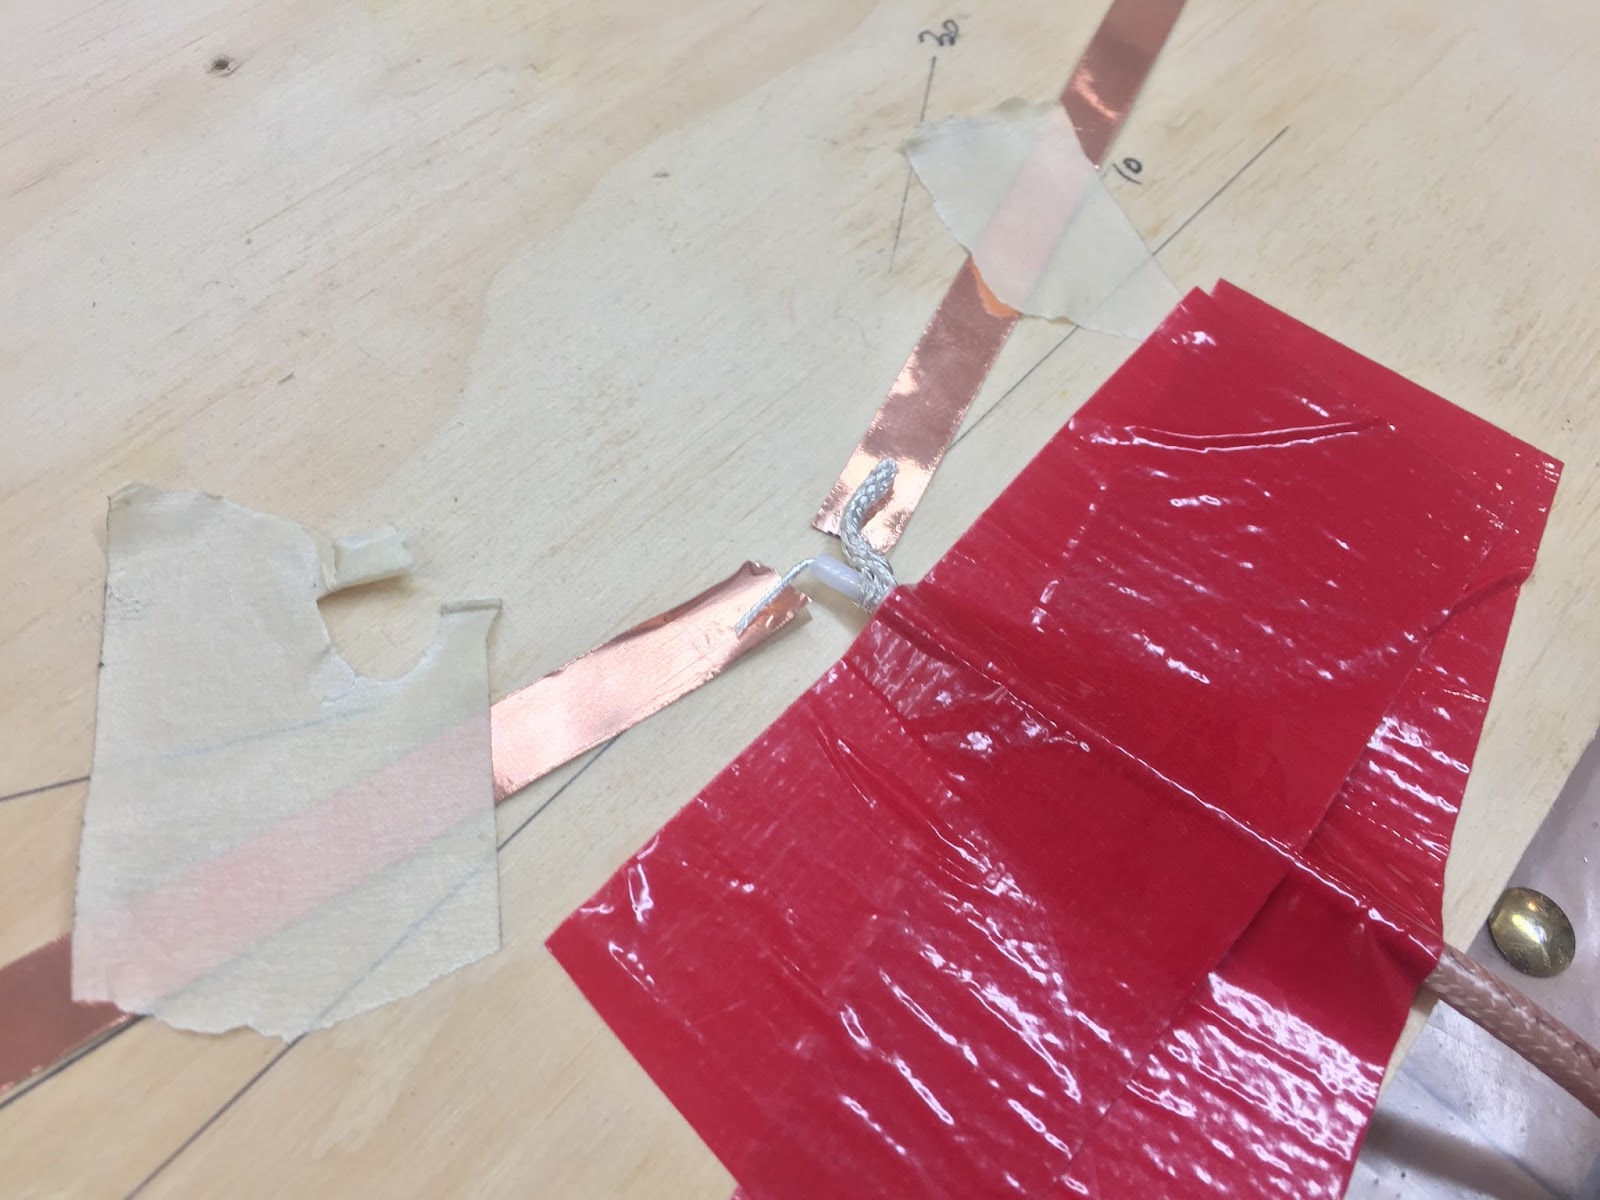
These antennas are mounted with a 10º to 30º angle in order to negate the null reception zone at the tips. I used an angle as close to 30º as possible for the VOR/LOC antenna, but only 10º on the GS antenna since the Glide Slope station is always in front of the airplane during an approach.
 |
| Getting the antenna and cable run situated |
 |
| I stole the toothpick trick from my builder buddy Wade |
 |
| Glide Slope antenna finished |
 |
| More toothpick action |
To separate the shield from the inner wire, one might unbraid the shielding, or pull the inner core out through the shield.
 |
| I started by pushing the outer conductor back... |
 |
| ...and used a pick to open up a small window... |
 |
| ... then bent the cable... |
 |
| ...and helped myself again with the pick... |
 |
| The inner core was out in no time |
The baluns sole purpose is to keep reflected power from traveling down the outside of the coax braid and radiating or reflecting into the rest of the airplane’s electrical system along the way. Three of them are able to stop 99.99% of this energy, and like the wires they get buried into the foam, then microed over.
 |
| I picked this 0.25"x0.25" tool from the Dremel box |
 |
| This foam is no match for any tool |
 |
| Cable, baluns, and soldered ends were sunken into the foam. |
 |
| Another look at the VOR/LOC installation |
 |
| Here's the Glide Slope installation |
 |
| GS antenna from above |
I made my antennas exit the back to the canard about 3” left of centerline since the radios will be on the left side of the instrument panel.
 |
| A panoramic view of both antennas from above |
 |
| Using dry-micro to cover the GS installation... |
 |
| ... as well as the VOR/LOC |
 |
| Coax cables exiting the canard from the trailing edge |
For the coax cables to exit the canard I took the unusual step of creating a "flox blob" through which they would exit. This way skinning the top of the canard would be easier, and I won’t have to cut holes in the fiberglass in order to thread the wires through while glassing. Think of it as a big flox corner with coax wires running through the middle of it.
 |
| Building up a structural cover for the coax |
 |
| As seen from the leading edge |
 |
| Flox blob sanded down to a nice transition |
 |
| Fiberglass will make a structural bond here without the need to cut holes in the cloth |
Next time I will glass the top of the canard, thus the main canard build will be over. Non structural tips will get added later on.


No comments:
Post a Comment