Wheel well mod #1 (17.2 hrs)
I was expecting the same poor fit with the nose wheel cover (NB) as I had encountered with the strut cover (SC), and I was not disappointed. The blame for this was mostly mine of course. Deciding to retract the nose wheel completely within the nose structure (as it should be) caused the strut and tire to end up further upward than the pre-made SC and NB would allow for.
Since deepening the strut cover worked so well, I decided to use the same technique to make the wheel well deeper also. I started by slicing NB near the bottom flange, where the curvature was minimal.
 |
| Cutting about 90% of the flange |
To make sure the tire wouldn’t touch the top of NB, I added a foam spacer before capturing the geometry with aluminum tape.
 |
| Foam spacer |
 |
| Amount of space to make up |
 |
| New geometry fixed with aluminum tape |
With the new dimensions locked in, I added tape to the other side, then removed the original tape from the side I needed to fiberglass.
 |
| Tape added to the opposite side |
 |
| Original tape removed |
The bottom flange was a little flimsy, so I nailed some tongue depressors to the foam in order to prevent the bottom flange from deforming during the cure process, and remain aligned with the actual opening.
 |
| Tongue depressors to frame the wheel opening |
 |
| Test fitting the enlarged wheel cover |
Using two plies of BID I closed the gap, then rested the new NB temporarily in its final location, after duct taping around the hole.
 |
| Adding the usual release tape |
 |
| BID and peel-ply added to the cover |
 |
| Wheel cover curing |
 |
| A different perspective of the wheel cover location |
The next day, after curing, I spent some time removing the aluminum tape from the tire side. As usual, the tape did not cooperate, and the task took a lot longer then it should have because of all the small pieces of aluminum left everywhere. I’m starting to have some mixed feelings about this kind of tape, it’s easy to put in, but tends to rip when one tries to take it off.
 |
| Note the pieces of torn aluminum tape stuck everywhere in the gap |
With the tape finally removed, I sanded the surface of the gap, and filled it with flox. After another overnight cure cycle, I sanded it all smooth, like nothing had ever happened.
 |
| Sanding the flox I used to patch up the tire side of the gap |
 |
| NB deepening mod complete |
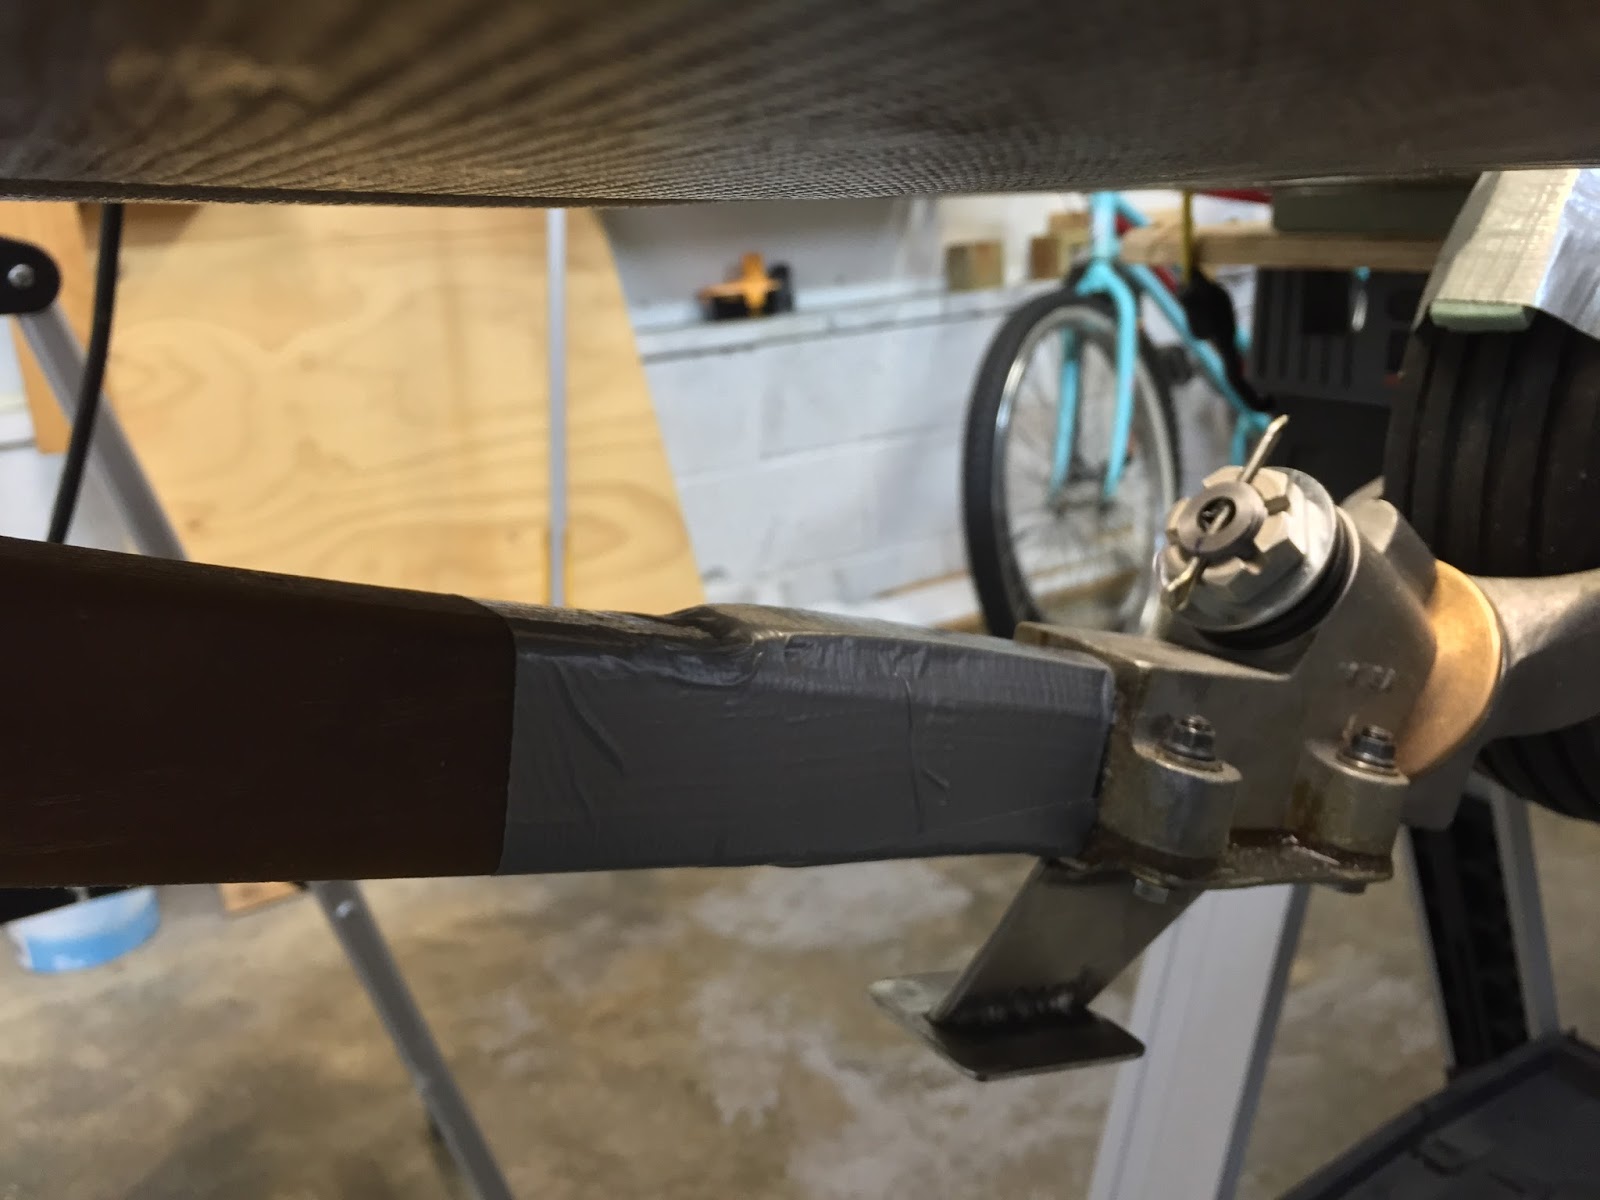
Meanwhile, I had more unfinished business in the form of another gap, the one I had cut into the fuselage floor. The reason for this was to allow the gear leg to come up further up into the nose, but it was time now to close it up.
Just as I did with the tire, I added a foam spacer to the strut to allow a little clearance space.
 |
| Foam spacer under the duct tape |
 |
| Foam spacer sticking well above the fuselage floor |
This accentuated the need for a flox ramp over which to straddle the fiberglass that would close the gap. So, I went to work on the two ramps.
First, I created two dams for the flox using old squeegees, then mixed and poured the flox.
 |
| Flox dams |
 |
| Flox ramp |
 |
| Same thing on the other side |
These of course needed to cure overnight, but the next morning I was able to go to work shaping them with a Dremel sanding wheel, until they were as seamless as possible.
 |
| Flox ramps smoothed out |
 |
| Right flox ramp closeup |
 |
| Left flox ramp closeup |
I was very pleased with how the ramps came out, and started prepping for the glassing operation by taping where needed while the nose gear was still extended.
 |
| Masking the bottom side with duct tape |
 |
| Duct tape masking on the top side |
After raising the nose gear, I closed all the remaining openings with Plastalina. I had used this material in the past when I made the speed-brake, and found it very useful, although it always left a greasy film that needed to be cleaned up later.
 |
| Filling the voids |
To straddle the floor gap, I used one ply of Kevlar within two plies of fiberglass.
 |
| Pre-preg |
 |
| Hole patched |
After one more night of curing, I was able to extend the nose gear, and start removing the Plastalina.
 |
| Plastalina needing to be removed |
 |
| Fuselage turned upside down and Plastalina removed |
The final step in closing the gap was to glass the opposite side, and tie it to the strut cover structure already there. This was done with two plies of BID, after sanding all surfaces down.
 |
| Nose gear leg channel sanded |
 |
| Two plies of BID finishing the gear channel |
A little trim and a bit of sanding the next morning, and this channel was bridged.
 |
| The 4 plies of BID (2 on either side) reduced the size of the channel slightly |
 |
| There is obviously more work to be done in this area |
 |
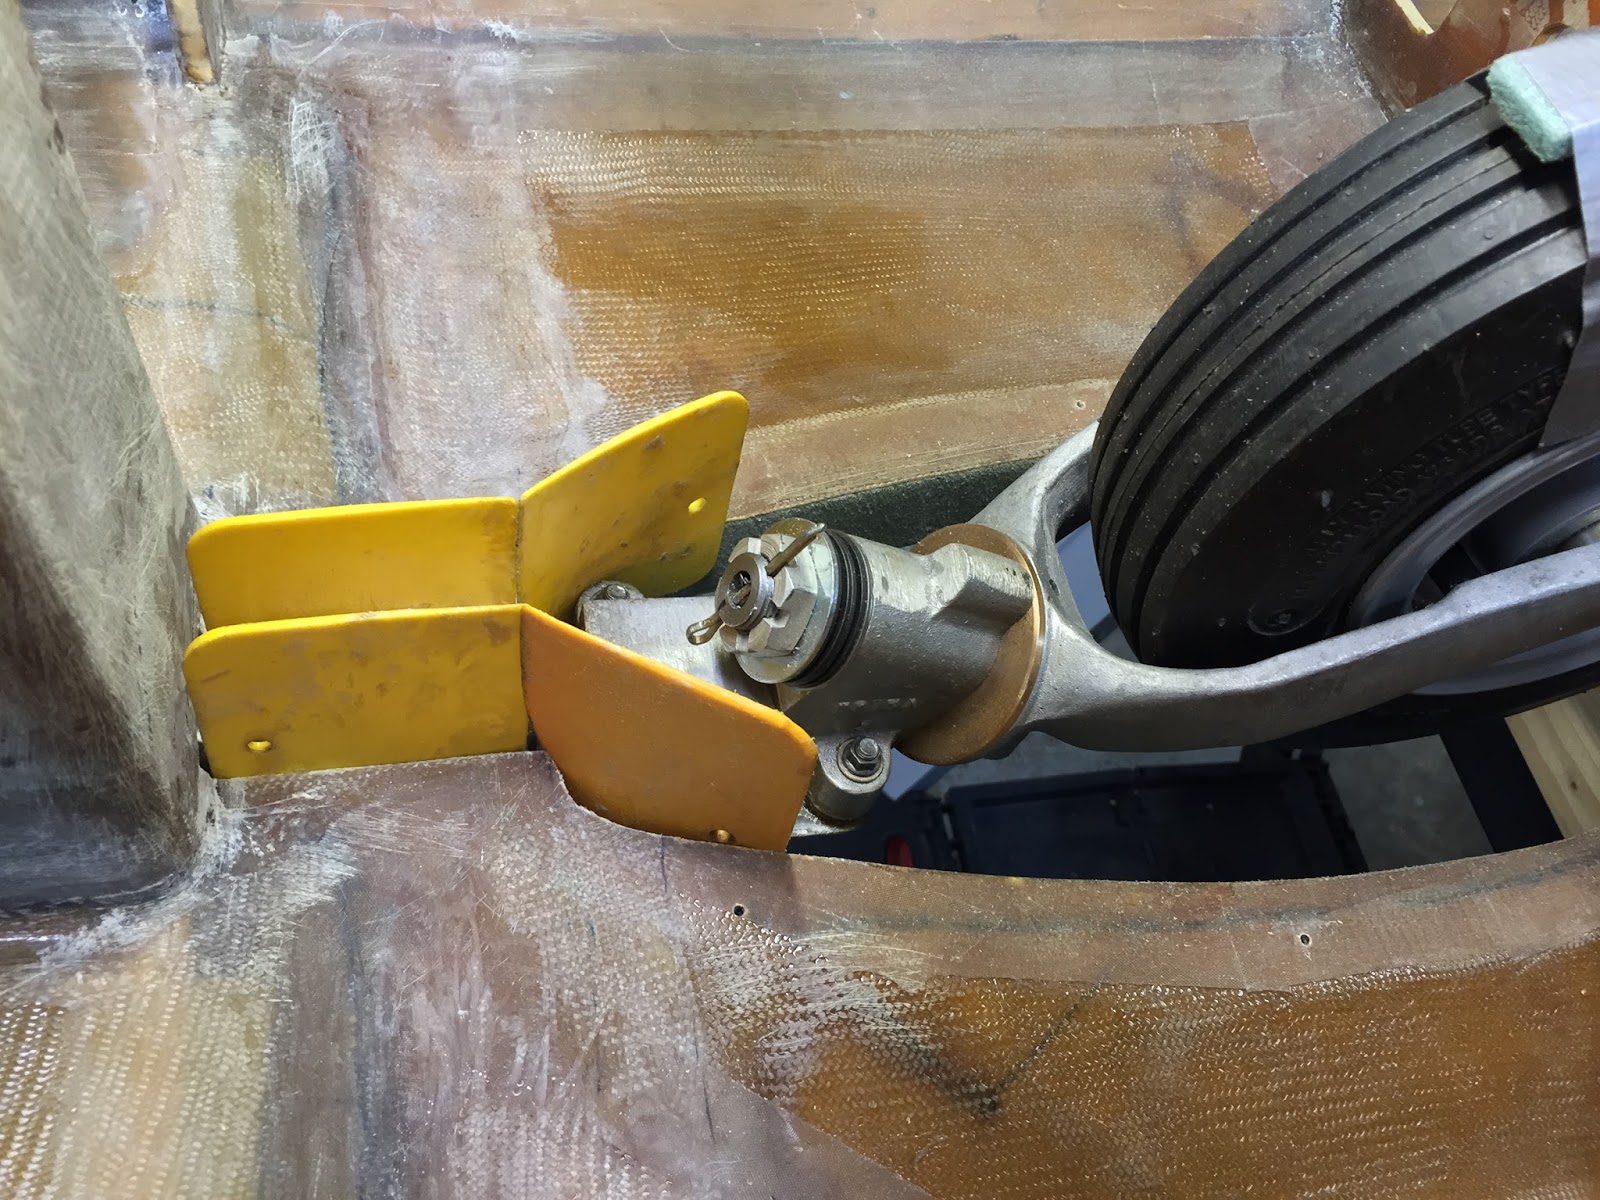
| I was a bit worried about the fit... |
 |
| ...but it turned out perfect |


No comments:
Post a Comment