Chronicling my Long EZ construction (and a few other things).
Disclaimer
This blog is for entertainment purposes only, and is not meant to teach you how to build anything. The author is not responsible for any accident, injury, or loss that occurs as a result of reading this blog. Read this blog at your own risk.
Friday, May 09, 2014
Nose and nose gear - part 5
Making NG-8 (and NG-5) the hard way (27.9 hrs)
With the mill mostly completed, the time has come to enlist its services in the production of the first few airplane parts, and since I’ve still got a lot of learning left to do, I tried stacking the odds in my favor by selecting two easy part to make, at least in theory.
NG-8 and NG-5 are mostly a 2D cutting job. There are a few holes, profiles, and some chamfering to top them off.
What could go wrong?
I’ll concentrate here on NG-8, since NG-5 benefitted of all the lessons I learned in producing the former.
What I was trying to achieve
But first, the two flat panel (NG-30) that make up the nose structure needed to be drilled and sanded together to ensure they’d line up later on. That's what the NG-8s will attach to.
Matched drilling the 2 nose frames
Cleaning up NG-30s while mated
Getting back to the story... NG-8’s are aluminum round plates (2 needed) that flank the nose gear hinge mechanism (NG-6A), and bolt on the NG-30s.
NG-8 plans' description
NG-6A nose leg hinge casting
Left and right nose frame structures (NG-30)
I cut two aluminum blanks on the band saw, and went to work.
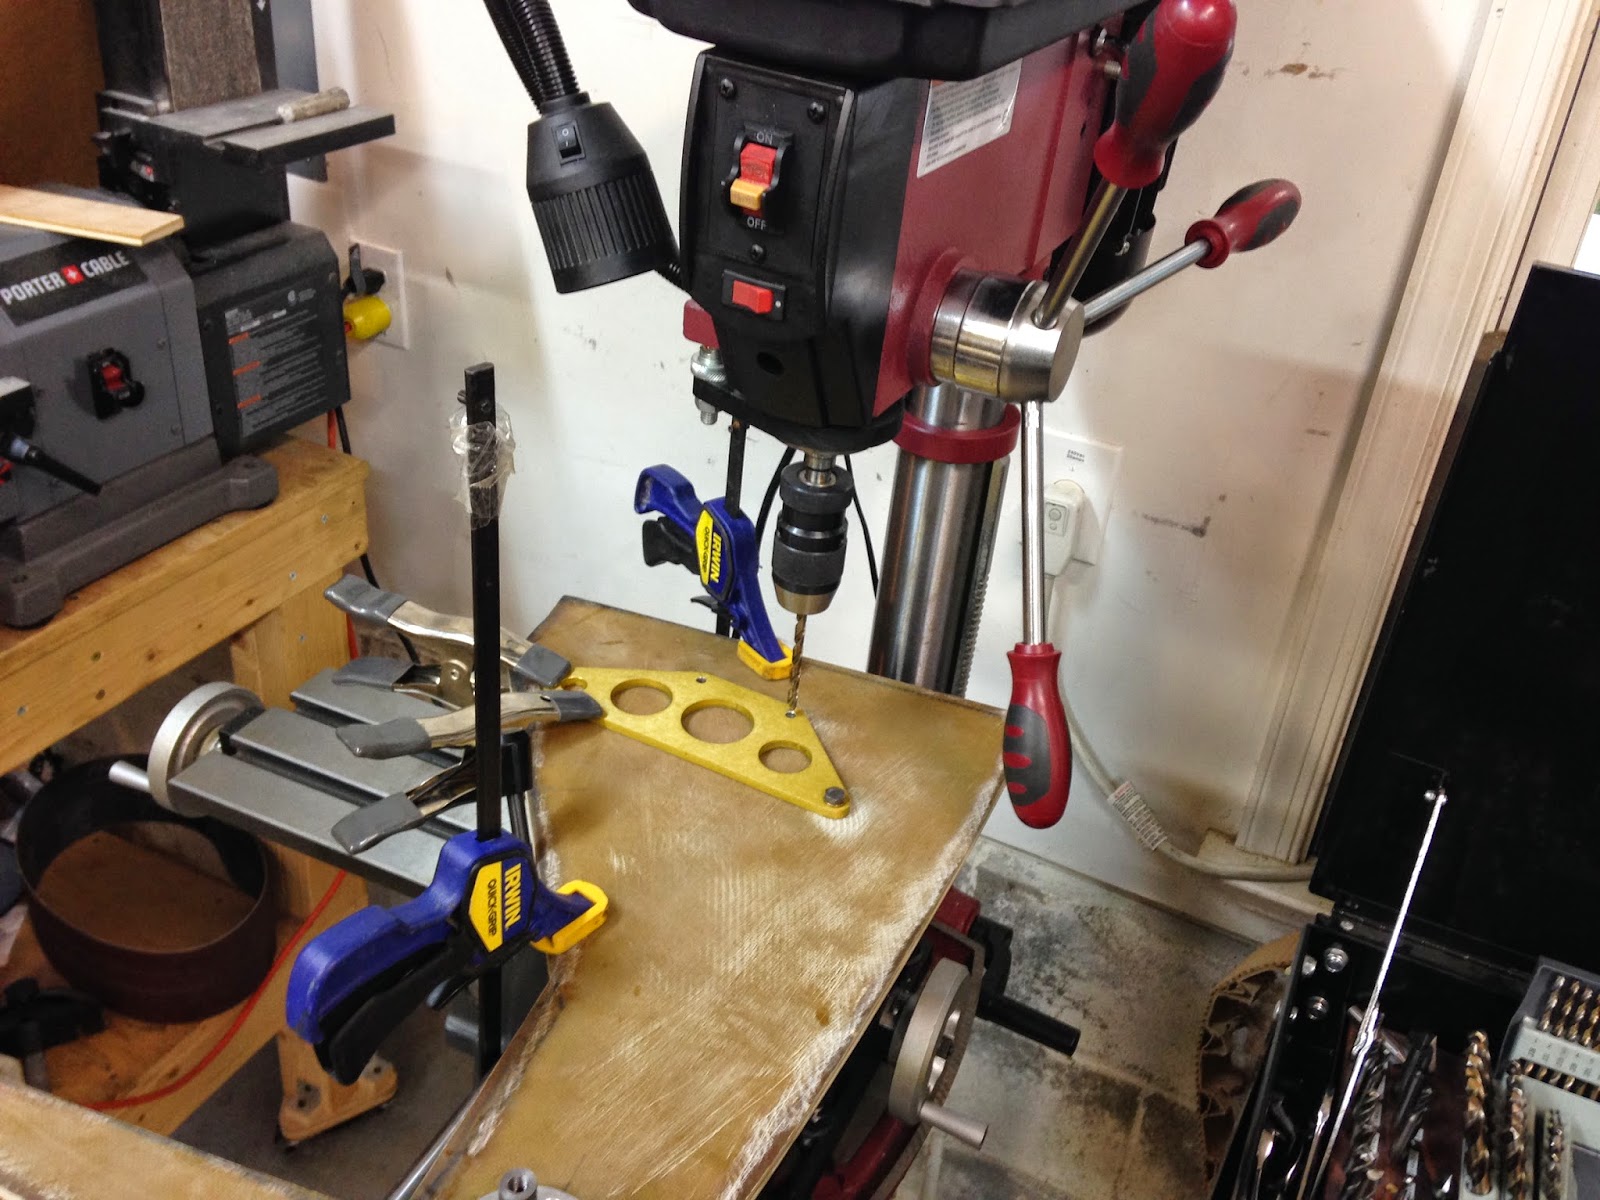
NG-8s in the making
The way things really went!
The engraving was a bit of an overkill since it won’t be visible from the outside, but what the hell, I think they look cool anyway.
Long EZ jewelry
It's hard to photograph something that shiny
Obviously, I could have knocked both NG-8s out in about an hour, had I done it by hand, instead of the 2 weeks I spent working on them. But that’s not the point. I learned a lot from making them, and NG-5 took just 2 hours, and produced no scrap pieces. Still a bit long, but exponentially shorter.
The lesson on fixtures was also not lost on me, and that’s the first thing I made (on the back side of the NG-8 one) when I made NG-5.
NG-5 fixture
Perfect countersinking on NG-5
Test fitting NG-5 to NG-6A
Next, I mounted the NG-8s on the nose frame.
Marking the hole locations
Drilling the 4 NG-8 holes
Screw inserted to prevent NG-8 rotation
Outer NG-30 pivot point hardware
Same thing on the inside
NG-8s might never be seen again
I still had the holes on the actuator brackets to transfer onto NG-30s, so I started drilling on right one.
Transferring the bracket holes to the nose frame
Later, I mated it with the left one and went through all holes once again with the drill press.
NG-30s bolted together for further drilling. Motor depressions on the top are now evident.
Same thing, different angle.
Drilling the top bracket holes through to the bottom NG-30
Last to get drilled were the clearance holes at the very top (1”, 2.5 cm), for the actuator hinge bolts.
The biggest drill bit I own
All the holes are now drilled. The dark areas mark 34 layers of BID, and one of Kevlar.
All there was left to do was to bolt them all together, and see how they all fit.
Nose structure completed
Left view of the nose structure
The depressions in the foam to clear the motor gearbox worked out perfectly
Thanks for the feedback Jonathan. You are absolutely correct, NG-8 and NG-5 are some of the most exposed parts of the Long EZ, and will probably see a good deal of wet conditions during their service life. I have actually just finished alodining them, as well as some aluminum parts of the landing brake. Look for them in one of the next posts.


Loved the videos. You should consider alodining the NG-5s and NG-8s, if nothing else for piece of mind.
ReplyDeleteThanks for the feedback Jonathan. You are absolutely correct, NG-8 and NG-5 are some of the most exposed parts of the Long EZ, and will probably see a good deal of wet conditions during their service life. I have actually just finished alodining them, as well as some aluminum parts of the landing brake. Look for them in one of the next posts.
ReplyDelete