Upper tabs (17.3 hrs)
The main landing gear bow will be suspended by 4 fiberglass tabs. Half of each tabs wraps below the gear bow, the other half wraps above it. In the last post I finished the lower portion of all 4 tabs, this post will describe how I completed the upper portion.
The blocks I used to suspend the gear upside down were swapped, and they turned out equally adept at holding the bow right side up.
 |
| The gear bow is a heavy, and squirrelly thing to try to hang on to. |
As usual, the work began by painting pure epoxy over the sanded fiberglass, then I added flox in the deep throats formed between the bow and the lower tabs. This flox fillets are structural elements that also make it easier to lay the new plies in tight corners.
 |
| Lower tabs ready to meet the upper tabs |
A set of 13 plies of UNI went in first...
 |
| Initial UNI layup |
... followed by 14 more...
 |
| Full complement of UNI |
If this looks like more plies than usual, you can find out the explanation why I decided to do it this way 2 posts ago.
Next came the BID squares, 13 + 14 plies twice. The reason I split them up is because it's very difficult to wet more than a dozen plies at a time.
 |
| Upper tabs, inner BID layers wetting very slowly. |
These were added to the inside of the tabs, and peel-plied over.
 |
| Left upper tabs layups competed |
Two square plywood scraps held everything in place overnight.
 |
| Plywood, plastic sheet, and clamps keeping it all from moving overnight. |
The next day I took the cutter to the gear bow...
 |
| Trimming of hard fiberglass about to start (following day) |
... and gave it a rough trim first...
 |
| Buzz cut! |
... and a close shave with sandpaper later...
 |
| Going bald! |
The finished tabs are considerably thicker now.
 |
| Finished tabs in the background, yet-to-be-finished tabs in the foreground. |
Using the boring tool once again, I restored the steel tube access...
 |
| It is very easy to misalign the new holes at this stage! |
Now, the manual calls for ten #30 holes to be drilled in each tube, their purpose is to prevent the tube from sliding in the future by increasing its grip on the flox/fiberglass. In addition to these holes, I had originally knurled the tubes, so I hope there’s enough grip there, but just in case there wasn’t, flox spacers will be added to the outer surfaces of the tabs, mechanically preventing any movement once and for all.
 |
| Aligning the mill spindle |
 |
| Overkill I know, but since I have it, I might as well use it. |
 |
| Ten #30 holes increase BID grip onto the steel tube |
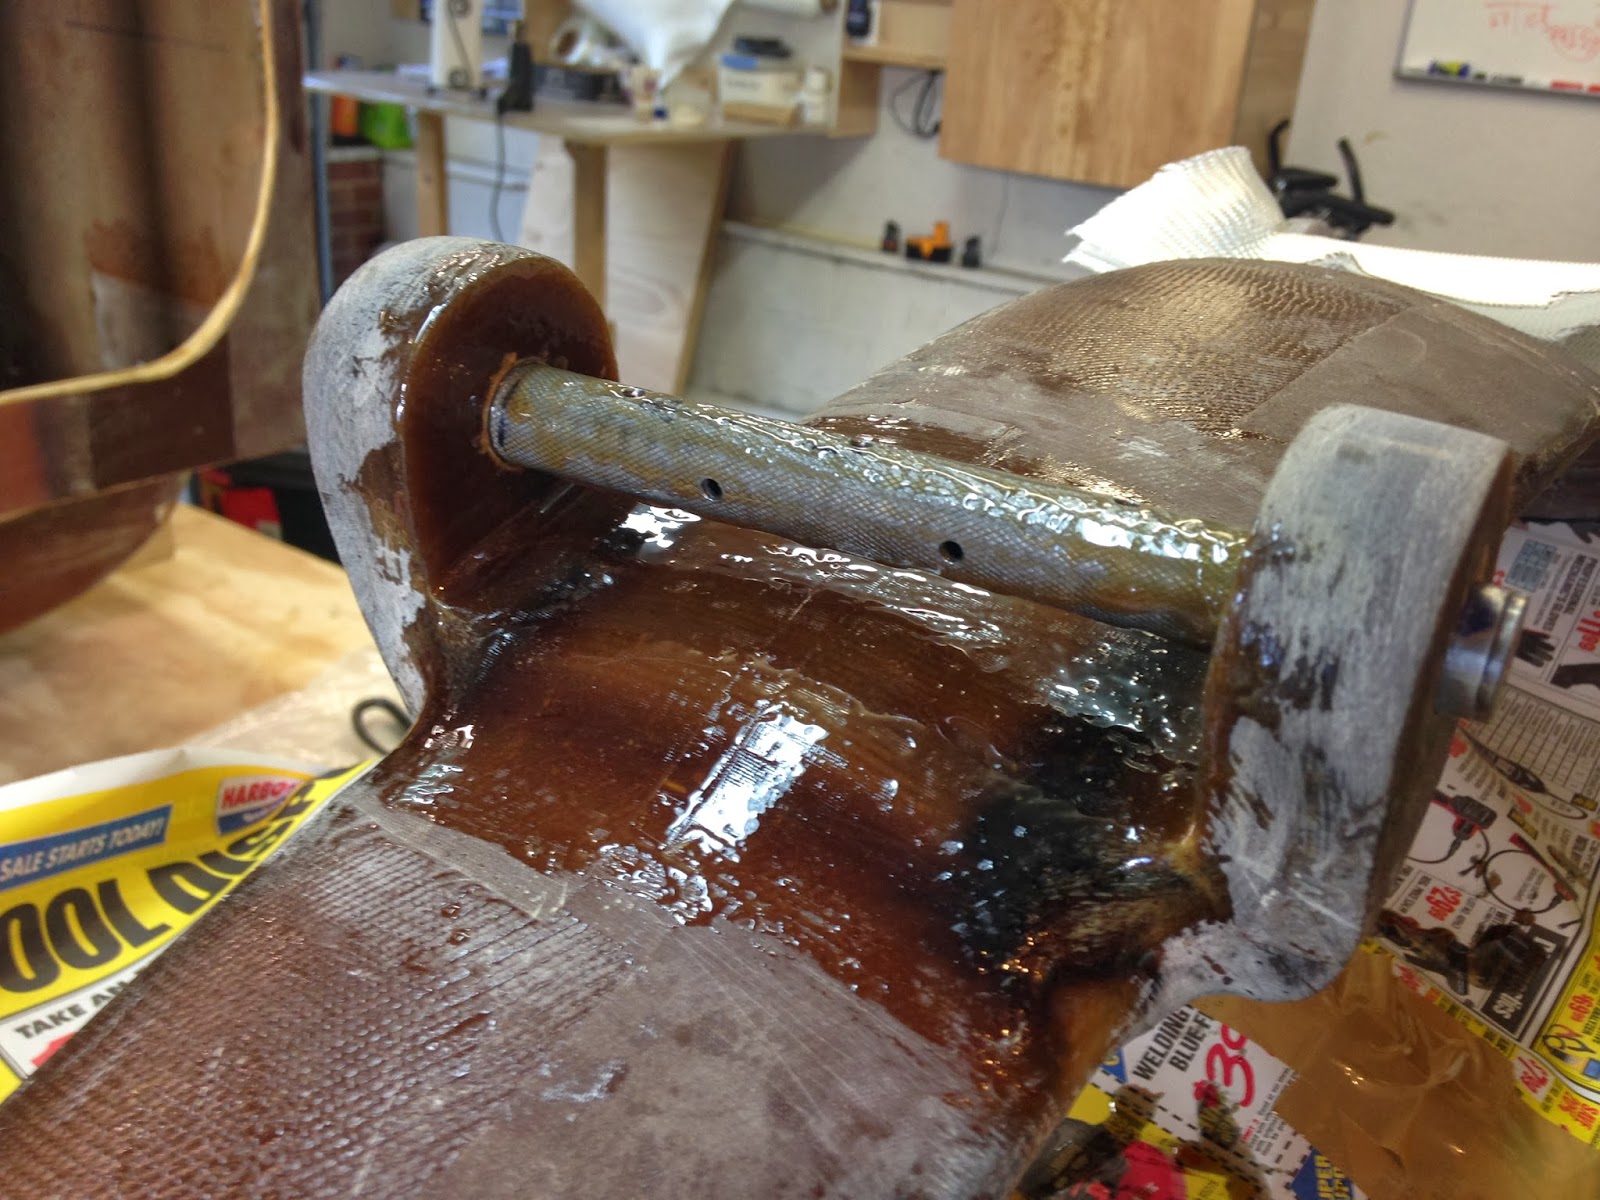
The final step was to add flox between the tube and the bow, and to cover it all with two layers of BID.
 |
| Everything gets the pure epoxy tratment |
 |
| Flox is used nowadays where foam used to be added |
 |
| 2 plies of BID cut at 45˚ cover the tube |
 |
| BID and flox curing |
A little sanding the next day, and the “Godzilla tabs” were done.
 |
| Some minor sanding, and the left tabs were finished (mostly) |
 |
| Opposite view of the left tabs |
The next set of tabs were done using the same "recipe"...


No comments:
Post a Comment