Mounting the ball-screws
I have finally reached the point where all the parts I’ve been making are going to be utilized. This of course required tearing down the old, hoping the new fits.
First one to go was the X axis lead-screw, and to do that the mill’s table had to be taken down.
 |
| Compare the lead-screw (left) to the ball-screw |
 |
| After years of good service, this lead-screw is headed for the scrap pile. |
 |
| Ball-nut stop block (left) vs screw-nut |
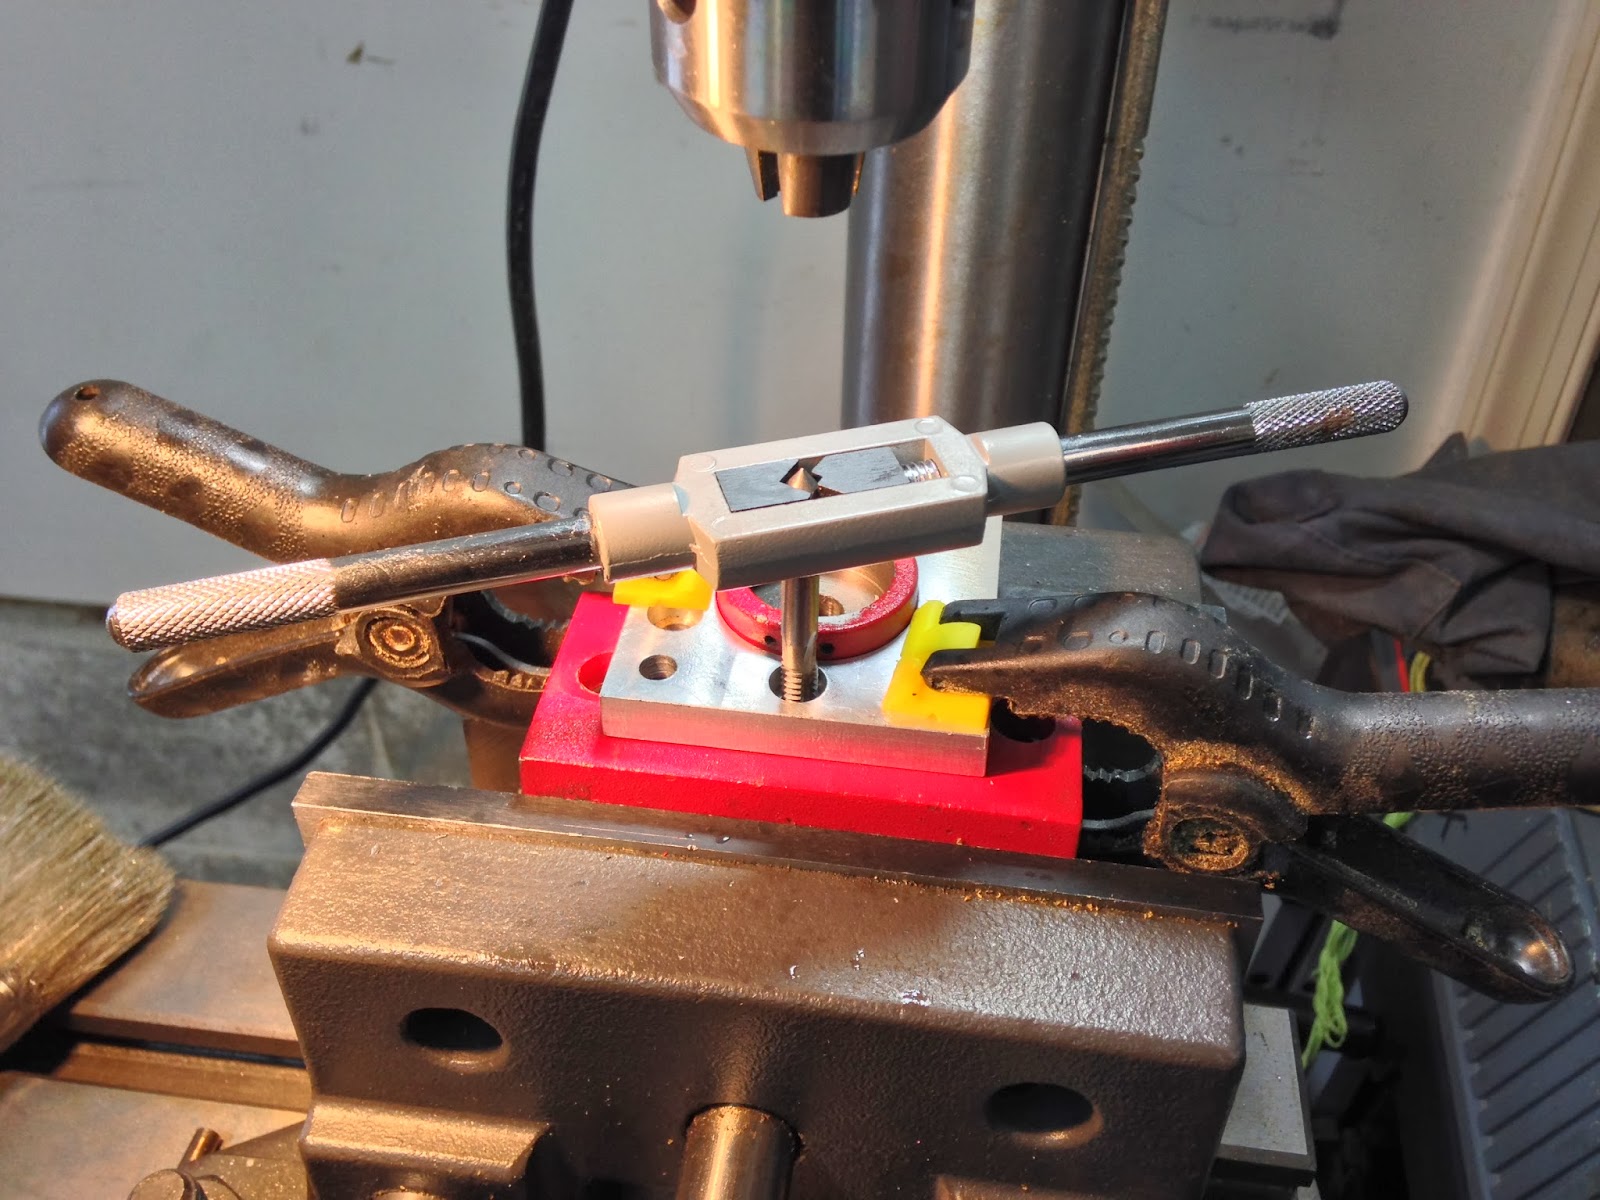
The right end plate had to be drilled and tapped to accept the X axis motor mount.
 |
| Drilling... |
 |
| ... tapping... |
 |
| ... more drilling... |
 |
| X motor mount added to the sliding table |
The new ball-screw has a lot more usable “thread” than the old lead screw.
 |
| Ball-scew in place (ball-nut is backward) |
At about this time things started not fitting right, and custom building began.
 |
| This corner had to go! |
 |
| Sand belting action |
 |
| A few frame modifications were also necessary |
 |
| Adding clearance for the ball-screw |
The Y axis lead-screw was discarded in favor of the short ball-screw.
 |
| Ball screw went in (left, with ball-nut backward again), lead-screw came out. |
The original 2 holes for the Y spacer were tapped metric, so I drilled through them, and re-tapped them standard 1/4-20. I also added a third tapped hole.
 |
| Turning metric into standard |
 |
| Y axis motor mount in place |
In the end, the result was very nice. The fit and finish were great, and I cannot wait to add the electric motors.
 |
| All I am missing are the stepper motors |
 |
| Y stepper mount |
 |
| Y and X stepper mounts |
A quick tour of the mill's XY table


No comments:
Post a Comment