Introduction to Tungsten Inert Gas welding
One of the problems with making your own roll-bar is that, in order to fit correctly, it needs to be custom made, and since taking the fuselage to a welding shop would be rather difficult, I decided to take the welding shop to the fuselage by learning how to do it myself.
Let’s just say that there are at least 4 main ways to weld metals together: Oxyacetylene, Shielded metal arc welding (SMAW) aka Stick welding, MIG, and TIG, and that all of them are somewhat suitable for my purpose, some are however more so than others.
The reason I chose the TIG process is because it produces better looking welds without spatter or smoke, the heat affected zone is very small, minimizing distortions, it does not employ any flammable or dangerous gasses, and is virtually silent.
But what is TIG, you might ask?
TIG stands for Tungsten Inert Gas also known as GTAW, or Gas Tungsten Arc Welding, named after the non-consumable tungsten electrode that carries electricity through the middle of the torch, and the Argon inert gas that flows through the torch head flooding the area to be welded, displacing the atmospheric oxygen.
A grounding strap electrically bonds the part to be welded to the welding machine, thus an arc is produced when the tungsten is at an appropriate distance from the part, and the trigger is pulled (or pedal pushed). Current is carried through the ionized gas and metal vapors (plasma) in the form of an arc that can reach temperatures as high as 10,000 degrees.
As a puddle of molten metal forms on the surface, a filler rod is introduced to join the two parts at the gap.

Although I’ll be welding 4130 chromoly steel, one important thing to be aware of is not to use filler rod marked as 4130 for aircraft construction, but only one of the those listed below, in order of desirability. These rods give the joint much more strength, in the order of 80,000 PSI.
 |
| I'll be using #1 in 1/16" and 3/32" thicknesses on the roll-bar |
In case you are wondering what difference the Argon gas makes, look at this experiment I ran...
 |
| TIG welding with Argon gas |
 |
| Tig welding without Argon gas |
There are a few drawbacks with TIG, namely the higher cost of the machine, and the slightly more difficult skills to master, having to coordinate a torch in one hand, a filler rod in the other, and an accelerator like pedal under one foot.
My friend Wade and I have been discussing pros and cons over the past year, and I have diligently been educating myself by studying anything having to do with TIG that I could put my hands on.
The source of TIG training I enjoyed the most are Mr. TIG’s videos on YouTube. Mr. TIG, aka Wyatt Swaim, is a professional aviation and Indy race car team welder with great knowledge, and personality. He’s got a ton of production quality videos on YouTube, and you can see them for free at http://www.youtube.com/user/Welddotcom
Getting back to the story...
One day Wade surprised me by buying a inexpensive 200 amps Simadre Chinese inverter unit (less than $400 on eBay), capable of TIG, Stick, and Plasma cutting, at 110 and 220 volts.
 |
| Capable 200 Amps Chinese unit |
 |
| Back of the Simadre. Note the 110/220V input. |
While initially thinking that Wade had wasted his money on some cheap Chinese knock-off, I have had to change my mind completely in its regards after having been able to use it for the past month, and I am now very impressed with this unit.
Hard to believe, I know.
Since Uncle Sam sent Wade to the “sandbox” for one year, he generously offered to loan it to me until he gets back (how can you refuse a friend like that!?). So, I picked up a welding cart (very nice), and a welding table (cheap crap) from Northern Tools...
 |
| Excellent welding cart |
 |
| Not so great welding table |
... and set up my welding corner away from flammable materials.
 |
| My welding corner |
I purchased two boxes of scrap 4130 assorted steel tubing from Wicks, and used an online Tube Coping calculator to produce paper templates for cutting dissimilar tubing at various angles, and offsets.
 |
| Getting ready to cut some test tubing |
 |
| Cutting the computer generated pattern |
 |
| Cutting along the line |
 |
| Rough cutting done |
 |
| After a few grinder passes |
 |
| Test fitting |
I spent a decent amount time practicing my skills on all kinds of 4130 thicknesses, going from 0.250” to 0.035”, and here are my practice welds... the good, the bad, and the ugly...


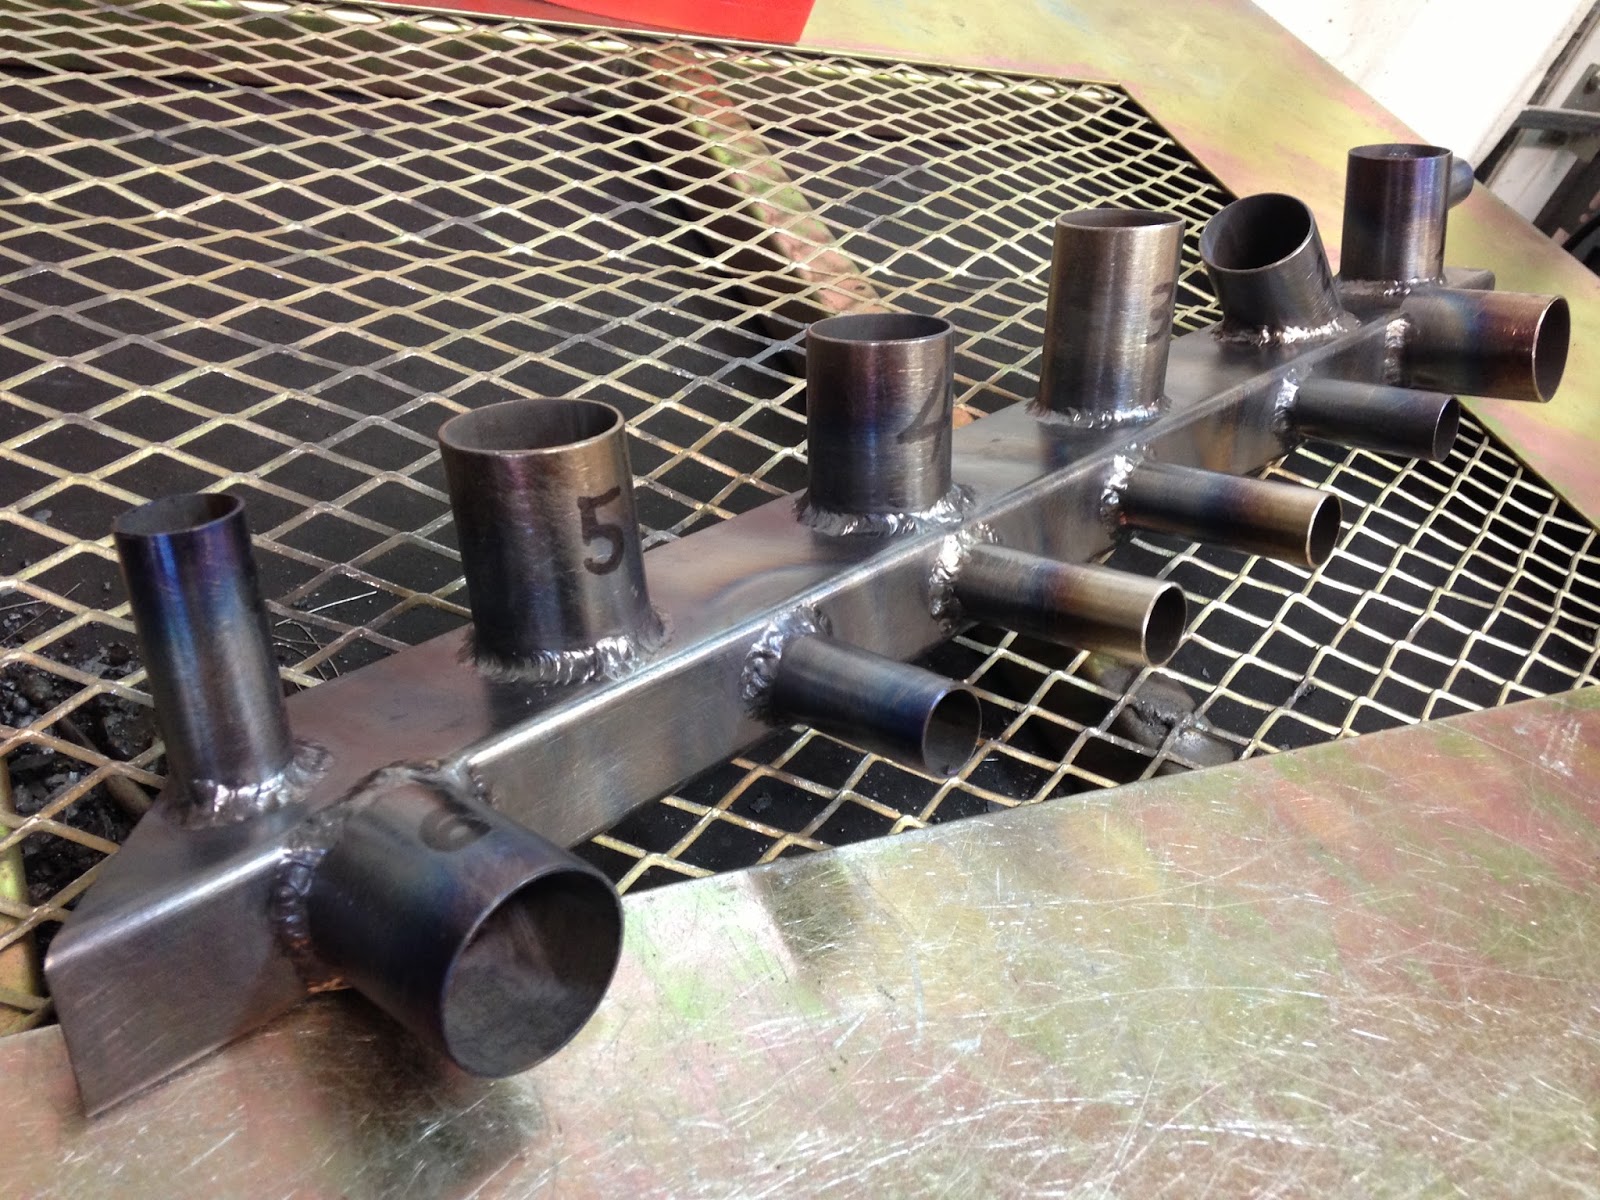
Welds on 0.035" (0.9 mm) chromoly tubing
Welding practice video
While my welds are not very pretty, they are perfectly acceptable, so I am planning to start welding the roll-bar next.
No comments:
Post a Comment