Roll-bar fabrication in action (16.0 hrs)
I have been both looking forward to and dreading this part, because this is where the time and money I invested in acquiring my new welding skills is supposed to pay off (or not), but before I test myself against the chromoly steel, I still had a little more cutting to do, namely the L channels that will clamp onto the bottom of the longerons, and the roll-bar cross-members.
With the top and bottom L channels cut and trimmed, I clamped them to the longerons in order to record some precise measurements, before cutting the round section stock for the cross-members.
 |
| Front left |
 |
| Rear left |
 |
| Top and bottom L channels in position |
Then, I cut the cross-members and checked the fit.
 |
| Front crossmember joint |
 |
| Test fitting the basic structure before tacking |
Satisfied with the way they looked and fit, I tacked them in place, locking in the geometry.
 |
| Tacked rear crossmember |
I found that I could only weld one tack at a time before the metal got too hot for the fiberglass, so I alternated the tacks from one side of the fuselage to the other, waiting for the metal to cool before adding more. This kept me from damaging the structure, while allowing for a very tight fitting metal structure.
 |
| Basic frame tacked together |
Next, I measured ad cut the vertical structure...
 |
| Checking for size |
 |
| Paper templates of cutting profile |
 |
| Test fitting after cutting |
... and tacked that in place as well...
 |
| A few tacks to hold the top structure |
 |
| Tacking the right side of the vertical piece lifted the left joint 1/4". Here I am pulling it back down for tacking |
 |
| Vertical structure tack welded |
 |
| Profile view of the same thing |
I did the same thing with the two diagonal braces...
 |
| Readying the rear braces |
 |
| Test fitting the rear braces |
 |
| Different view of the same thing |
... except now the setup was sturdy enough that I could take it to my table for tacking.
 |
| Roll bar assembly brought to the welding table to tack weld the rear braces |
 |
| Getting the last tacks in before the real welding begins |
With the structure secured with multiple tacks, it was finally TIG time!
 |
| Going for it! |
TIG welding was challenging, and fun, and seeing the roll-bar come together before your very own eyes was priceless.
 |
| Using aluminum foil as an Argon dam for welding in tight corner |
 |
| Dam is useful due to the very long tungsten stick-out needed to reach into the tight corner |
There is however one weld I dislike. For some reason it got built up more than I thought it had when I was under the hood. It’s not that it isn’t safe, it’s actually stronger than the rest of them, I just hate the way it looks. I thought about grinding if off and welding the joint again, but I ran out of Argon just as I ran out of things to weld, and... I guess I’m just starting to get used to it.
Anyway, there is no real reason to rush to modify it, I can always do it later, as long as I do it before powder coating.
 |
| There had to be one ugly weld somewhere, *#%*!!! |
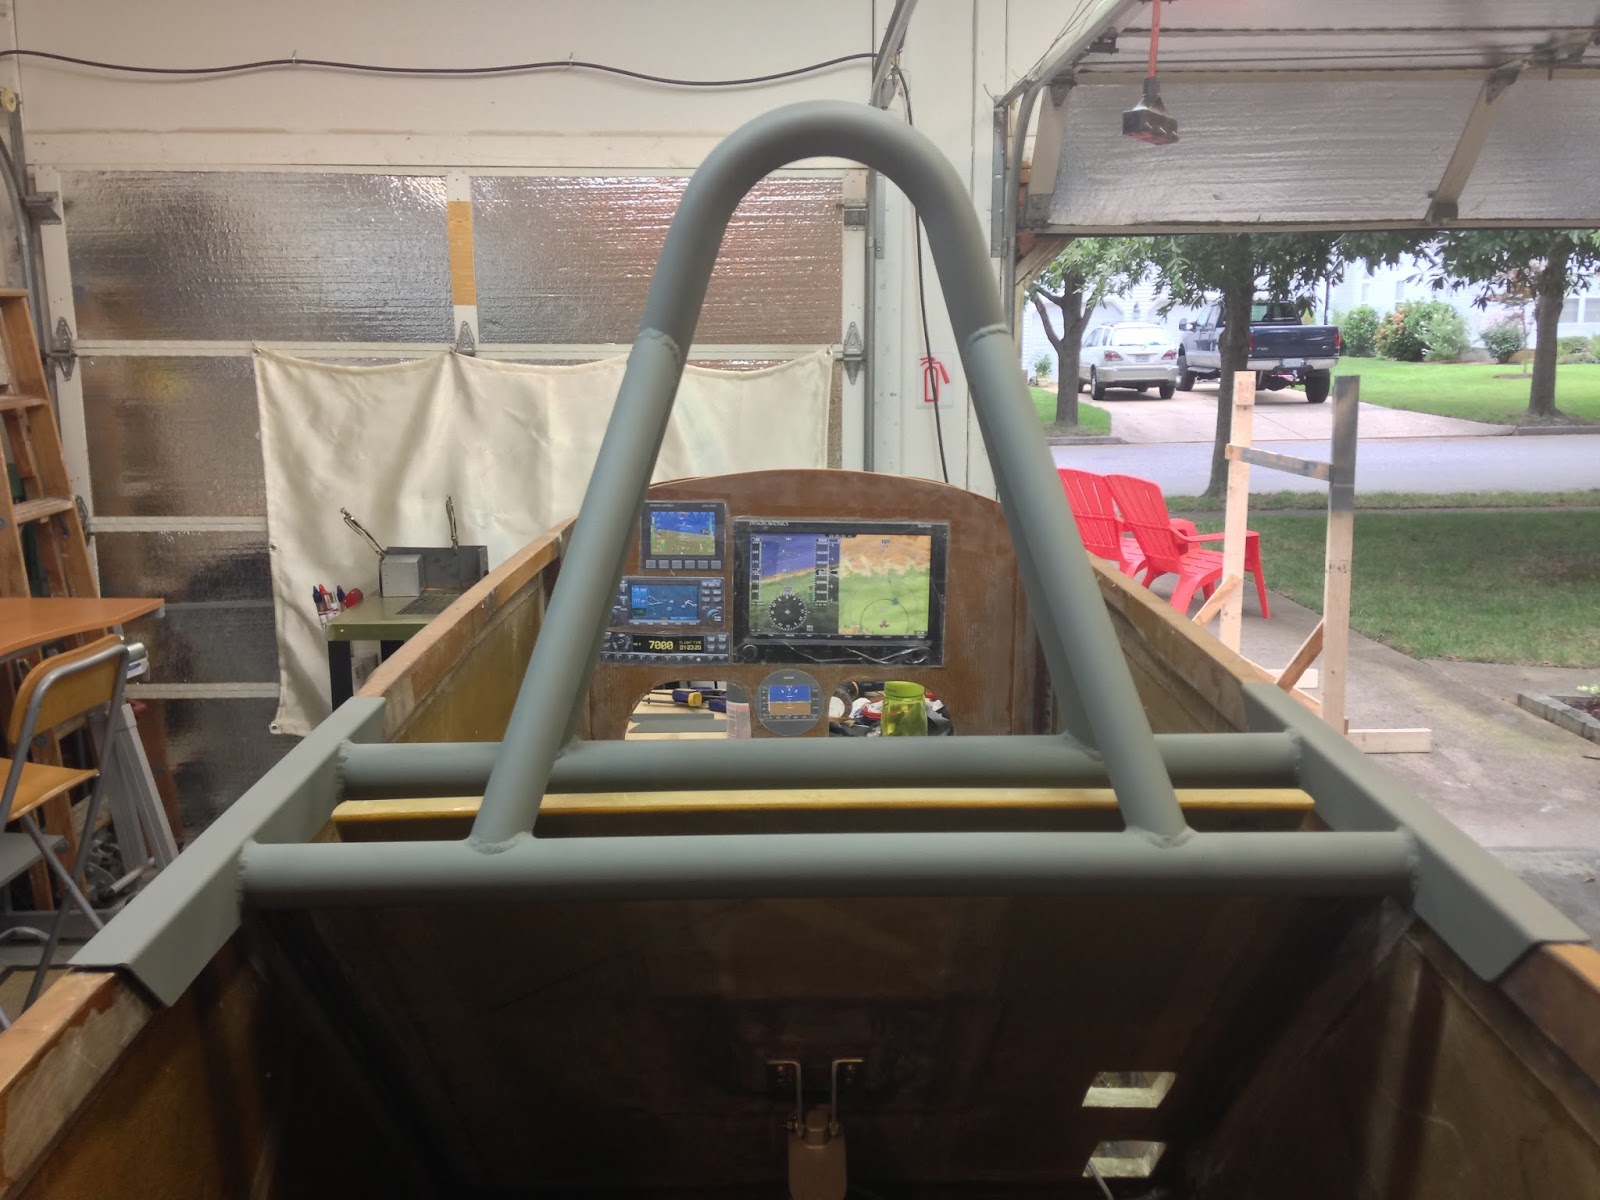
To prevent the freshly sanded and welded metal from rusting, I sprayed gray primer over it, which will be sandblasted away before final painting, maybe a few years down the road.
 |
| Priming to prevent rust |
 |
| Roll-bar back on the plane |
 |
| That should do it! |
Next on my list, will be mounting the roll-bar solidly to the fuselage. This is going to be an involved process with many small steps to be taken in the appropriate sequence. To give you a better idea of what's involved in finishing the roll-bar mounting, here's the checklist I created for this process...
 |
| Things to do to mount the roll-bar and close up the fuselage depression |
|
There are still a few more welds to be done to the roll-bar in the future, like the headrest mounting tabs, the shoulder harnesses attach points, and the canopy stay mount, but those are small potatoes compared to what I was able to accomplish today.
I am very happy about the way my roll-bar turned out, the welds are my very best ones to date (all except one), and I’ve had a great time finishing this side project.


No comments:
Post a Comment