Glassing the inner brake surface (13.1 hrs)
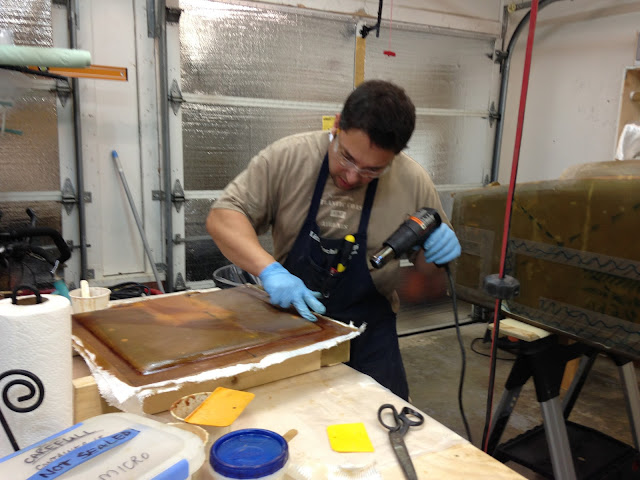
The brake surface cured overnight to a tough outer shell, and while it looks pretty flat, I still needed to preserve whatever minimal contour there was, in an effort to produce a better fitting part.
The way that’s done, is by attaching 2x4s to it with Bondo.
 |
| Bondo drying |
Once the Bondo set, I inserted a gasket scraper beneath the cured fiberglass, and easily lifted the speed-brake out of its depression.
 |
| Landing brake peeled off of the fuselage |
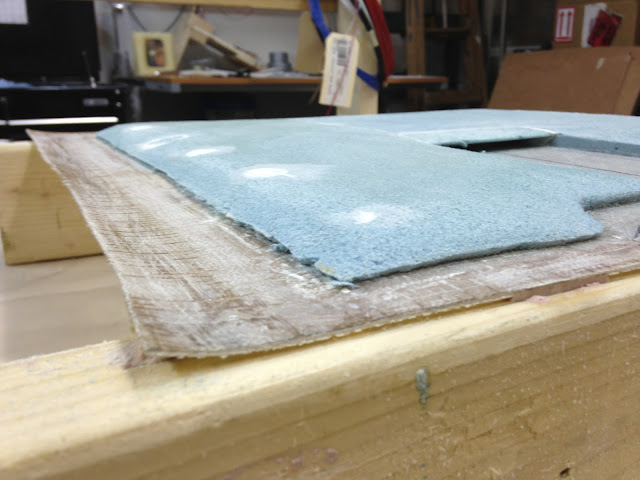
As expected, a few pieces of foam broke off where the 5 minutes epoxy had been used to secure it in place for glassing. These holes will later be filled in with foam, dry micro, or both depending on the size of the crater left behind. Most of mine were small, so I ended up using just micro in all but 2 of them.
 |
| Some foam left on the fuselage! |
The modeling clay I had used to seal the gap between the fuselage and the foam core, came off easily using the gasket scraper.
 |
| Removing the modeling clay |
The only problem I had with it, is the oily residue it left behind. Not a good thing when you are trying to prep the surfaces for a structural bond.
 |
| Greasy film left where the clay once was |
Perhaps the modeling clay that hardens might be a better solution for this purpose.
I took the assembly out in the front yard, and gave it a good scrub with a sponge dipped in water and dish soap. Although this seemed to do the trick, I also sanded it down to make sure I would not have problems with delamination.
Back indoors, I cut a hinge section to size, and trimmed it to clear all obstructions.
 |
| Roughing out a hinge for the brake |
I also Alodined it to prevent corrosion, since this is an exposed part that is likely to pick up a fair amount of contamination. I think my Alodine must be getting weaker, because I’m having to leave the parts in the solution twice as long, and the results are not as good as they once used to be. At $75 a bottle, I’ll have to consider whether it’s worth continuing to purchase it, over just using the regular primer.
 |
| Adding corrosion protection to the hinge |
At this point I had to cut away “enough” material to make room for an oversized wooden insert (CP#42 “builder’s hints”, where else!).
 |
| Cross-section of the hinged portion of the landing brake |
When instructions start containing more and more words like "enough" or "as needed", and less and less dimensions, that's where science gives way to art, and by then you know... you are really on your own!
I started cutting the foam where I thought the plywood should go...
I started cutting the foam where I thought the plywood should go...
 |
| Adding a recess for the plywood insert |
 |
| This gasket scraper really worked well at scraping foam too |
... and ended up removing too much, so I had to put some back in. Not a big deal really.
 |
| Test fitting all parts |
One thing I was not satisfied with, was the smoothness of the transition between foam and fiberglass, so I used my Dremel tool to remove a triangle shaped section of foam all the way around the perimeter. This ended up later getting filled with flox, allowing me to ensure a structural, bubble free transition.
 |
| Groove for flox |
One of the few things I wanted to avoid, was ending up with a hinge line that was not perpendicular to the fuselage centerline, but things were not easy to line up at this point, since there are an awful lot of curved surfaces, so I used a laser to check for proper alignment.
 |
| Finally, a good use for this old laser! I bought it years ago for another project, but never really used it. |
Unfortunately, this would only get me so far, since the hinge needed to get moved a thousand more times between up until the time it eventually got floxed in. My solution was to drill a couple of holes through the hinge and the fiberglass underneath, and use two nails as “alignment pins”. This worked very well.
I elected to remove half of the hinge, as well as the hinge pin, and put clear tape over the parts that I did not want to contaminate with flox and epoxy, then went to work glassing the landing brake.
 |
| Hinge getting floxed. Notice tape protecting the hinge-pin holes |
 |
| This is where the "alignment nails" idea paid off |
 |
| Plywood going in |
 |
| Searching for air pockets |
 |
| Landing brake ready for curing |
 |
| Peel-ply added to the center section |
Notice that the two alignment nails were still in place during the cure. When the fiberglass got to the semi-cured “chewing gum-like” state, I removed both nails, and the clear tape.

No comments:
Post a Comment