Right side (22.5 hrs)
In this post I am going to complete the longeron repairs by finishing the right one. I’ll mostly dump the photos here and add some comments. For a more thorough explanation of what and why, check out the left longeron repair.
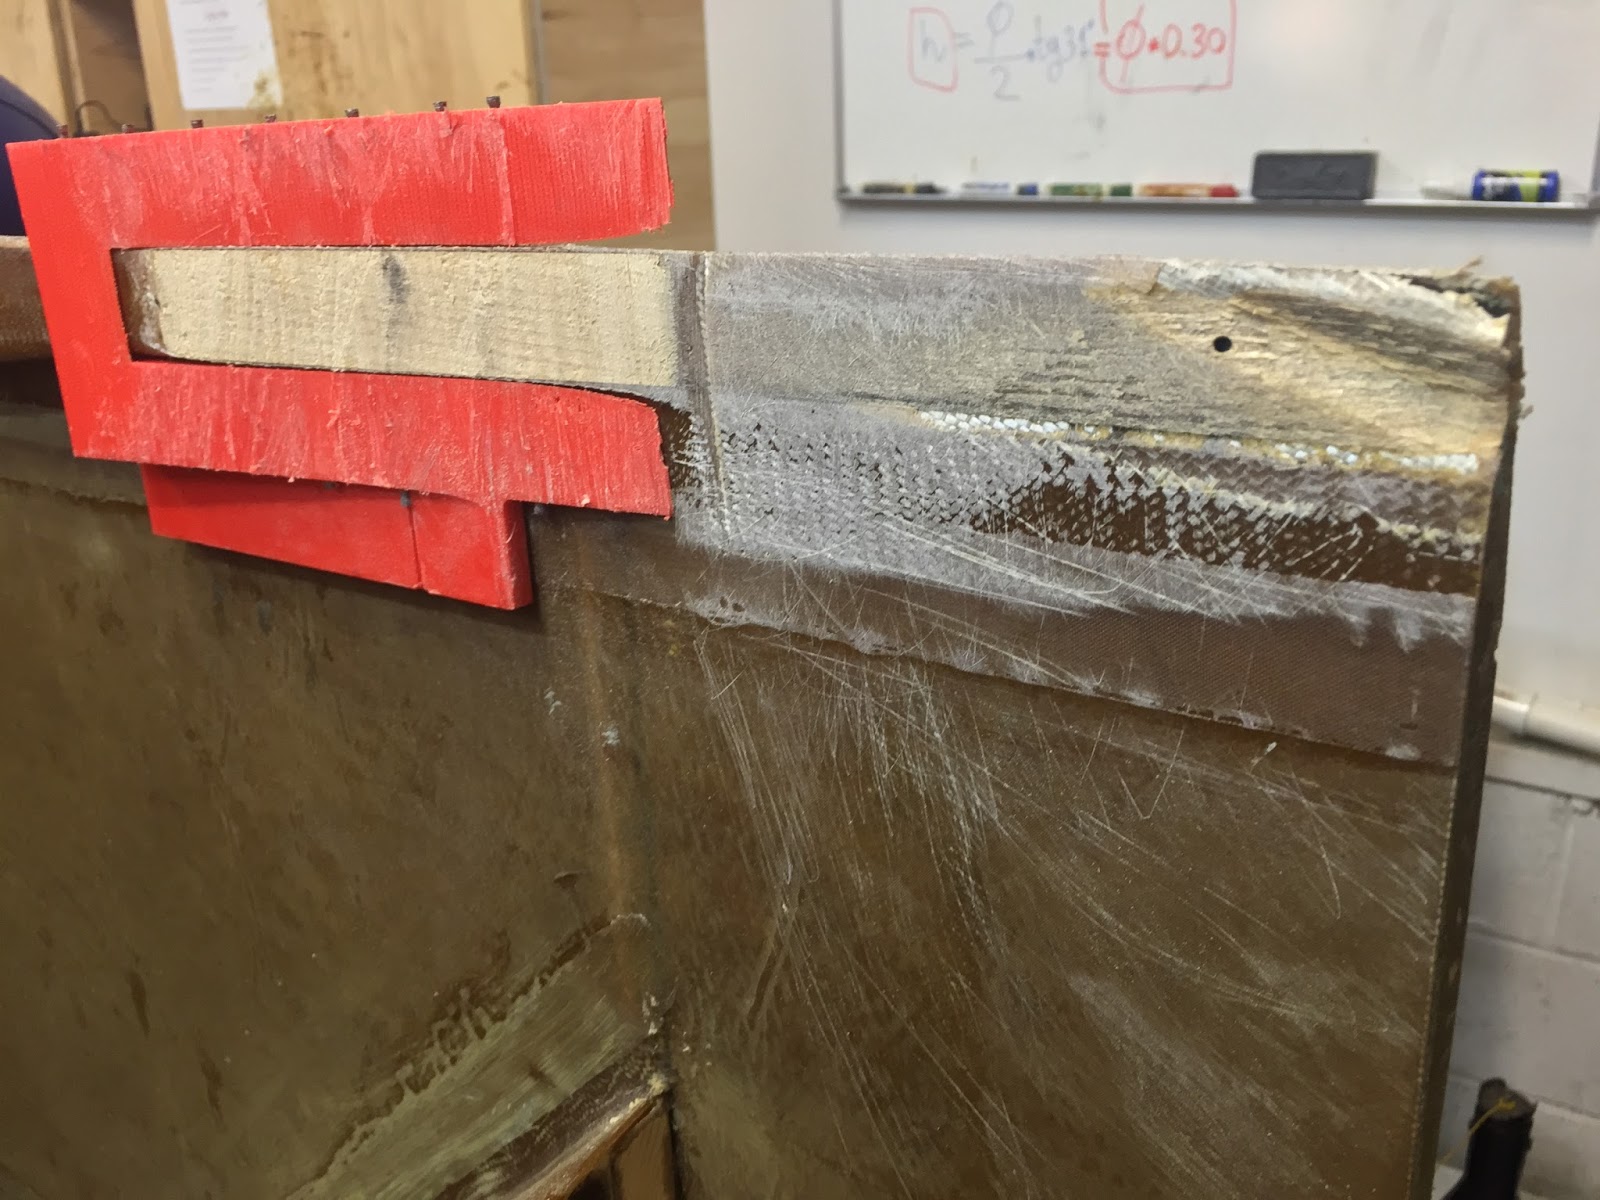
 |
| Broken longeron with 3D printed ABS cutting guide nailed to it |
 |
| Longeron getting cut along the 7:1 cutting jig |
 |
| A top view of the surgery |
 |
| Removing the damaged longeron from the fuselage |
 |
| What it looked like right after the two sawing operations |
 |
| All cleaned up and ready to get worked on |
 |
| This fiberglass corner got damaged during the fall, and will need to be replaced. |
 |
| I started by floxing the part where the foam got removed. I reused the jig to contain the flox. |
 |
| After a little sanding, I had a flat base for the next operation. |
 |
| The 3D printed ABS jig was used again (on a table) to cut this longeron splice |
 |
| 2 BID plies at 45º replace the original substrate. Most of this will be eventually cut off to accommodate the CS spar. |
 |
| Right after peel-ply removal, the next day. |
 |
| BID trimmed down to size |
 |
| Getting ready for the longeron splice installation |
 |
| Once again, flox only was used as a bonding agent. |
 |
| Flox added to both sides of the splice, and the sidewall. |
 |
| Careful longeron alignment |
 |
| Pressure added during the cure |
 |
| Laying out a plan for the outer fiberglass replacement |
 |
| Original fiberglass sanded in accordance with the plans' repair section (page 3-22) |
 |
| First layer of UNI being laid |
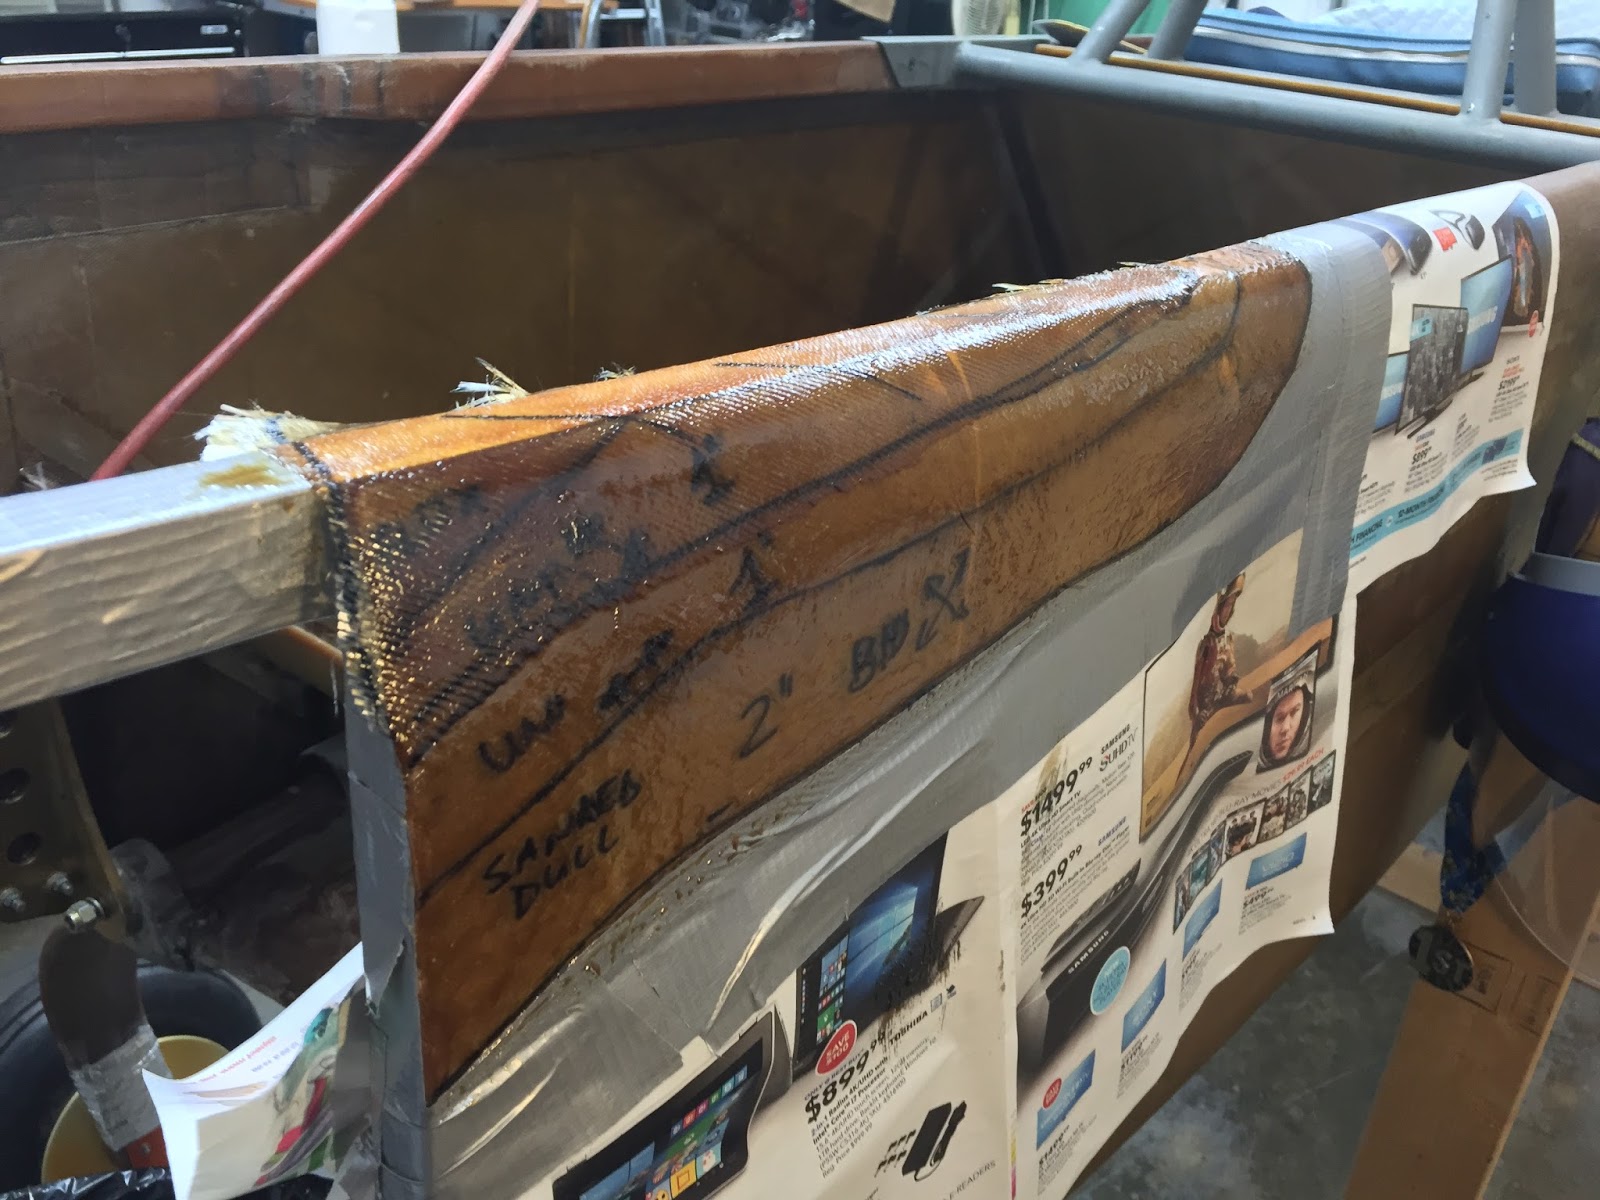 |
| UNI saturated with epoxy |
 |
| Second layer of UNI laid with opposite orientation (as per plans) |
 |
| Second layer wetted with pure epoxy |
 |
| Additional BID layer to cover the repair |
 |
| With the surgery completed, this patient needs some rest time to be fully cured. |
 |
| Peel-ply bandages, and Saran wrap to keep air from infiltrating. |
 |
| Finished outer repair |
 |
| Prepping for the "inside job" |
 |
| BID pre-preg ready to be impregnated |
 |
| Epoxy mixed with Cab-o-Sil painted over longeron and sidewall. A flox fillet was added in the bottom corner. |
 |
| Pre-preg applied to the fuselage. All air bubbles were later squeegeed out. |
 |
| Inner repair after the addition of peel-ply |
 |
| Peel-ply removed the next day |
 |
| This longeron repair is done! |