Adding a 220V 50A circuit
As in 11 KiloWatts!!!
I am not an electrician, and this amount of electricity can kill you many times over if you approach it carelessly. So, don't misunderstand this post as a tutorial, I am just sharing with you what I did to get my machine up and running.
To tell you the truth I was a little intimidated by this circuit, mostly because it is nearly twice as big as the biggest circuit currently in my house (30a - Main Air Conditioning). The mechanics of the installation however were identical to a 110v/10a line, only with thicker wires and bigger plugs.
No big deal, right?!
No big deal, right?!
I went down to Lowes with the male plug cover, and searched for the equivalent receptacle. I suppose they must not be selling these that often, because it took a long time to find them in an unopened box way in the back of everything else.
 |
| Utilitech flush mount power outlet model #2102S |
Consulting the Hypertherm’s own manual, it called for a #8 gauge wire up to 50 feet of length, and #6 gauge beyond that.
 |
| Hypertherm's wiring instructions |
I chose to install the thicker wire even though I needed slightly less than 40 feet of it.
Moving on to the actual installation, it became painfully obvious that I would not be able to thread this thick wire into the walls without major surgery, so I ended up reopening the wall above the CB panel as I did in preparation of the LongEZ build in 2010.
 |
| It just had to be done! |
I was hoping not to have to do this again, but it couldn’t be avoided. The wide opening in the wall allowed me to easily drill a 2” (5.1 cm) hole into the top beam, which I then used to feed the heavy duty conduit from above.
 |
| The electrician wanted $500 to string this circuit. Crawling in insulation on my belly, it started to seem cheap. |
 |
| Thick gauge wire coming down from the attic |
 |
| What #6 wires look like |
I carefully removed the cover of the new CB panel, and identified a location for the plasma cutter circuit breaker.
 |
| Deciding on the next step |
 |
| Lowes item #94470 |
 |
| Location chosen for the new circuit |
The CB snapped right in place.
 |
| New 50 amps CB inserted into the panel |
Meanwhile at the far end of the garage, right between the garage doors, I cut a hole for a new receptacle, and pushed the insulation aside.
 |
| Cellulose insulation in the garage wall |
I installed the new box.
 |
| Retrofit box installed in the wall |
The thick wires were easily pushed through from the attic.
 |
| Gina helped get the wires from below as I pushed them from above |
The new outlet was wired up and installed in the box.
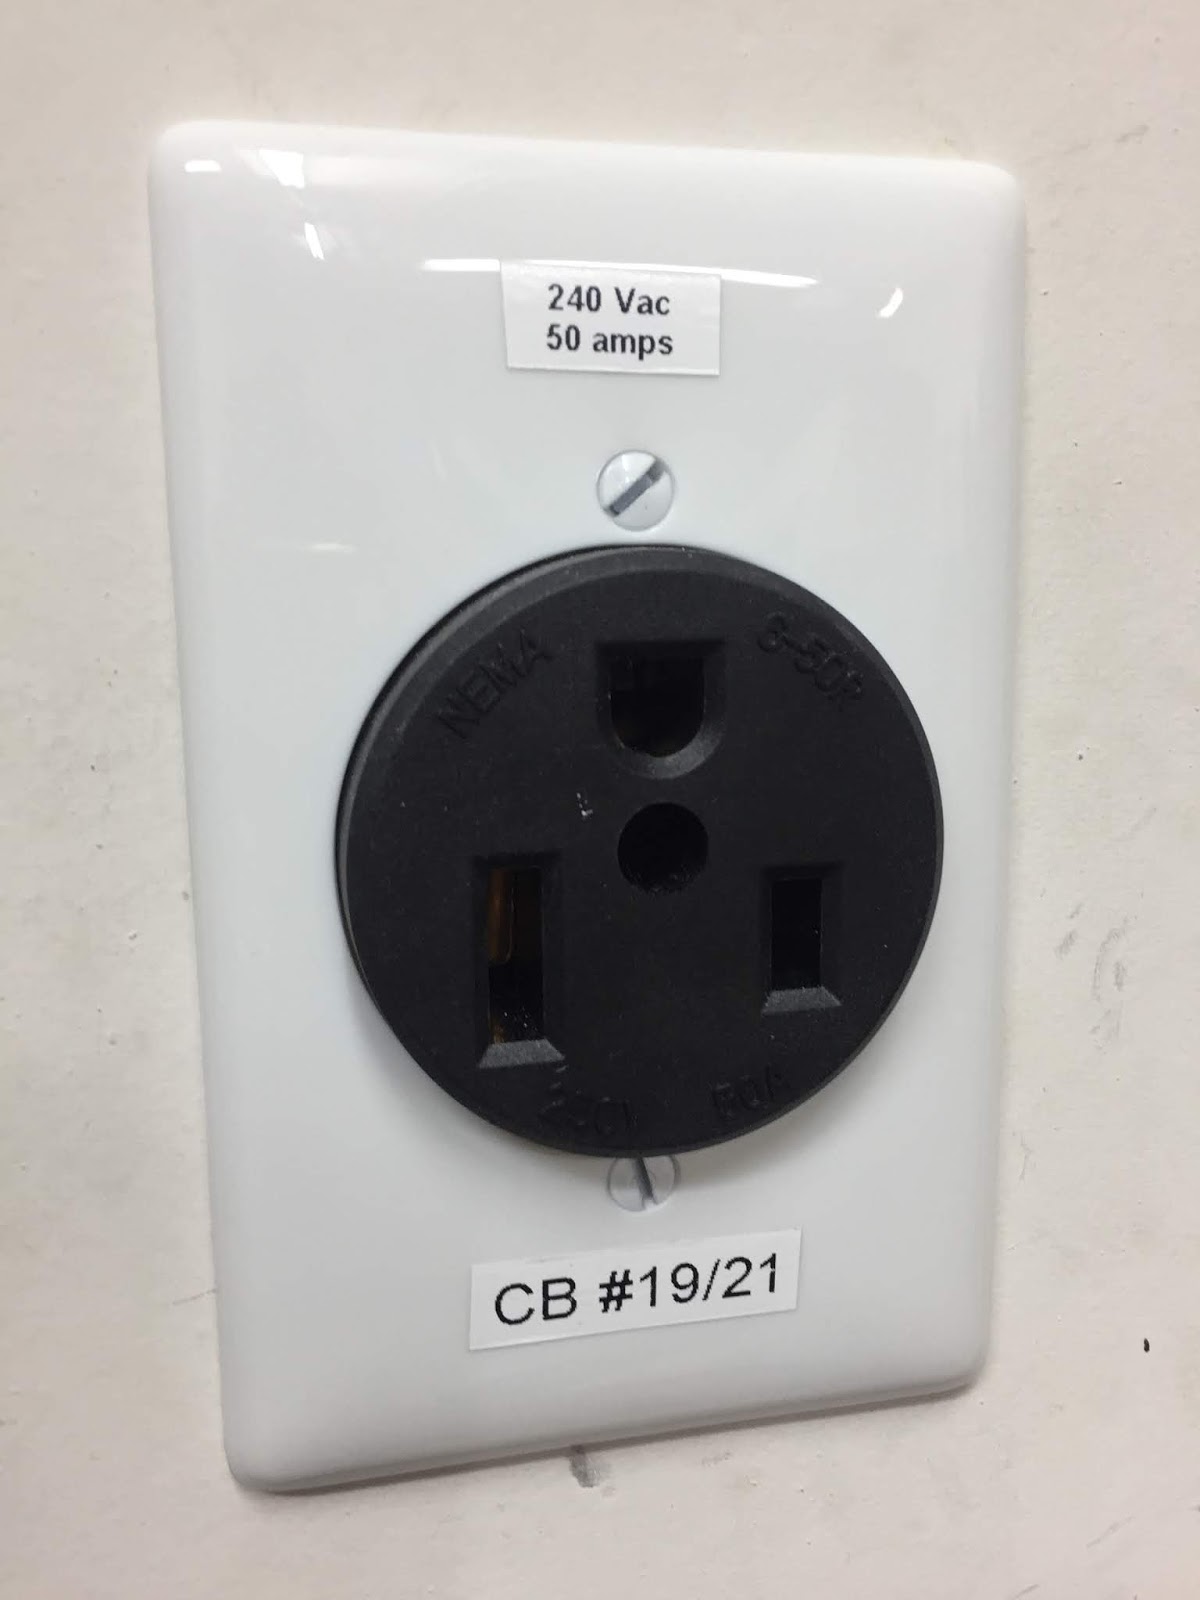 |
| Adding a little info on each outlet can help troubleshooting in the future |
Back at the breaker box, the big wires were inserted into the 50 amps breaker case, and the “skinny” copper ground connected to the ground bar. With all screws tightened up the supply end was ready.
 |
| Wires connected |
 |
| CB cover plate reinstalled |
 |
| My dual voltage welder can now run on 220v, and maxes out at 250 welding amps. |
 |
| Plasma cutter powered up for the first time. |
Next step in the saga will be to hook up compressed air to the plasma cutter and give it a try. Air must be as dry as possible in order to extend the life of the consumables inside the torch. Finally, the connection to the plasma table will need to be made via the CPC port in the back of the cutter.
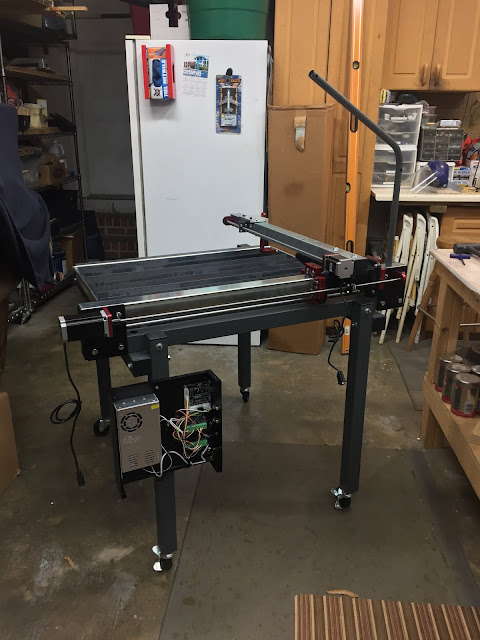
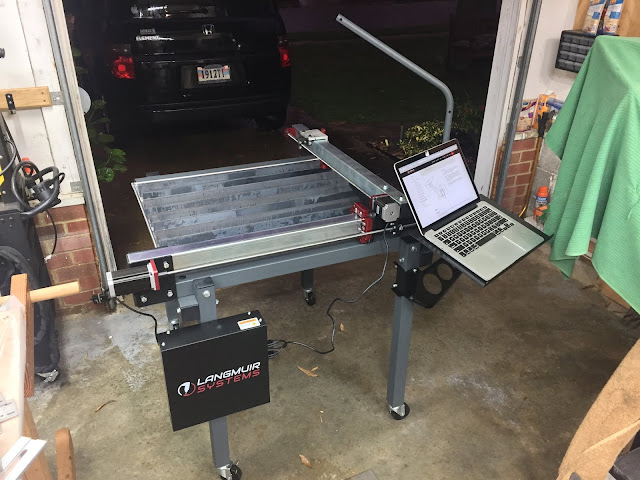
As you can see, there's still quite a bit to go.
Better get busy...
As you can see, there's still quite a bit to go.
Better get busy...


