Wheel well mod #2 & #3 (7.1 hrs)
You didn’t think we were done with the wheel well modifications, were you?
Oh no! So far the quest to retract the front wheel completely into the nose has forced well over half a dozen modifications, and more are yet to come.
Today I will discuss how I hacked part of the recent “Wheel well mod #1” in order to get a proper (if partial) fit, and the process of recovering some of the structure lost in mod #2, with mod #3.
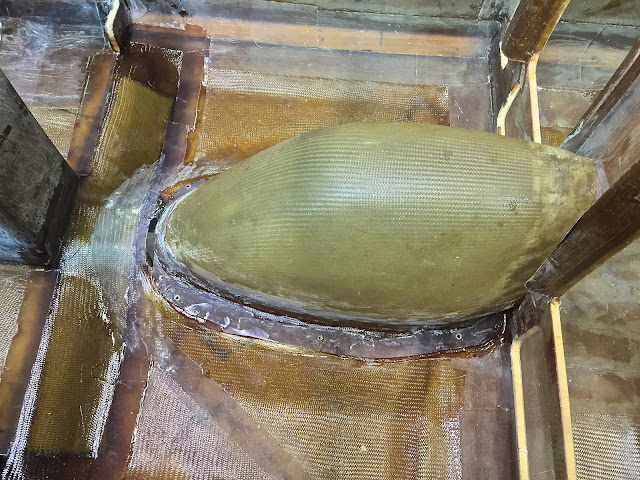
Building the two flox ramps that allowed me to span the gap in the fuselage floor was nearly a complete success, the only issue being that now the wheel well's flange would no longer fit properly, this time due to a different reason.
Allow me to illustrate…
 |
| Huge gap caused by the latest ramp build up |
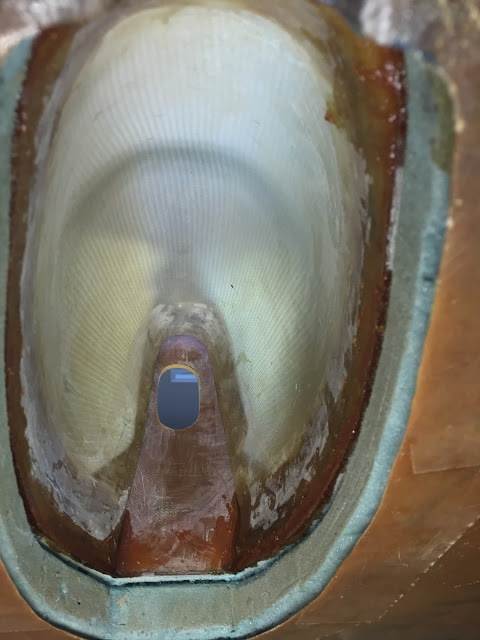
 |
| Gap as seen from the wheel side, and wheel well marked for cutting. |
As you can see, the ramp elevated the front end of the wheel well to the point that it would no longer fit. My solution (mod #2) was to cut off the leading edge of it, and add a mod #3 to the schedule, where I would rebuild the missing piece to fit the new gap.
And so it was that once again I took the knife to the same fiberglass structure.
 |
| Getting ready to cut the forward lip |
 |
| Mod #2 |
If we disregarded the gaping hole, I’d say the fit was pretty darn nice.
 |
| Good fit with the fuselage floor |
So, I attached it to the fuselage floor with flox while the getting was good.
 |
| Tape added to keep the flox from getting to the wrong side |
 |
| Flox on surface to be bonded |
 |
| Wheel well attached to fuselage floor |
I secured it for the night with a few weight.
 |
| Usual overnight cure cycle |
The next morning I removed the weights, and found the wheel well to be rock solid.
 |
| Weights removed and flox cured |
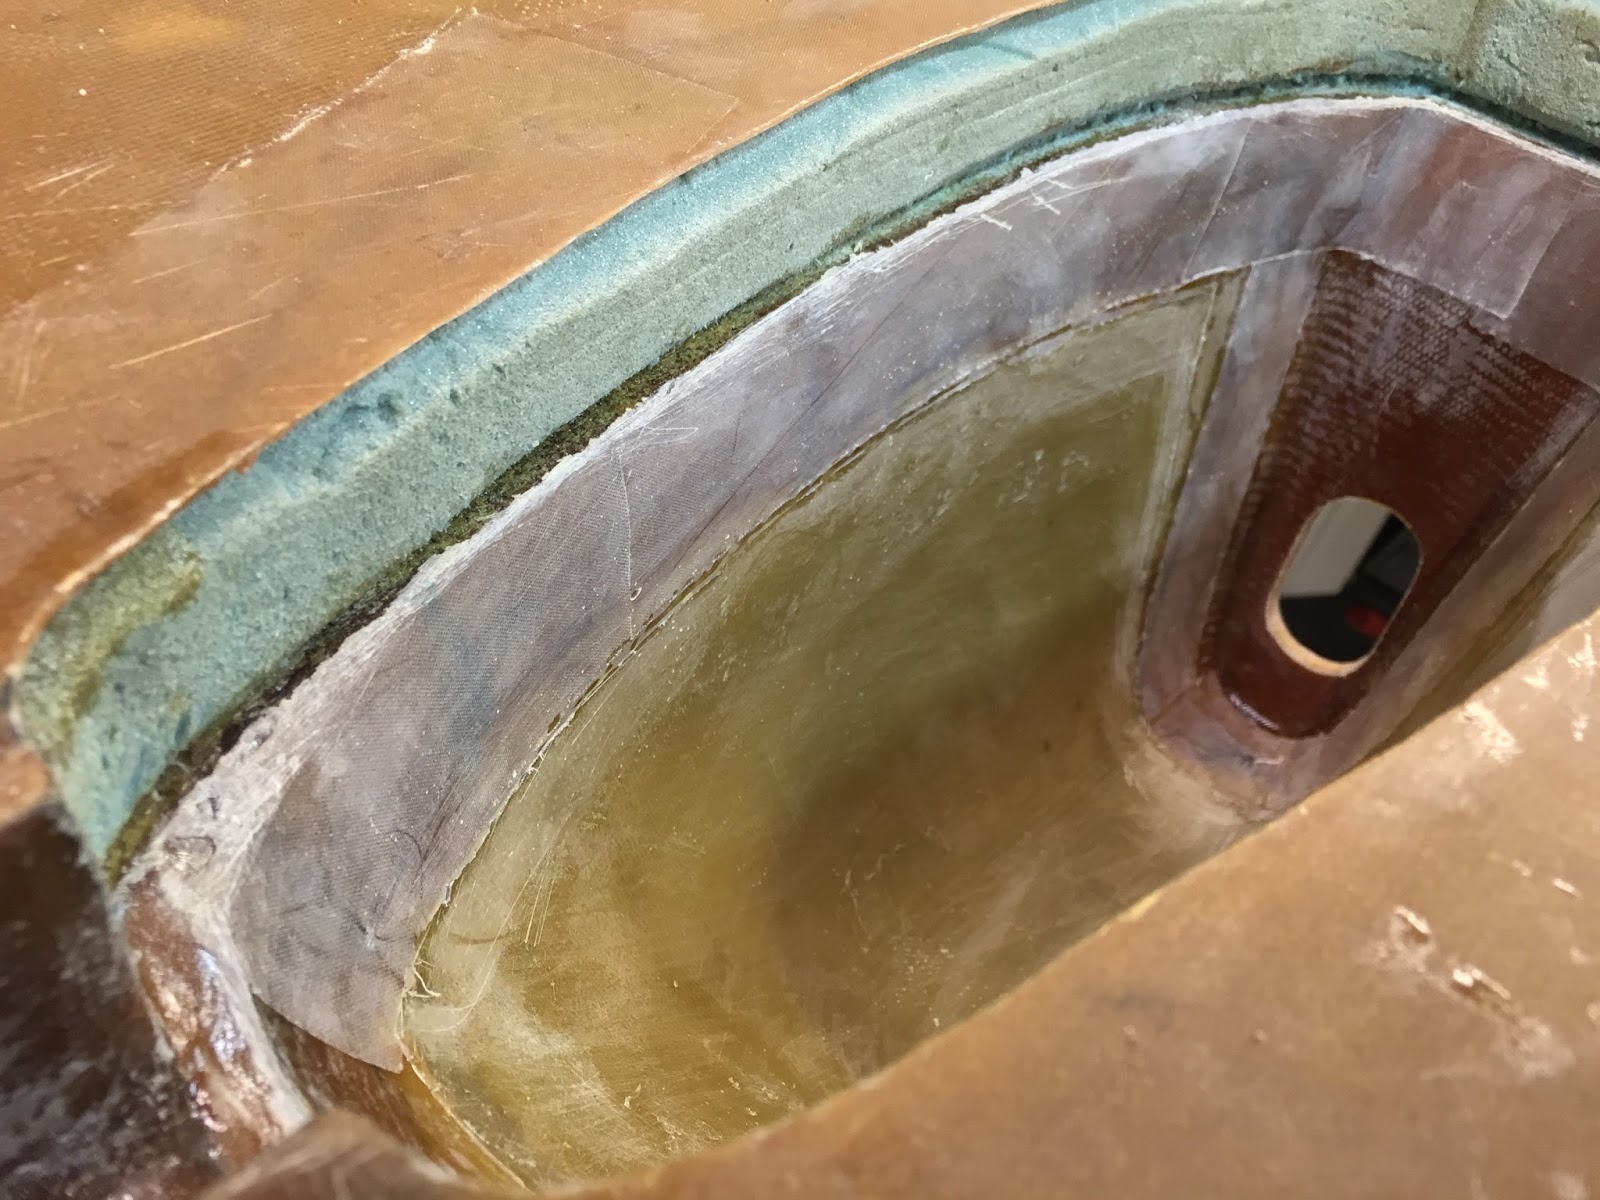
 |
| Inside view |
Beside a little sanding and cleanup, the wheel well was now ready for mod #3, aka the repair of mod #2.
Mod #3 basically consisted in filling the hole I produced when I made the wheel well sit flush. I started by sanding where needed with the Dremel tool.
 |
| Getting the fiberglass ready for secondary bonding |
I then dammed the hole from below with tape.
 |
| Aluminum tape dam to hold the flox, and shape the BID. |
My plan was to use two BID plies directly over the hole, and a single ply around the sides (forward only) where my sanding had been a slightly too aggressive.
 |
| BID schedule for Mod #3 |
 |
| Going to sleep now |
A day later, I removed the peel-ply and the aluminum tape, and checked the results.
 |
| "Rock solid Baby!" |
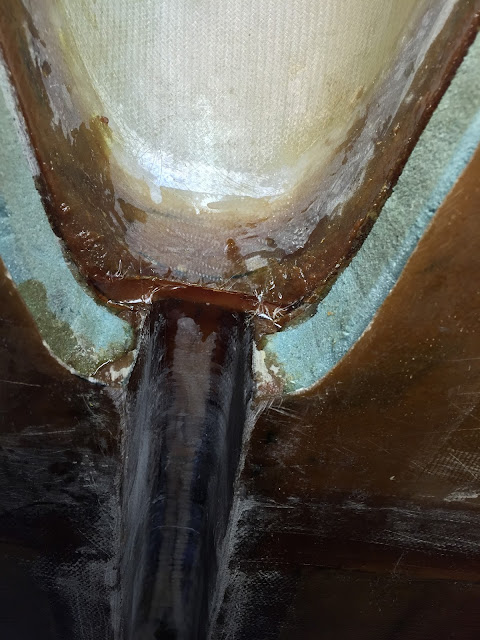 |
| Flox showing from below |
I think the closing of the hole came out really nice. Now all that was left was to attach the back side of the wheel well to the instrument panel, but first I had to retract the nose gear to make sure I didn’t acquire any new issues.
 |
| "Nope, no problems here!" |
Cycling the gear went well, so I moved on to masking for the next step.
 |
| Trust me, it's going to need it. |
With the wheel well so thin, I had accidentally sanded through it in a few places near the edges, so I decided to add one ply of BID all around the intersection between it and the fuselage floor, on the wheel side.
Additionally, I needed to take up the slack for a slight misfit between the wheel well and the instrument panel, so one ply of BID went on that side as well.
 |
| Small gaps needing attention |
 |
| 1.5"x14" (3.8 x 35.5 cm) BID tape on the left side with peel-ply on top |
 |
| More BID tape and peel-ply on the right side |
 |
BID and peel-ply on the far end as well
|
All there was left to do the next day was some cleanup, and the wheel well was finally done.
 |
| Job "well" done! |
 |
| Left side sanded to remove the peel-ply "fuzzies" |
 |
| Bottom edge of the wheel well trimmed flush to the fuselage floor |
 |
| As seen from the cockpit |


Looks great Marco--keep at it!
ReplyDeleteThanks BizMan, going in the shop as we speak.
ReplyDelete