Disclaimer

This blog is for entertainment purposes only, and is not meant to teach you how to build anything. The author is not responsible for any accident, injury, or loss that occurs as a result of reading this blog. Read this blog at your own risk.

Wednesday, July 23, 2014

Nose and nose gear - part 17

Making the “pointed end” (7.0 hrs)

The nose space not taken up by bulkheads needed to be completely filled with foam, then the whole forward nose structure would be cutoff, yes... cut off! 

The inside of the foam cone could then be carved from the rear, the inside glassed, then the whole cone reattached to the main nose bulkhead, or something like that. 

None of this appealed to me at all.

For one thing, I hated the idea of cutting off something I spent so much time making, then having to reattach it. I also wanted to minimize the time spent carving the inside of the nose cone. You see, while the blue “fuselage foam” I substituted for the nose (instead of the flimsy urethane) is very rigid and strong, it is also very tough to shape, especially the concave parts where aggressive foam removal tools are harder to employ.

I decided not to do any of that, and instead split the nose somewhat horizontally, working on the bottom half first, and complete the top half at a later date. I wanted to be able to transition the nose cone top surface into the canard section, and into the canopy frame structure in a continuos smooth surface, and that would have to wait until those parts were in hand.

Meanwhile, I would employ the same techniques used thus far on the nose to fashion the nose battery compartment. 


Battery will be housed in the forward compartment


Thus I began shaping foam pieces that would be later carved into the outer nose skin.


Eyeballing the foam size and angles

Such an overkill, but so easy.

Front angle cut, working on the rear angle.


Once the foam fit reasonably well on the left side, I wrote down all measurements...


Approximate measurements


... and made an opposite one for the right side.


Making the right side panel


This fit for the most part, but a few scrap pieces had to still be glued together to achieve a better fit.


Adding a small sliver of foam to improve the fit


As previously, I mixed some tacky micro, and used it to glue the foam parts to the nose structure, and let it cure.


Glueing the front...

... and the back.

Foam blocks permanently attached to bulkheads


I opted to leave the floor panels out until I can glass the inside of the two side panels.

Then I focused on the most forward section.

Not knowing exactly where the tip of the nose cone would end up, I made a bigger foam “wedding cake” than I probably needed, and attached it to the small bulkhead.


Welding rod skewering the foam cake

"Shouldn't the frosting go on top of the cake?"

More "curing action"

Do you think anybody would notice the nose, if I were to put a jet engine in the back?

While I wasn’t quite ready to shape the nose yet, the foam stuck out of the sides of the fuselage like “gills” on a fish, and they needed to come off before they drove me insane.


These ugly protrusions have to go, now!


Since this foam is very tough, I started out with 36 grit sandpaper on a portable belt sander. In order to reduce the amount of debris flying in my face, I fastened the vacuum hose to it, and quickly gutted this fish.


Introducing the "Foam Terminator"

Awkward to use, but very effective.


Now the wedding cake nose piece started to bother me, and I saw no reason I couldn’t do some initial hacking of that as well. This time I used the same sandpaper in my home made sanding block, and went to town on it. 
A few hours of sanding later, I could finally start to see, what the nose might look like when it’s finished.


Now all the neighbors can tell which way it's headed.

A lot more sanding required


Sunday, July 13, 2014

Nose and nose gear - part 16

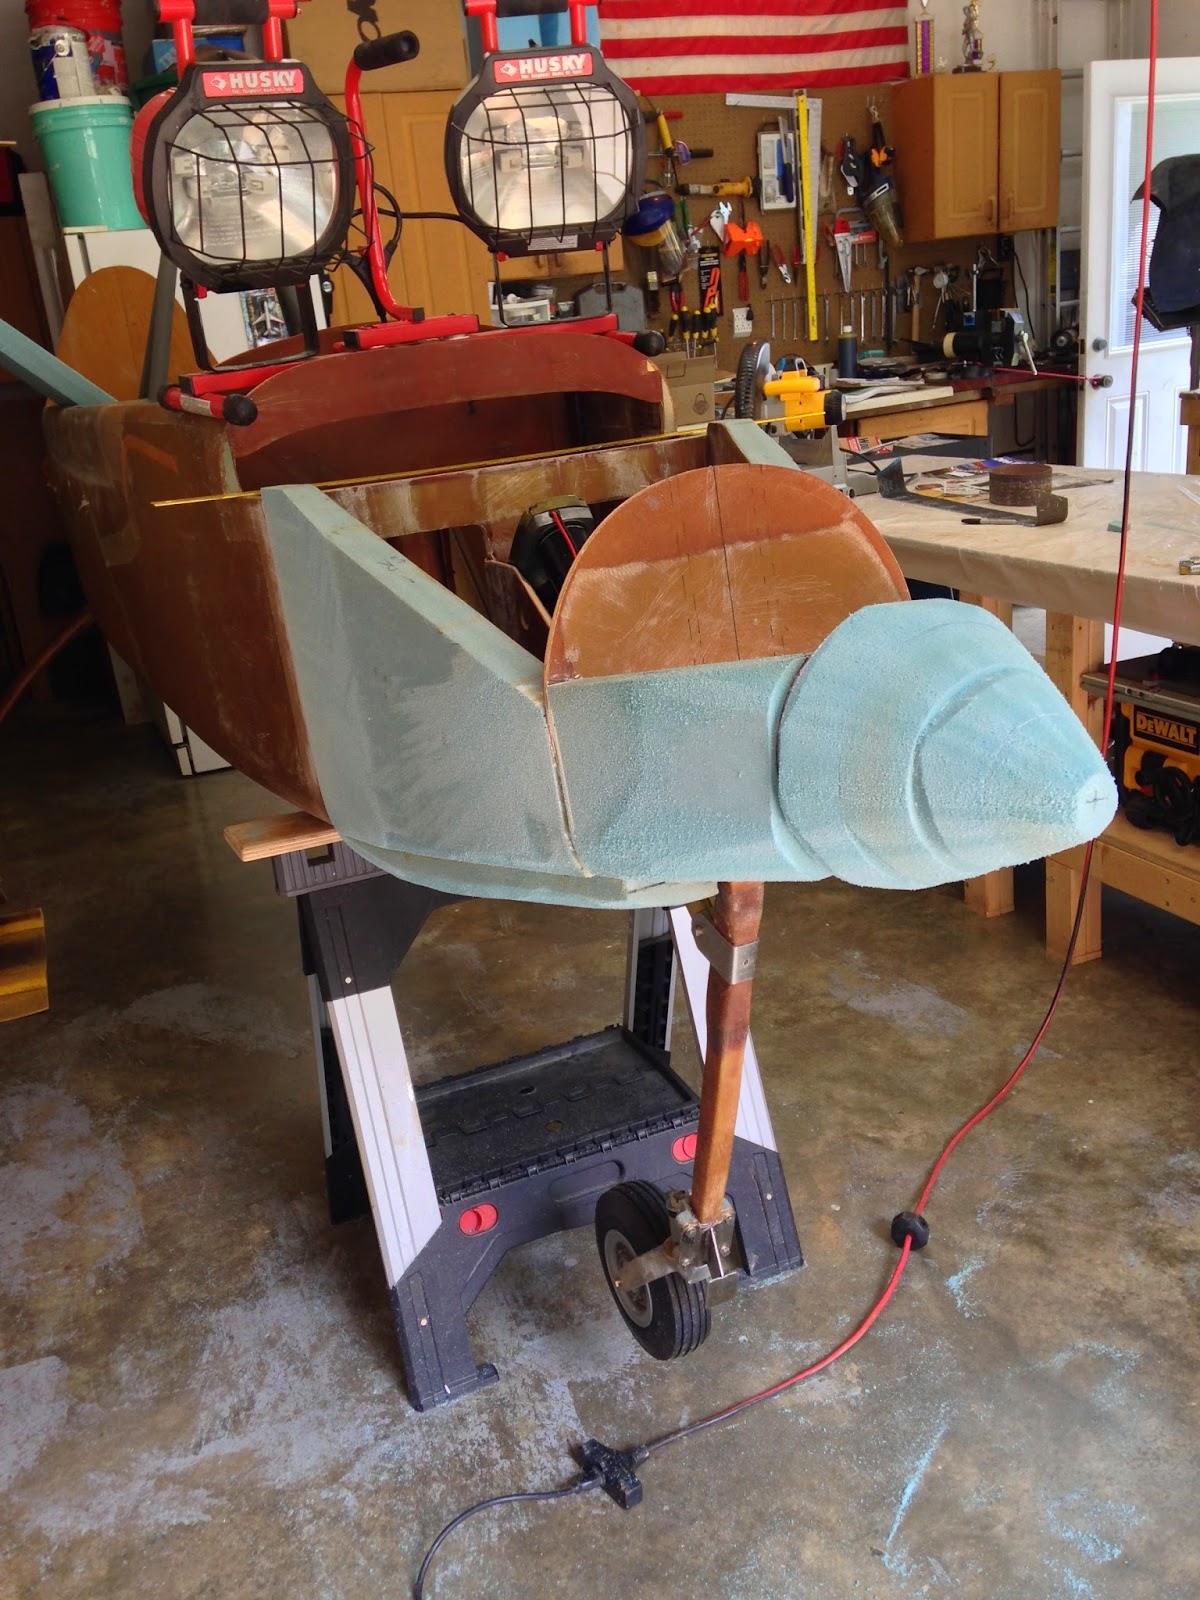
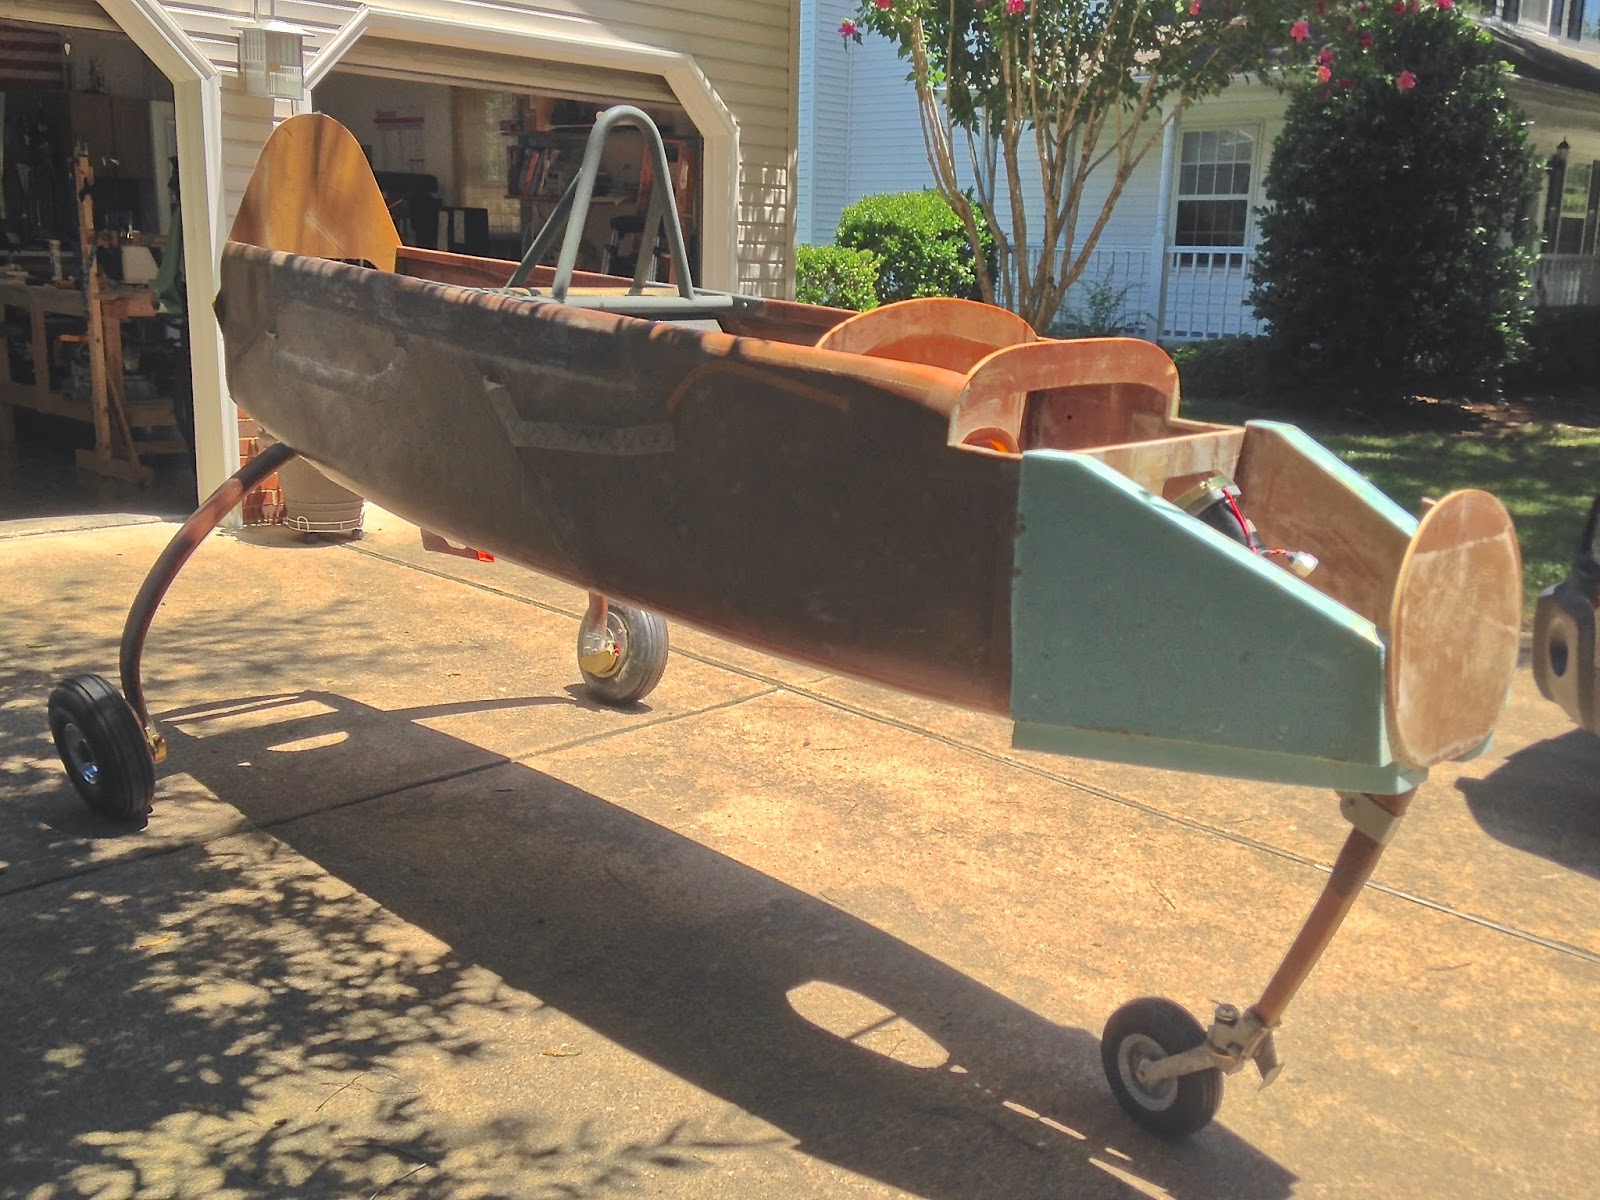
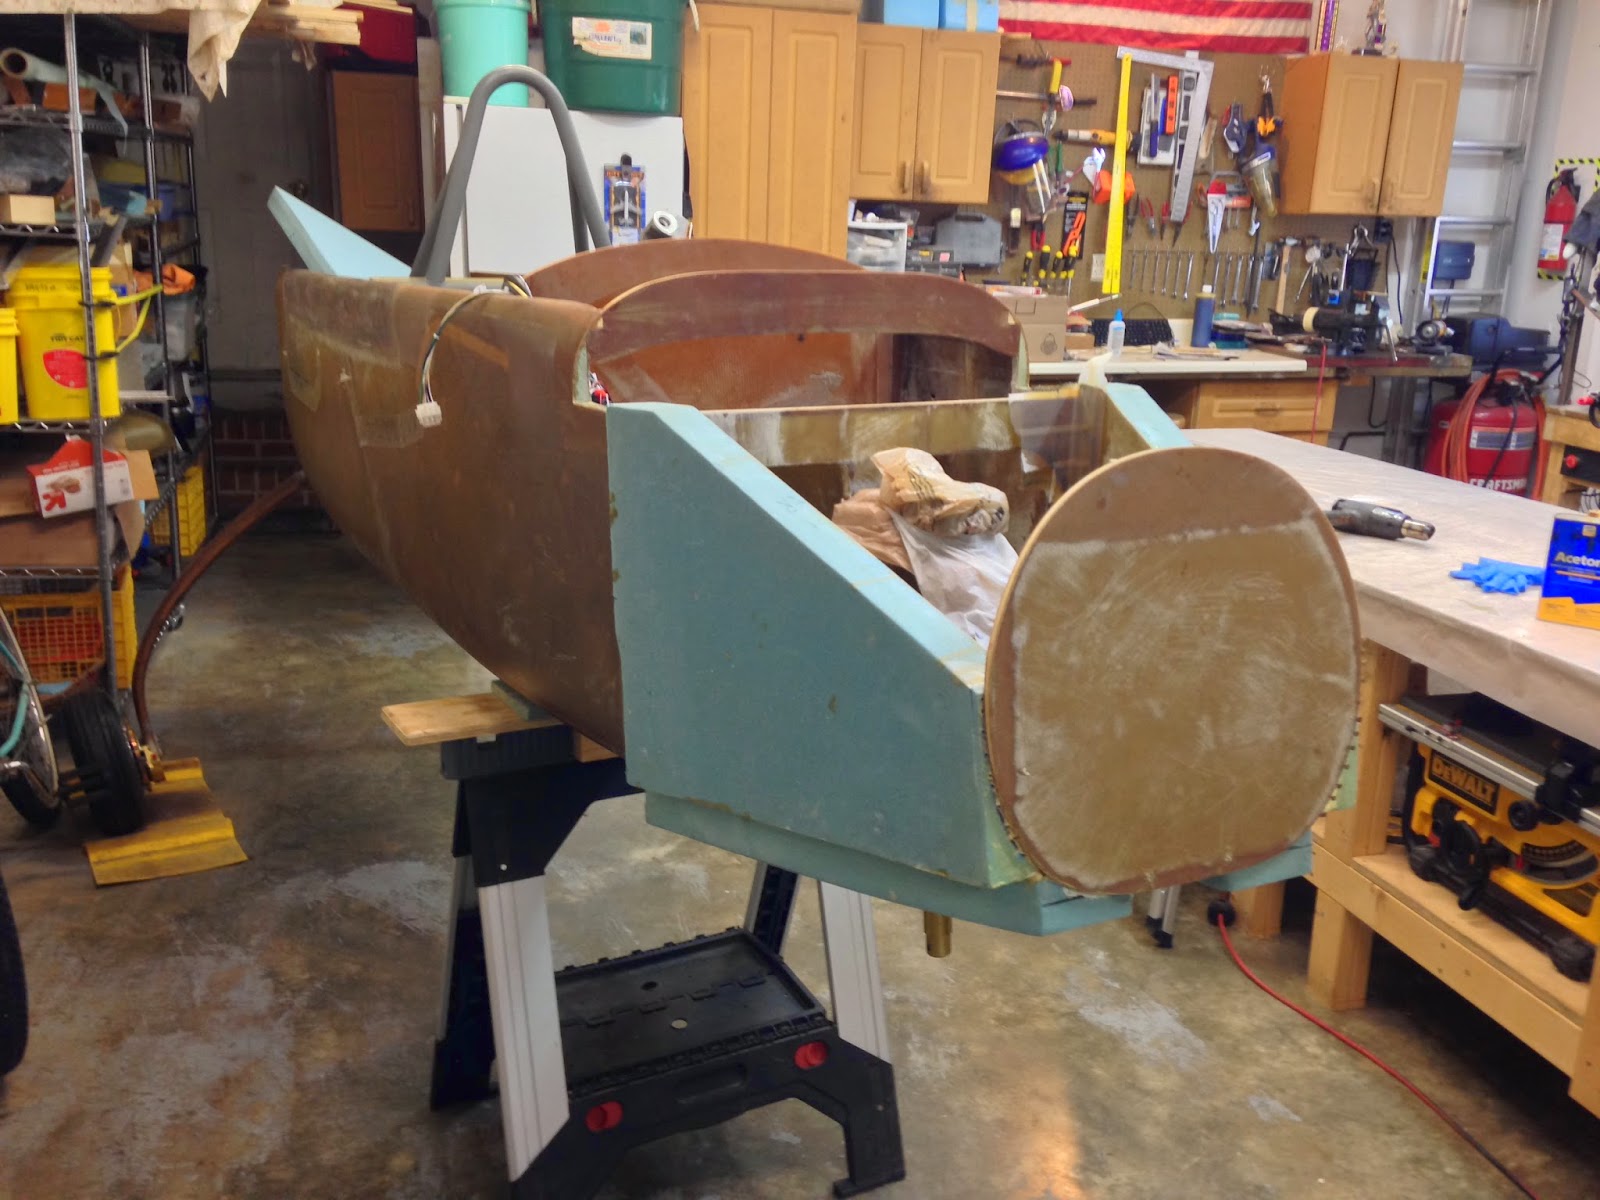
Forward nose structure (7.8 hrs)

The longer nose needed a support framework, and this is where some of the pieces Wade and I glassed last month came into play.


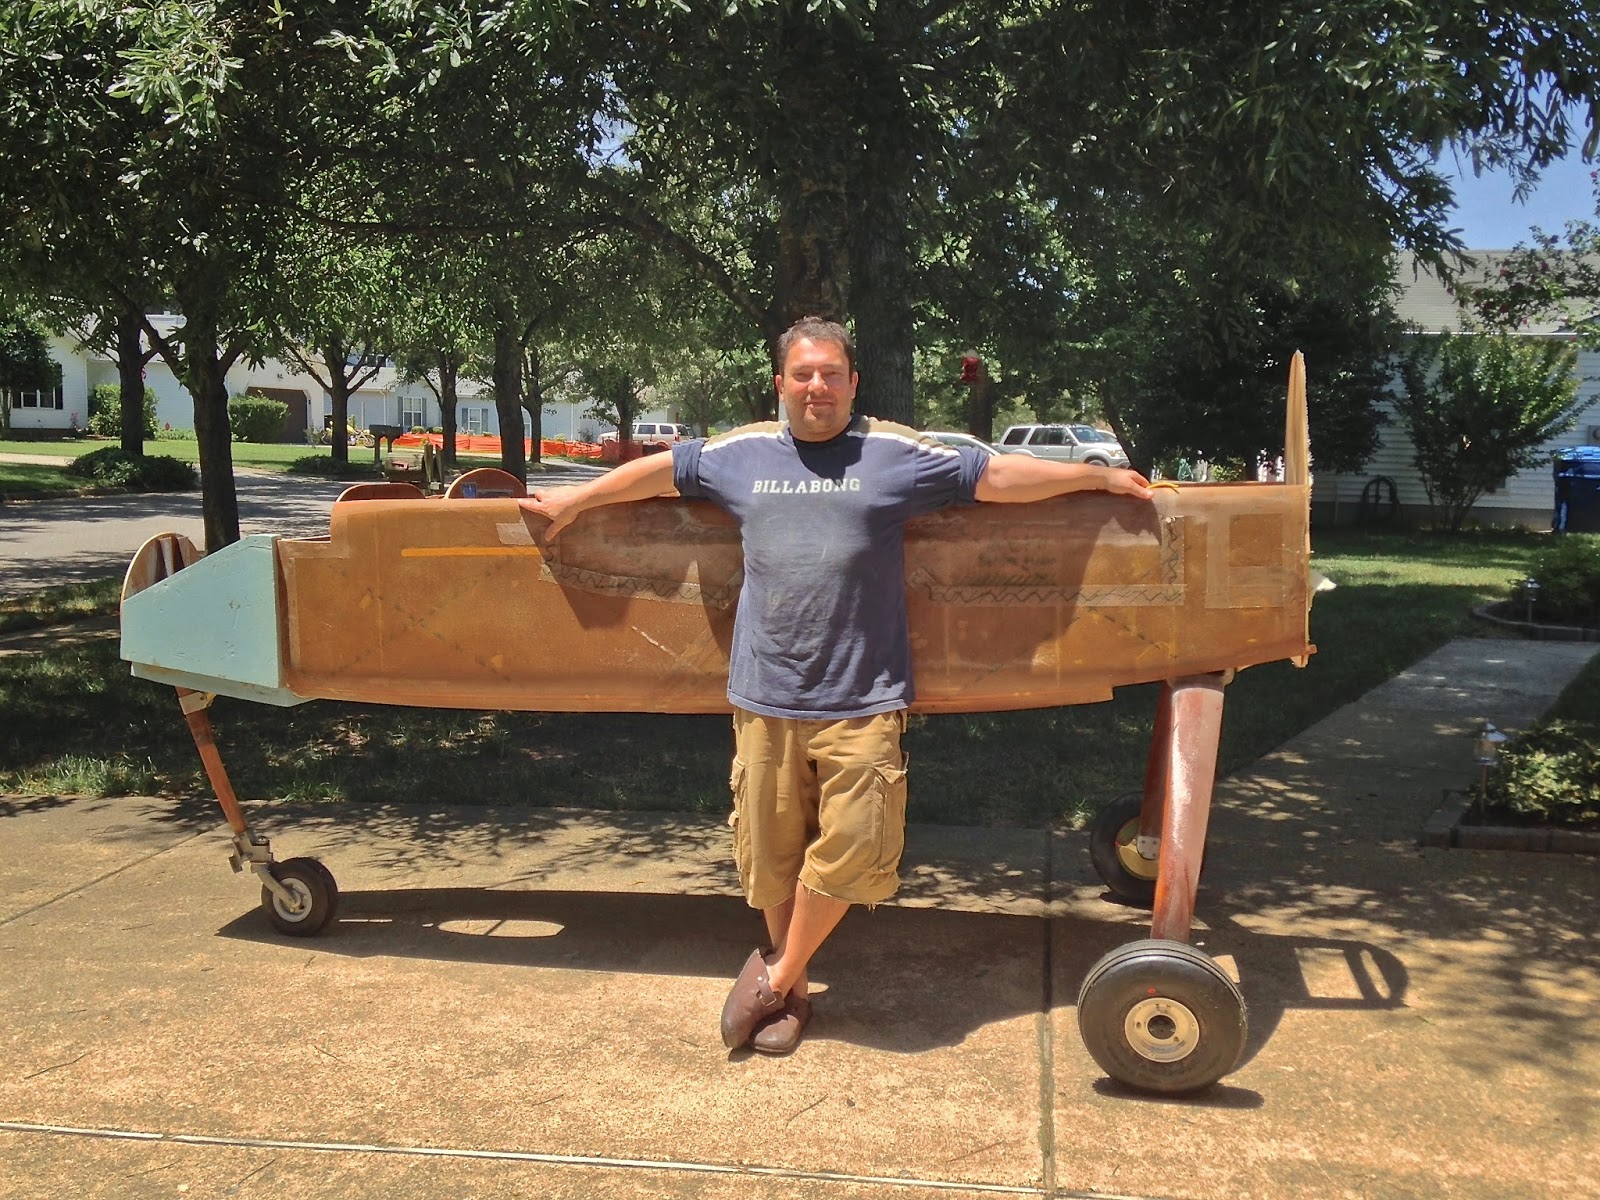
"Look at those biceps!"


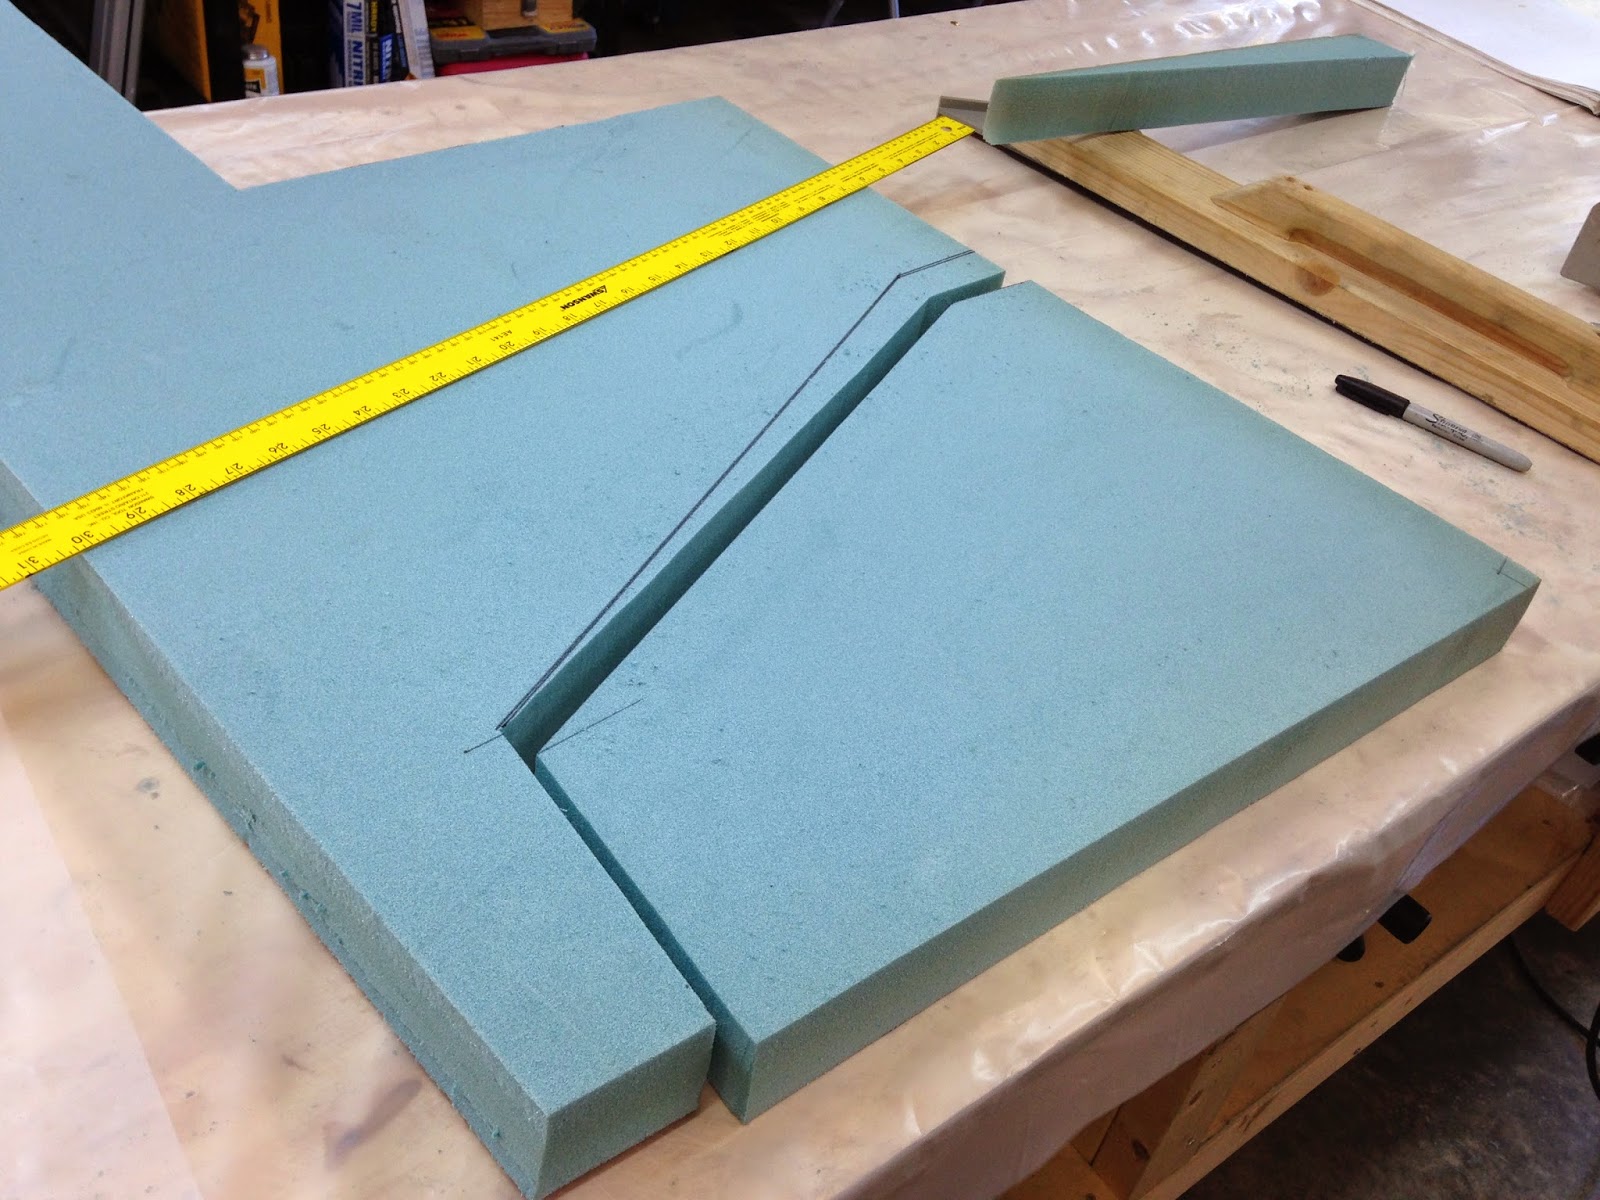
After a few “dry runs” trying all kinds of devices to hold the little arms perpendicular to the bulkhead, I settle on two pieces I had made for the mill then discarded. These had exact 90˚ angles, good height, and small base to fit between the two arms I would be floxing.


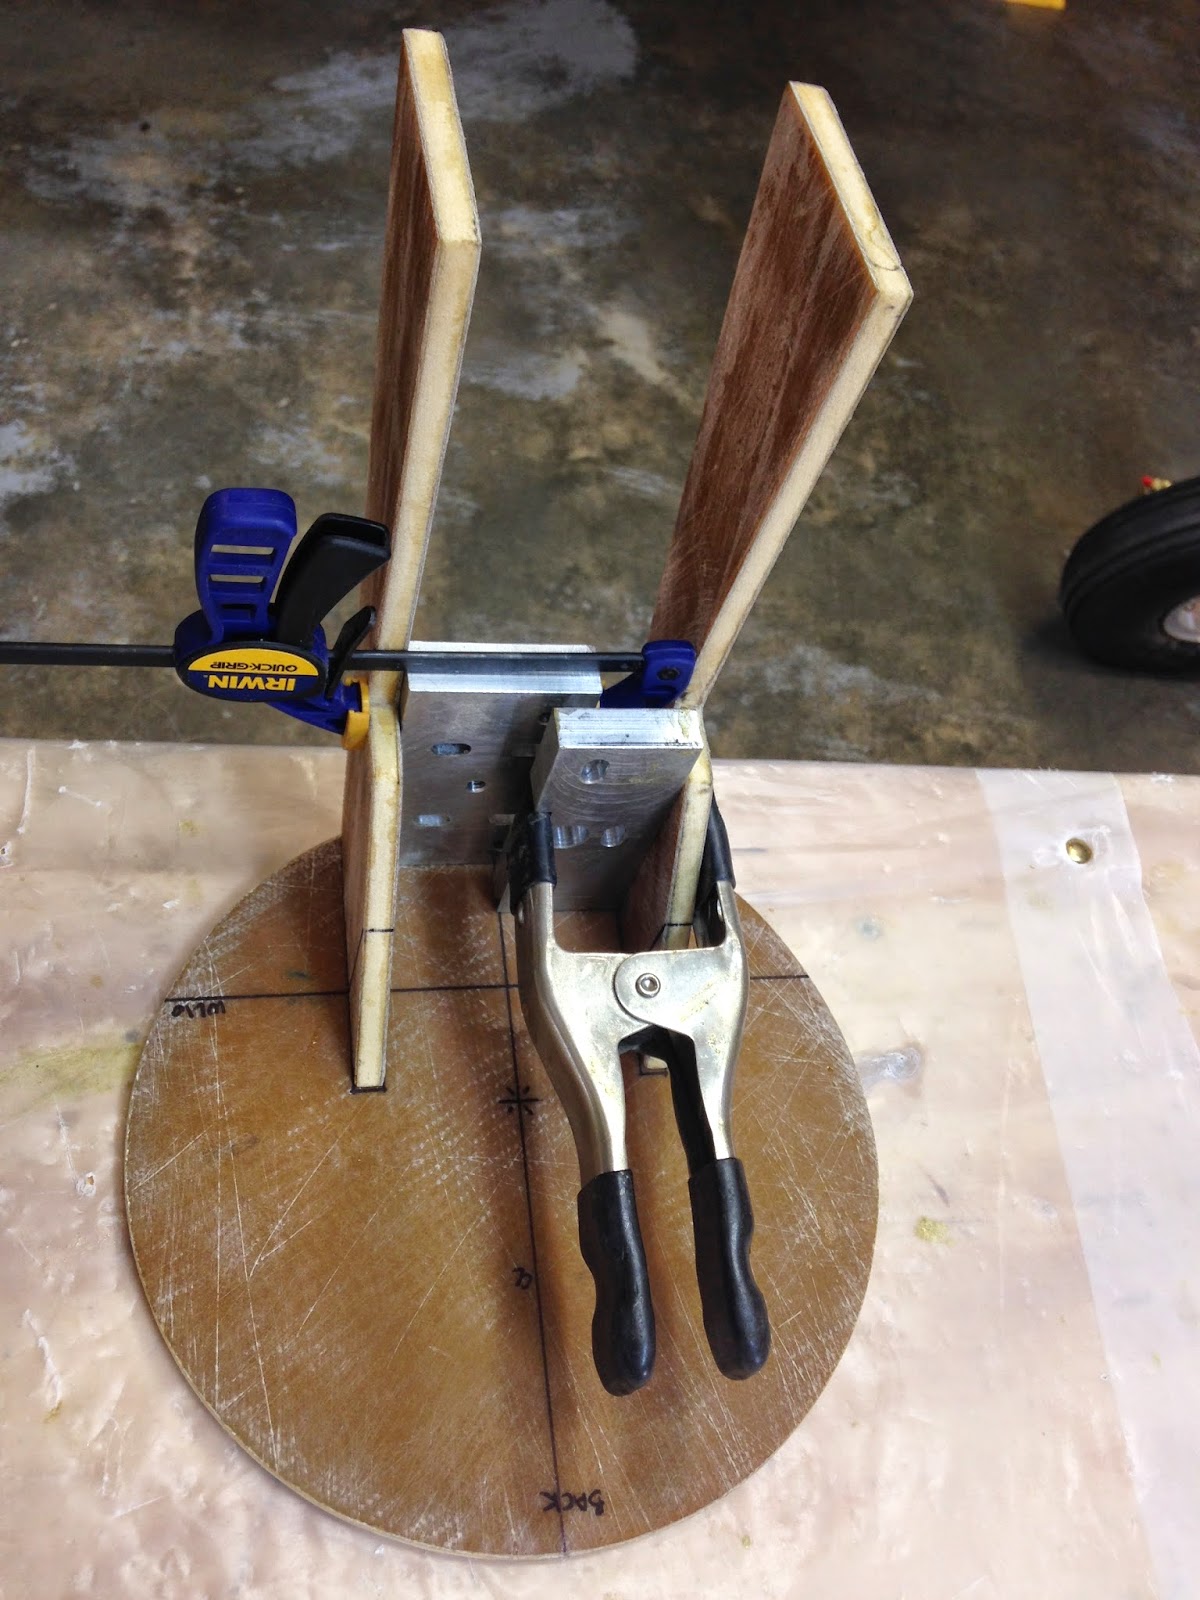
Figuring things out before getting sticky


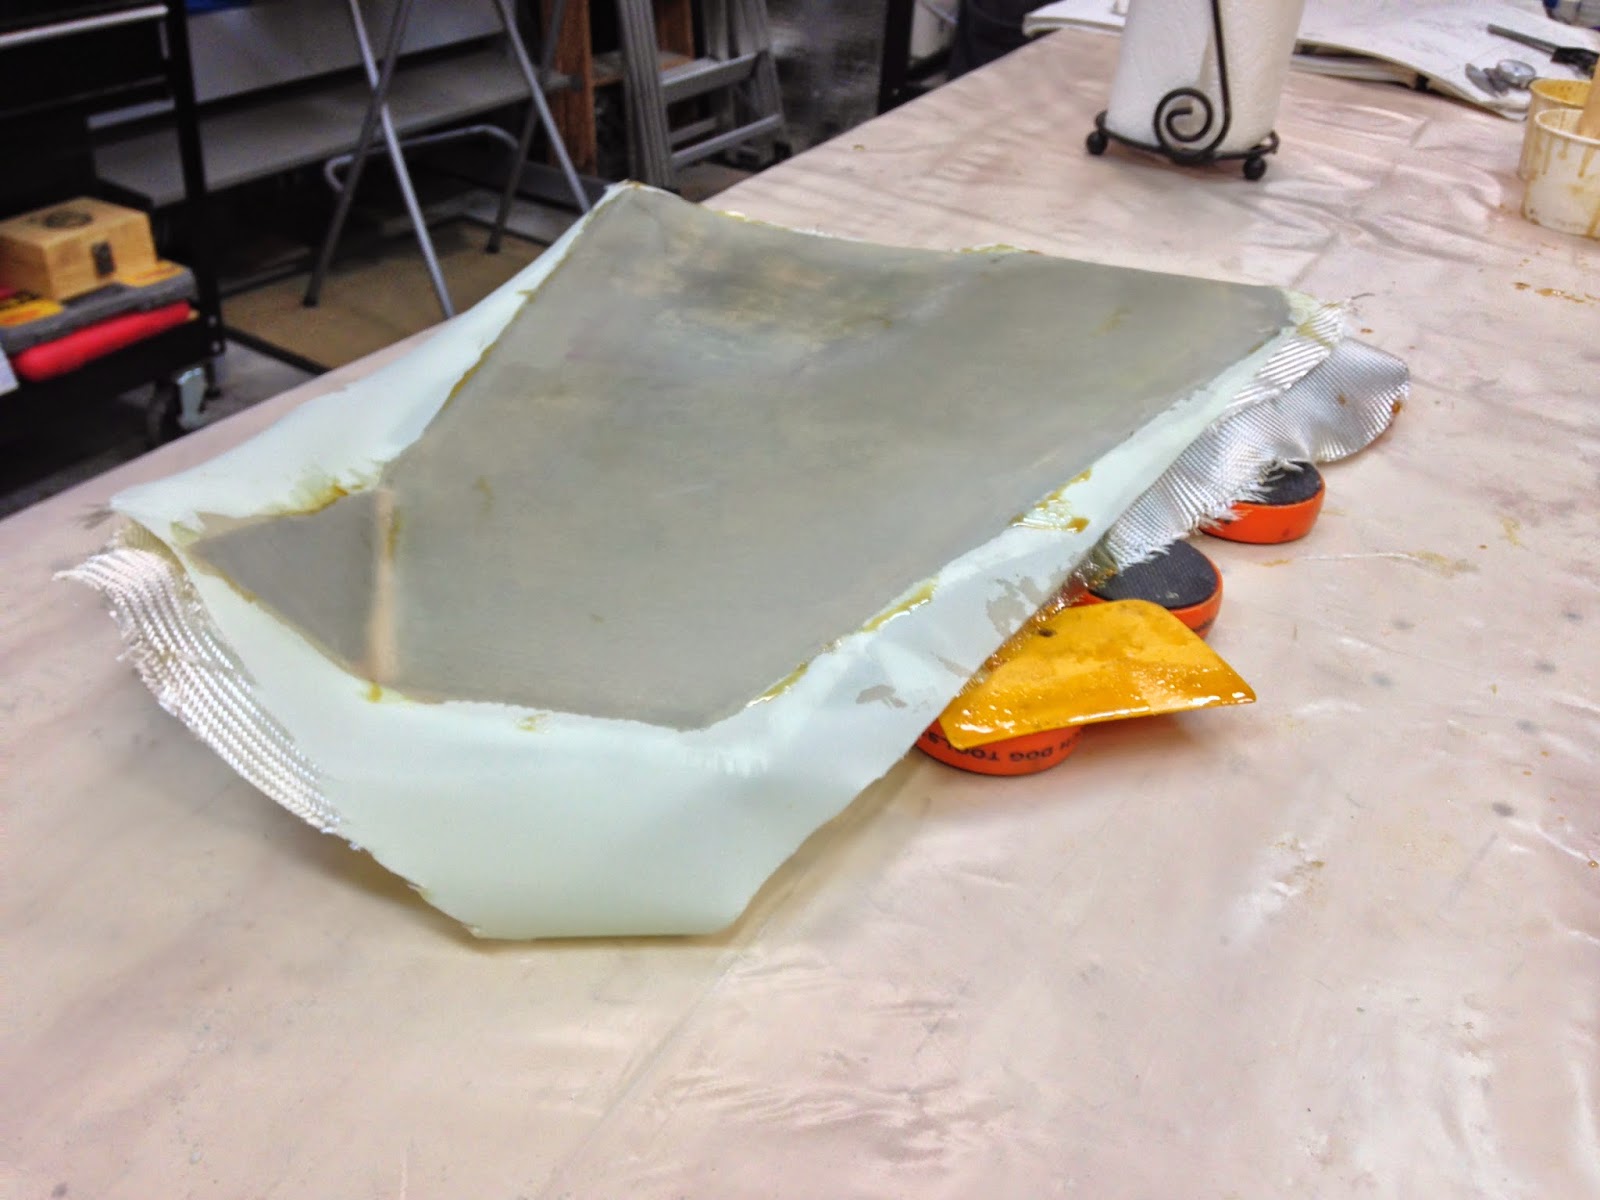
I mixed some West System flox because it cures hard enough to handle in just a few hours, and attached the small brackets.


West System flox


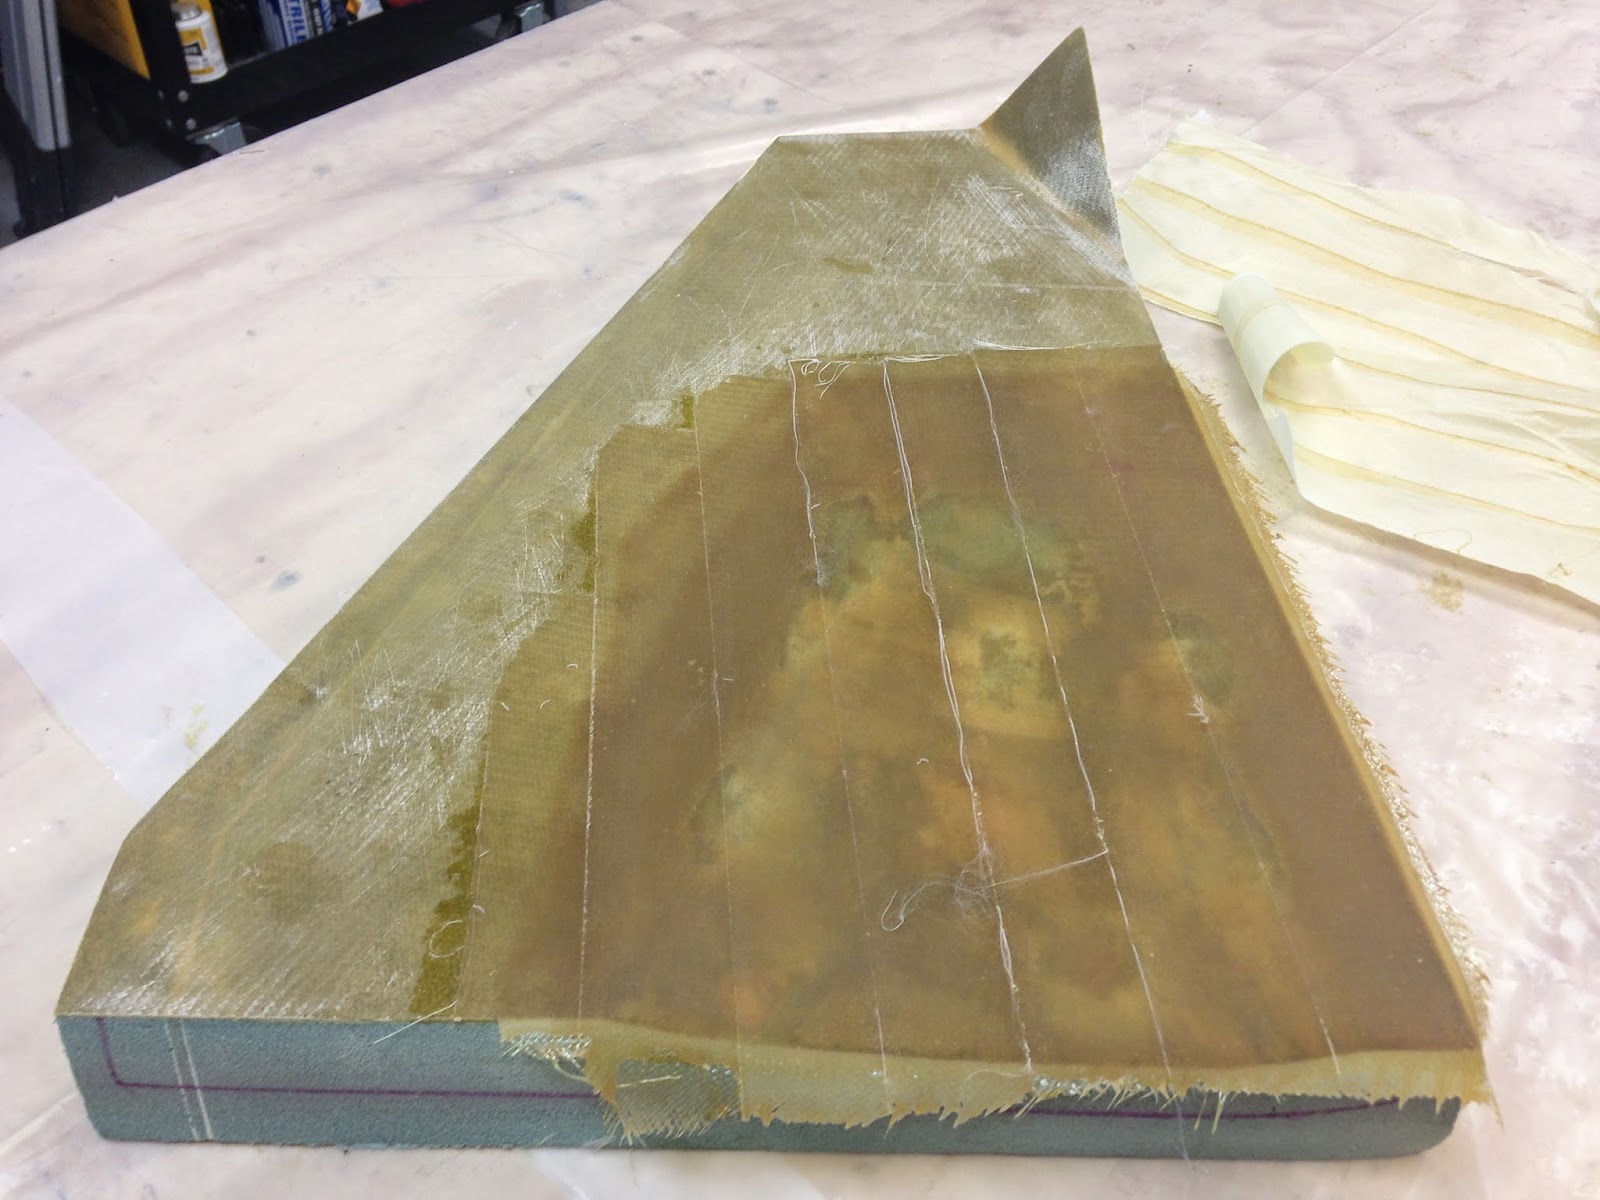
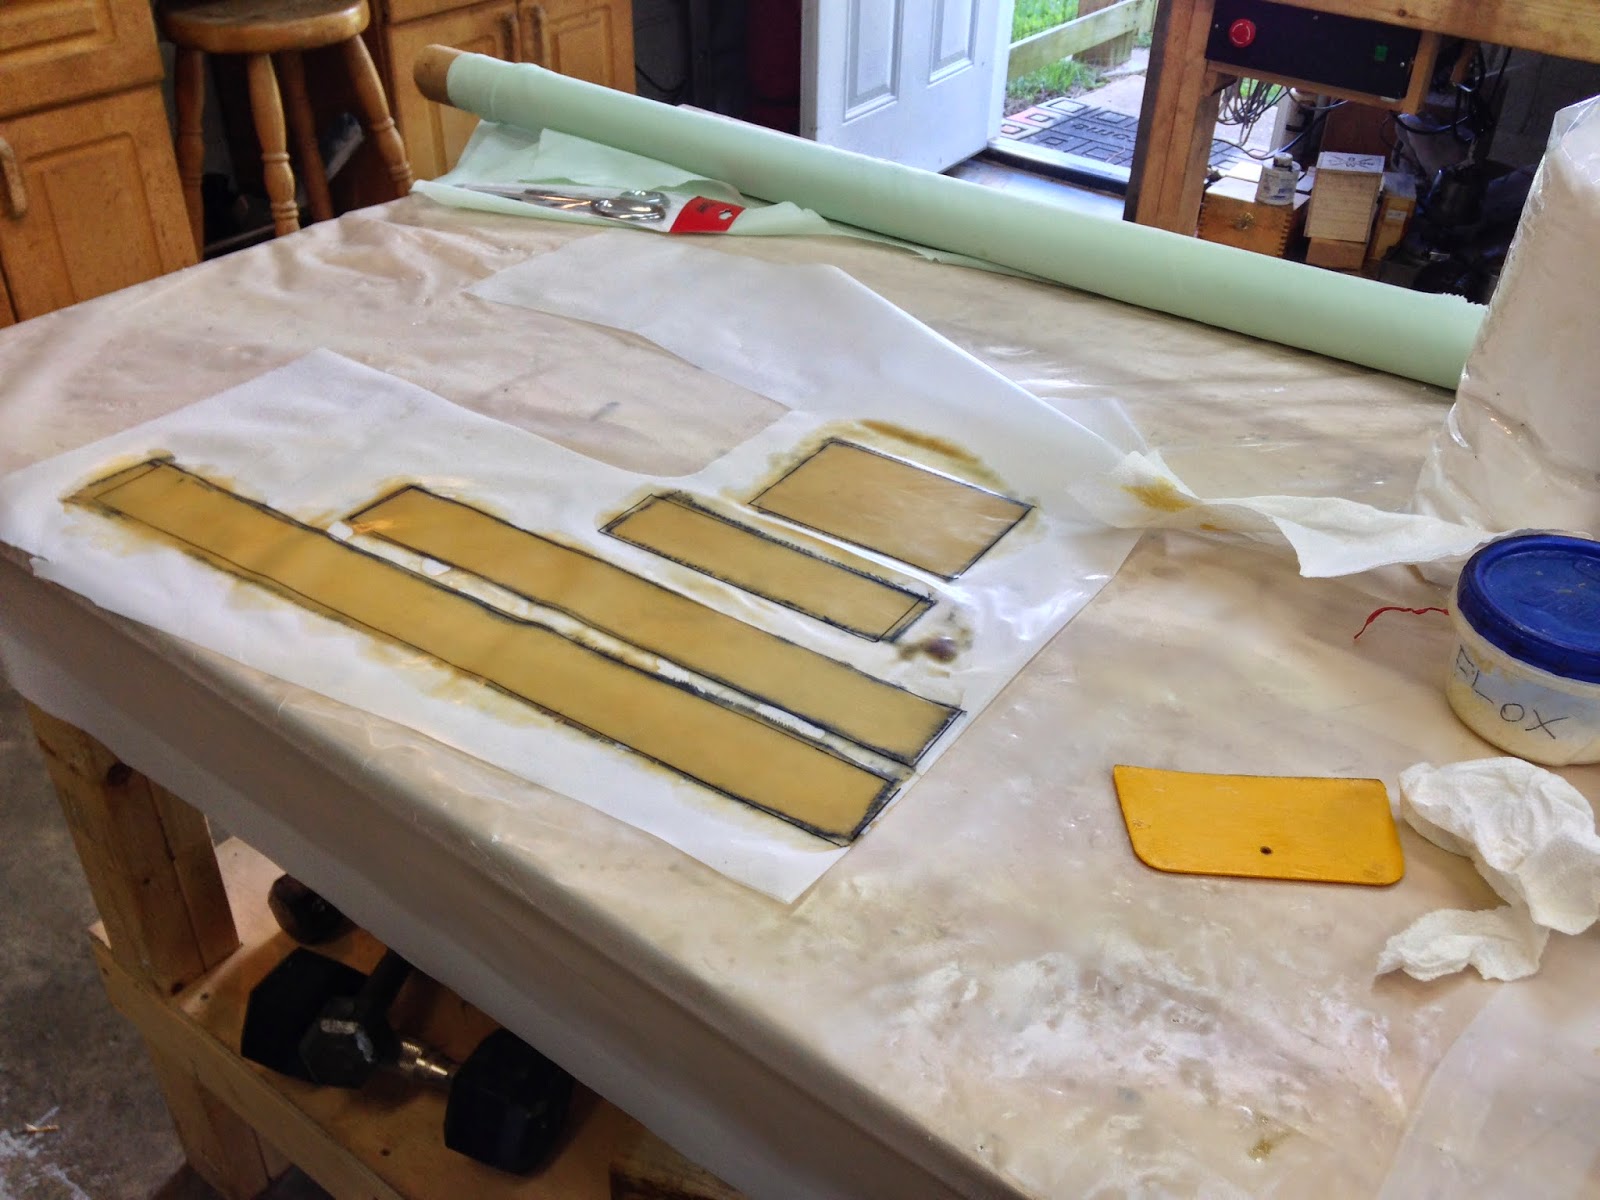
While the flox cured in the very hot shop, I spent some time cutting BID tapes out of BID scraps I had been collecting for some time.
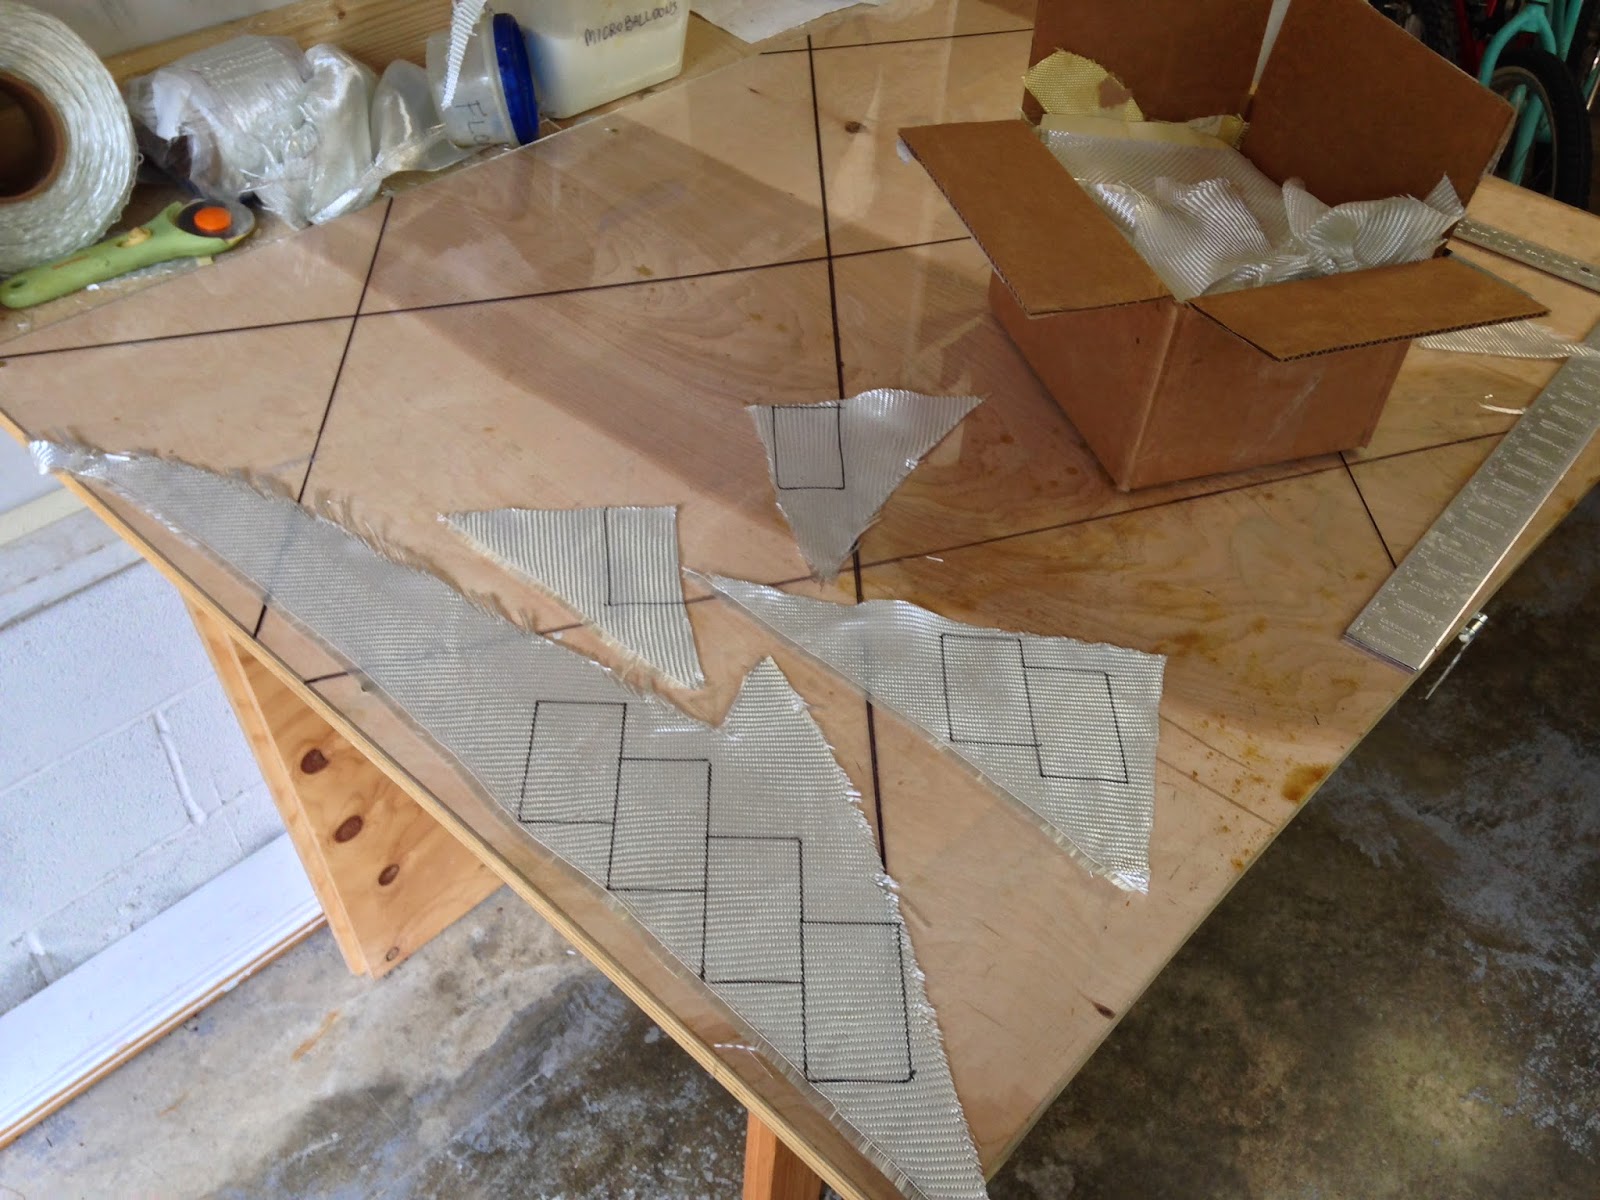

Recycling


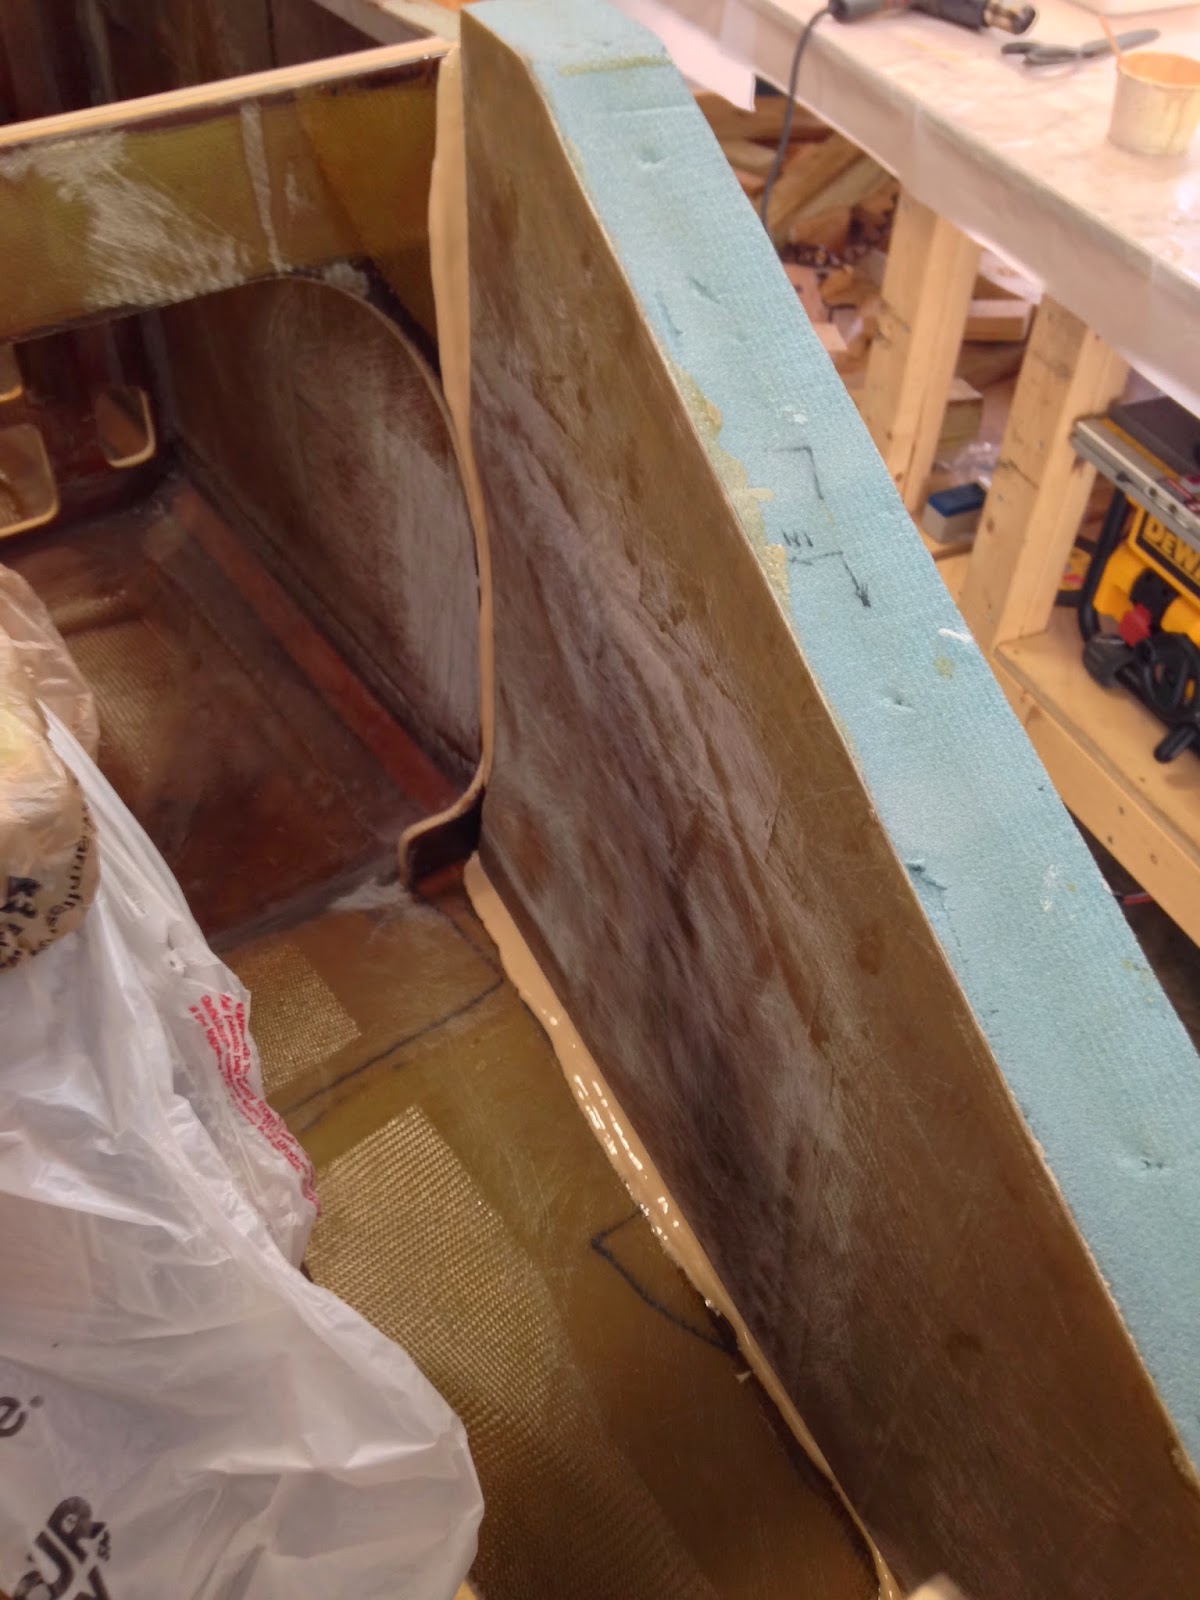
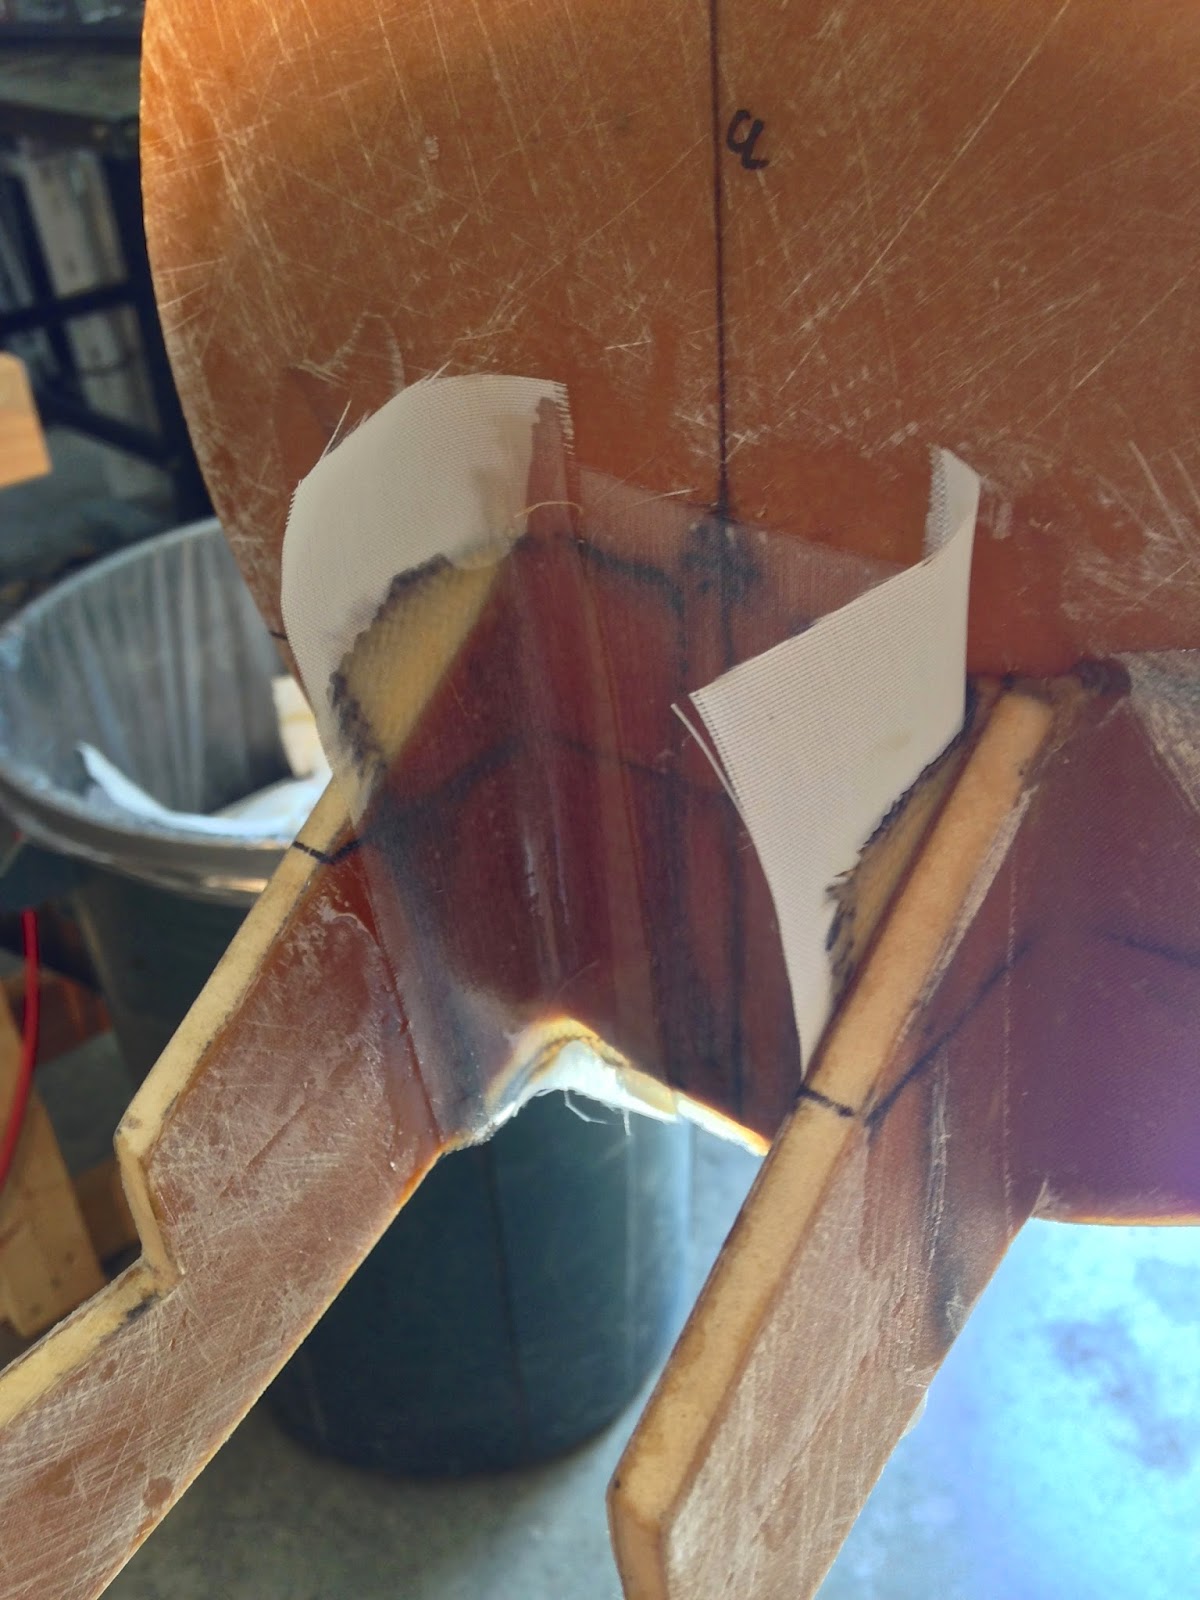
Then it was the usual sequence... flox fillet, BID tape, and peel-ply.
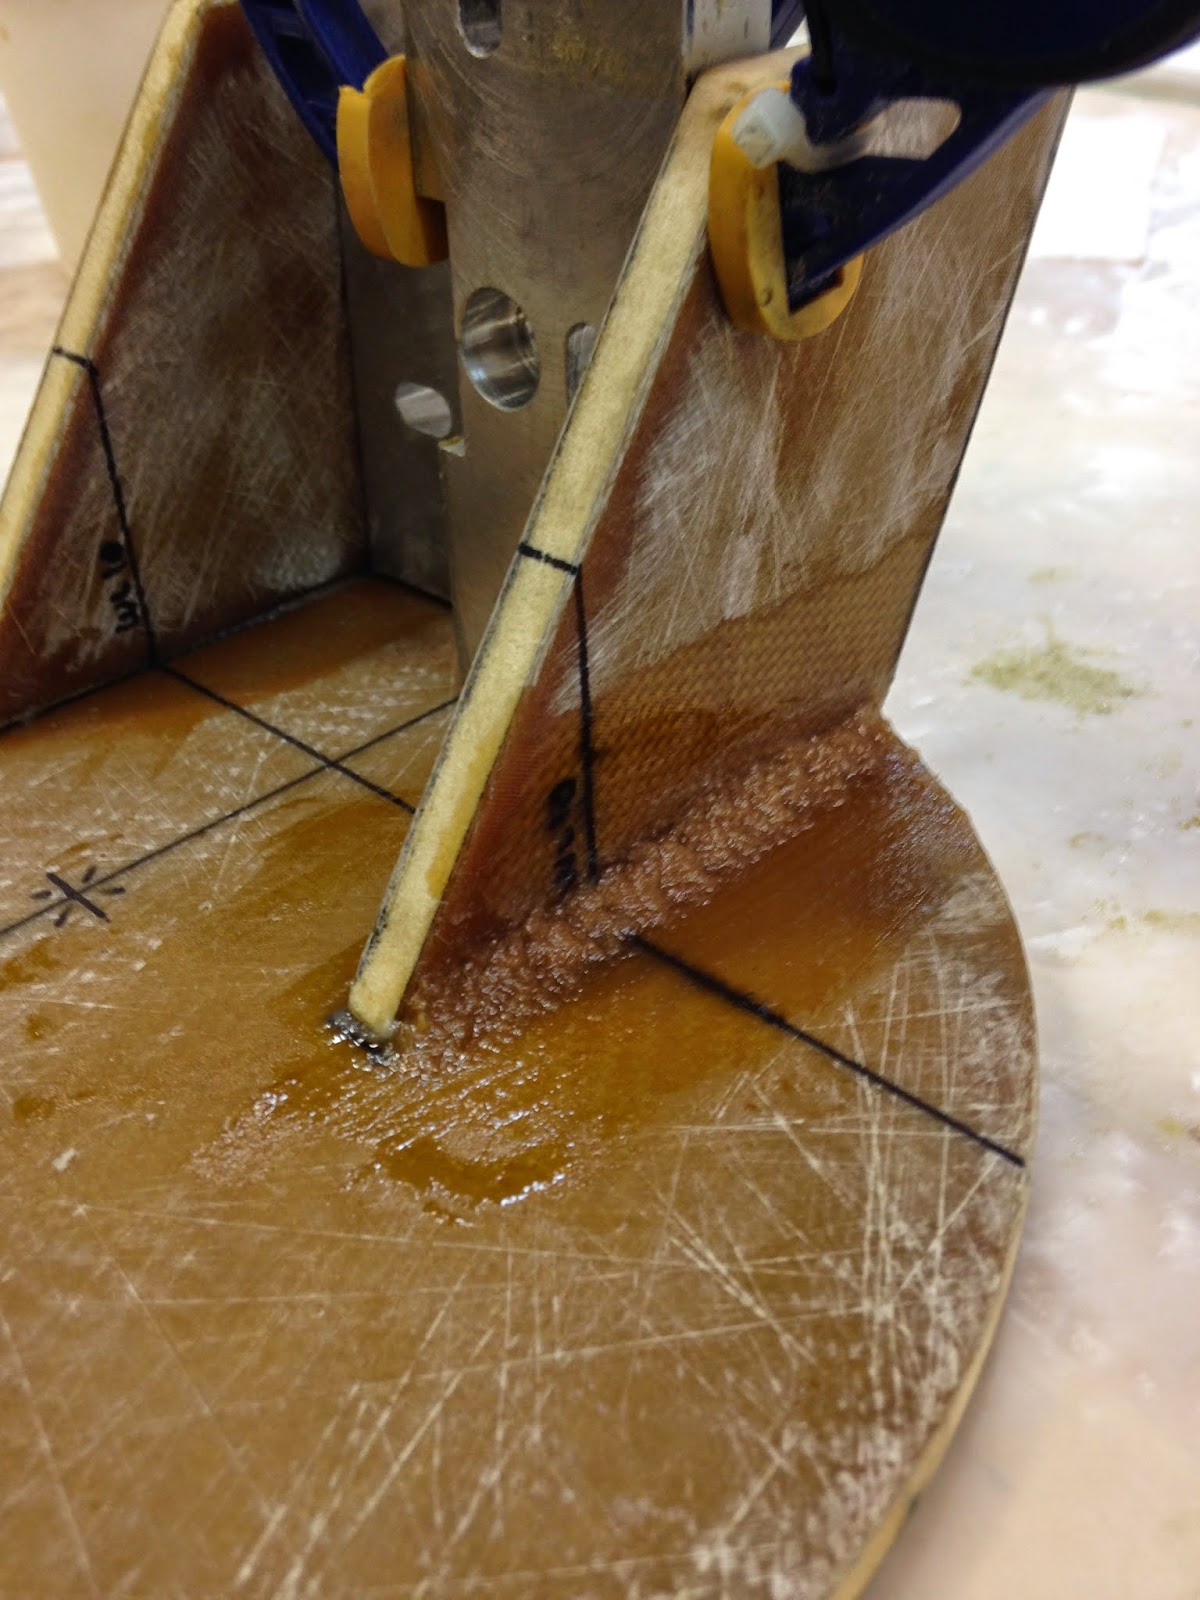

Flox fillet

BID tape

Peel-ply


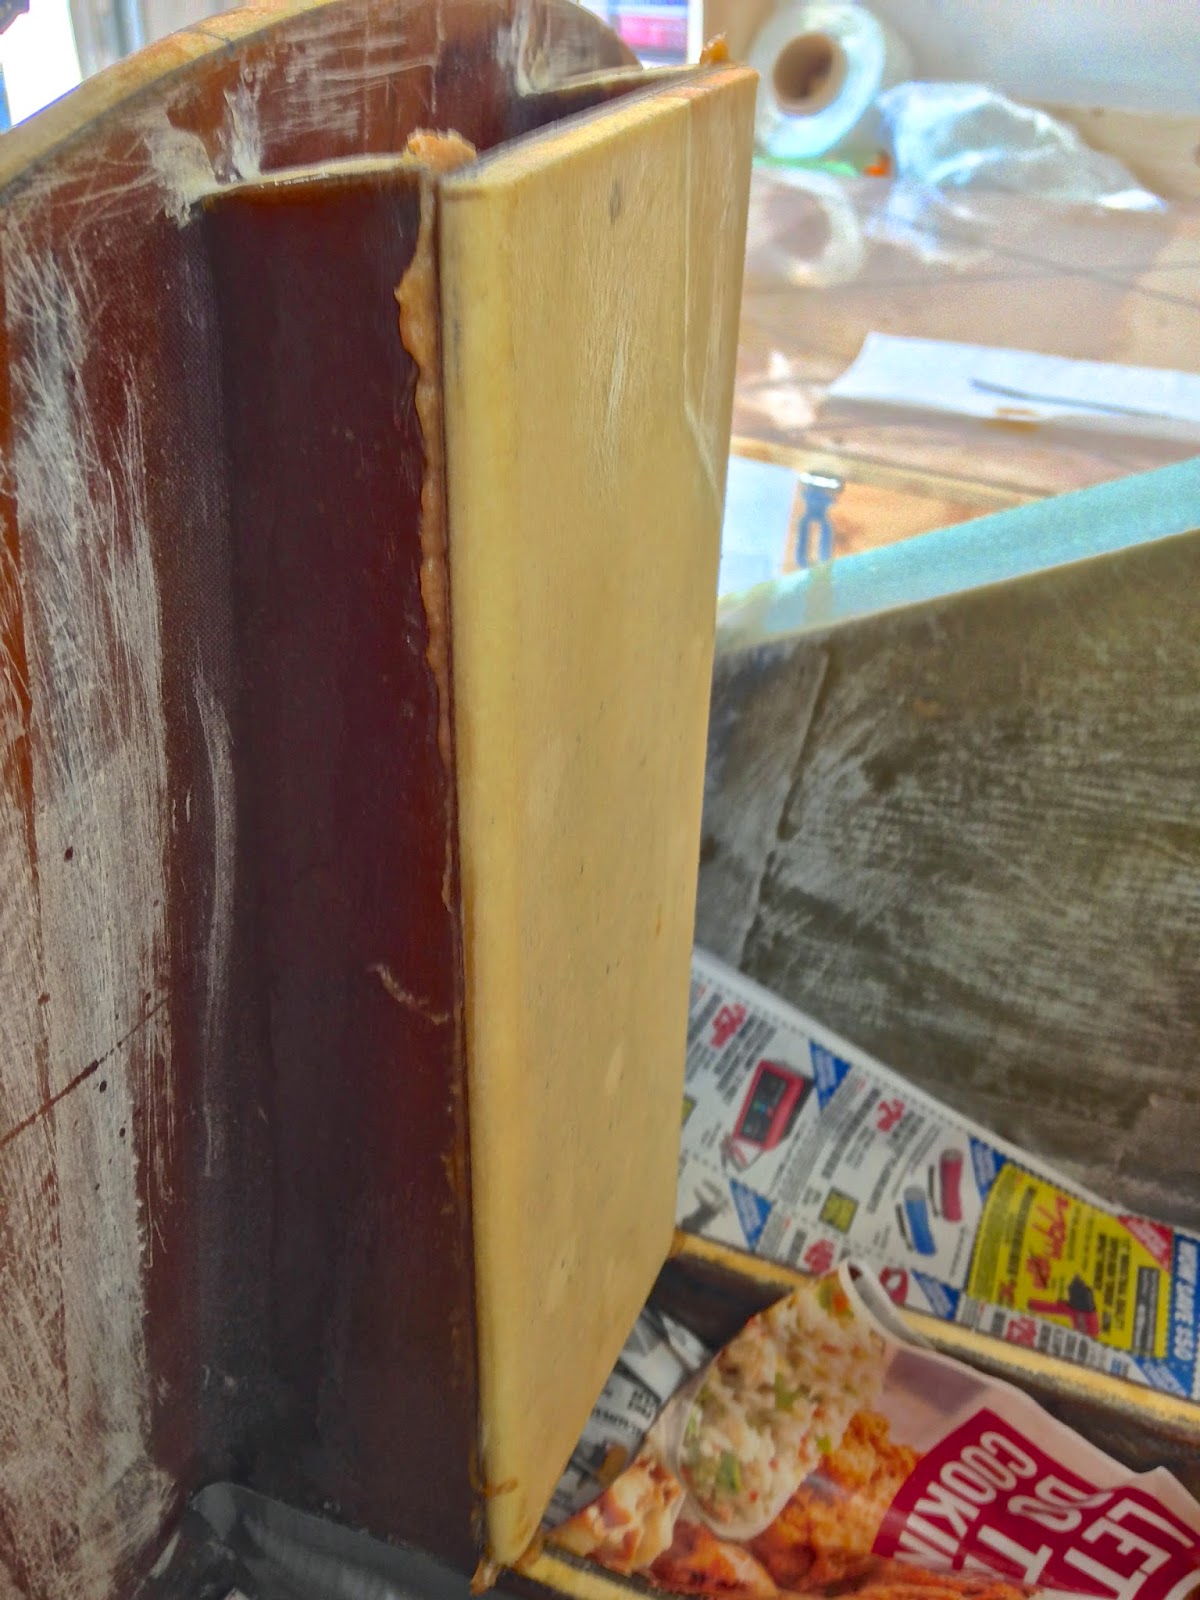
The next morning I trimmed it, sanded it, and started to ponder how to proceed.


Forward nose structure

Who's gonna hold this thing?


After an hour of trying different things that didn’t work, and brainstorming with stray neighbors, I erected a small structure that, though flimsy, seemed to be able to keep things lined up in a repeatable fashion, and allowed me to check a few measurements using both hands.


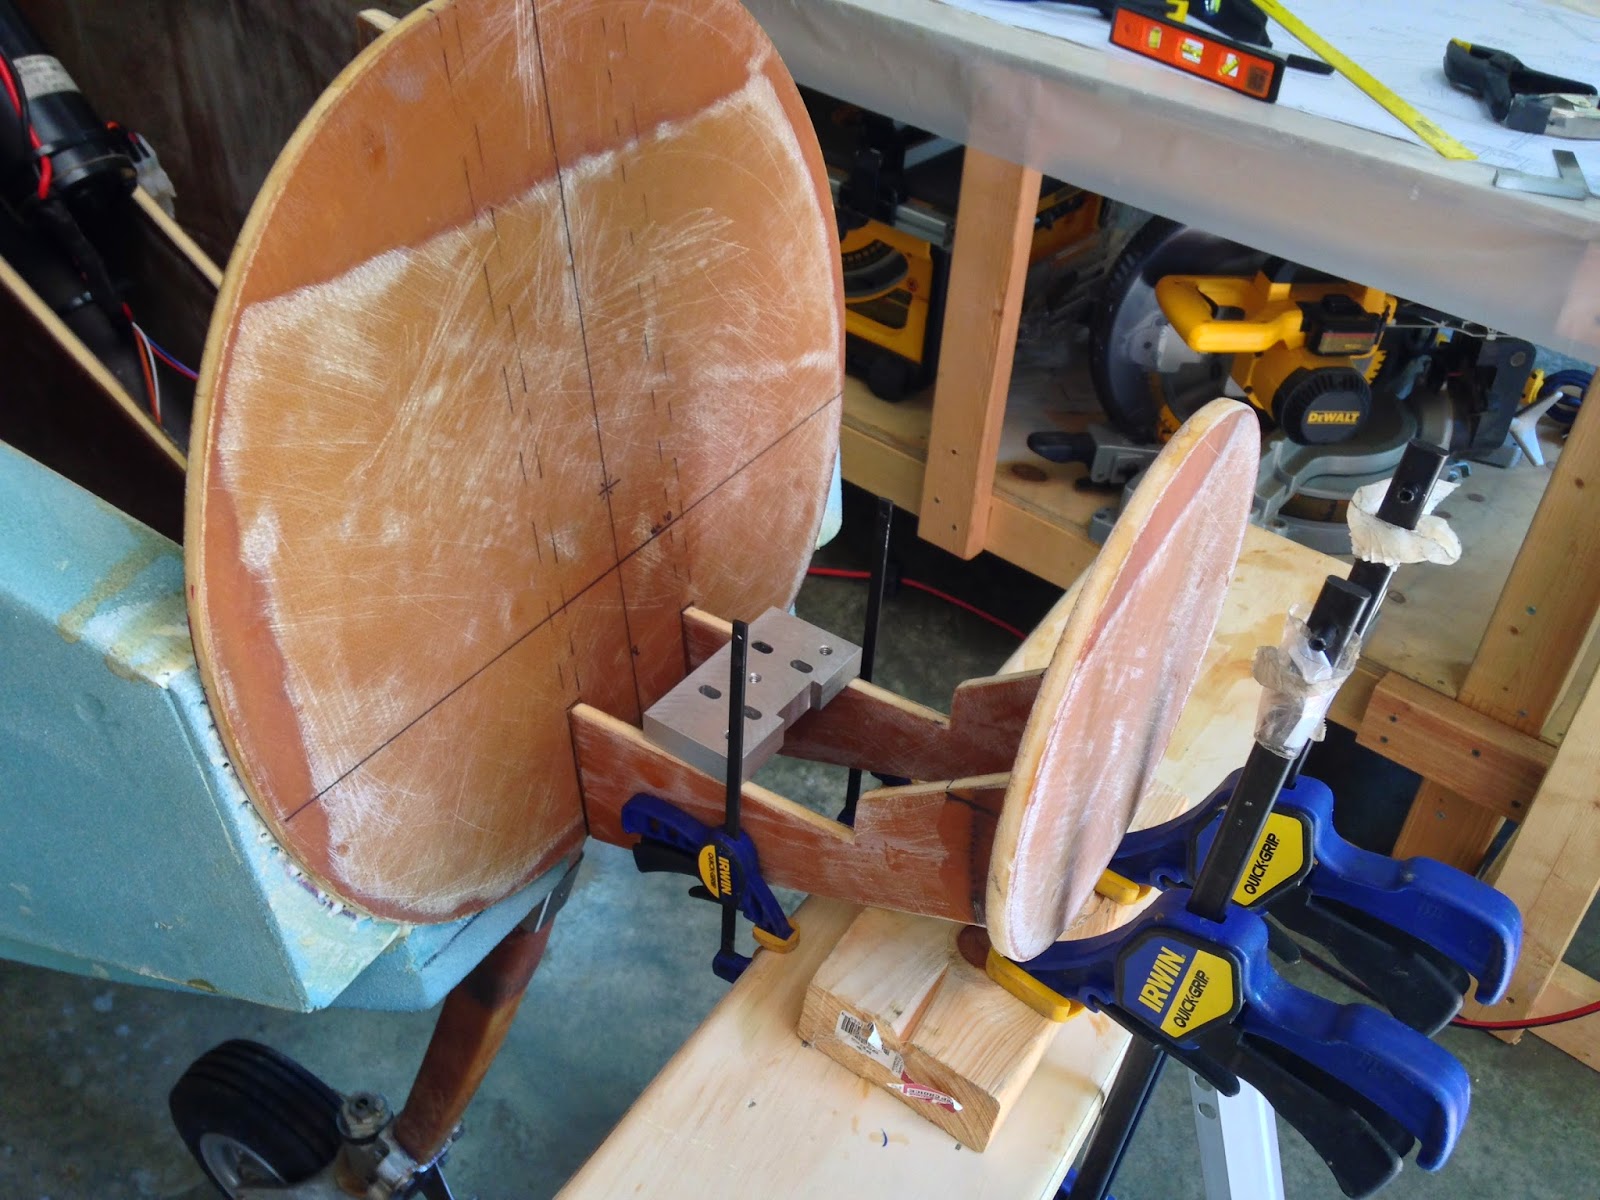
For lack of a smarter solution...


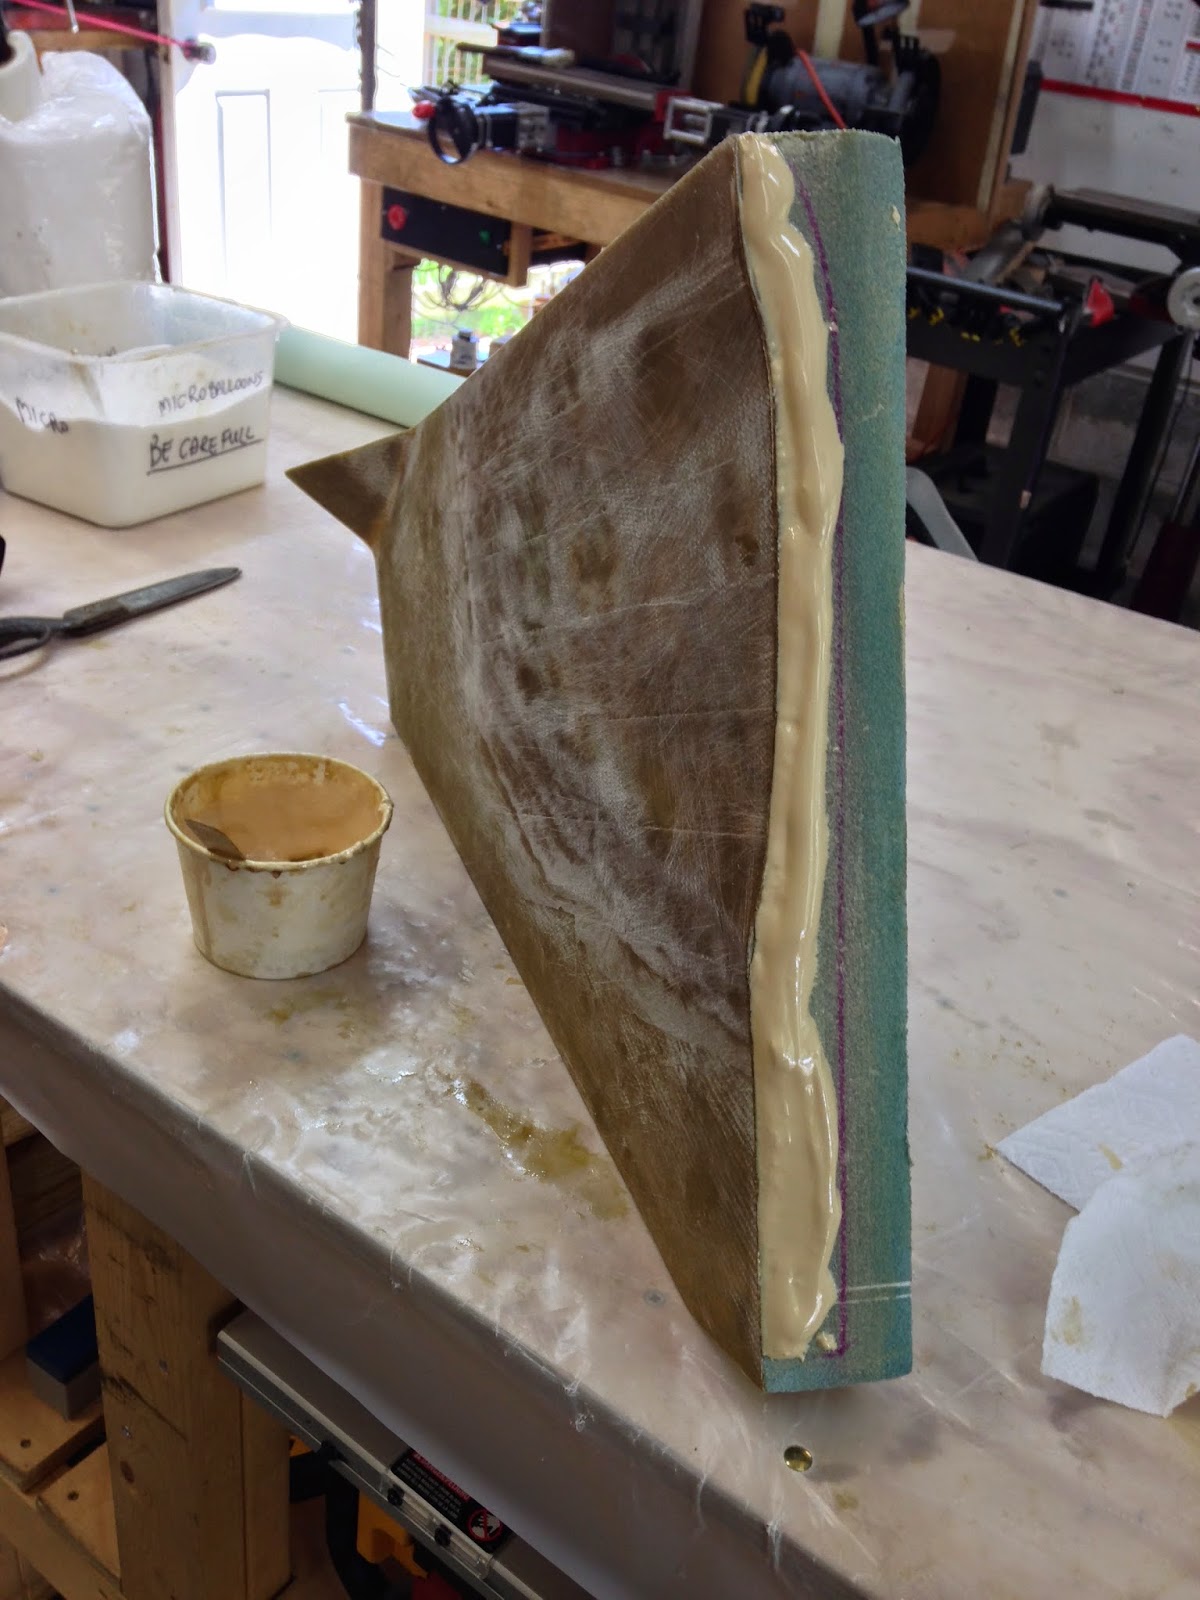
Because I didn’t trust this structure to stay put for very long, I decided to use “5 minutes epoxy”. Although I had never used it before, the package said it would set hard in 5 minutes, and achieve full cure in 24 hours. The 5 minute part is what I was after.


5 minute epoxy


So, I mixed equal parts of the stuff, put a generous amount on rear end of the brackets, and carefully laid it back into my contraption to harden. I also took this opportunity to prepare more BID tape, and I applied a flox fillet to the joint, followed by the tape, and peel-ply.


Flox fillet

BID tape, and peel-ply.


At this point, I thought I was done for the day. That is until I shone a laser on the fuselage centerline markings, and noticed that the one on the small nose bulkhead was off by more than 1/4” (6.4 mm) to the right (airplane left)!!!

I think I went through all 5 stages of grief in rapid succession, denial, anger, bargaining, depression, and acceptance.

With the 5 minute epoxy hardening fast, my options were rapidly disappearing. I could always “go nuclear” later, and do a complete tear down so, I tried applying a measured amount of sideways traction to the structure first, until I achieved the right amount of deflection.

This turned out to be quite a bit of force due to the need to counteract the fast setting 5 minute epoxy, so much so in-fact that I had to brace the fuselage to prevent it from slipping.


Straightening things out


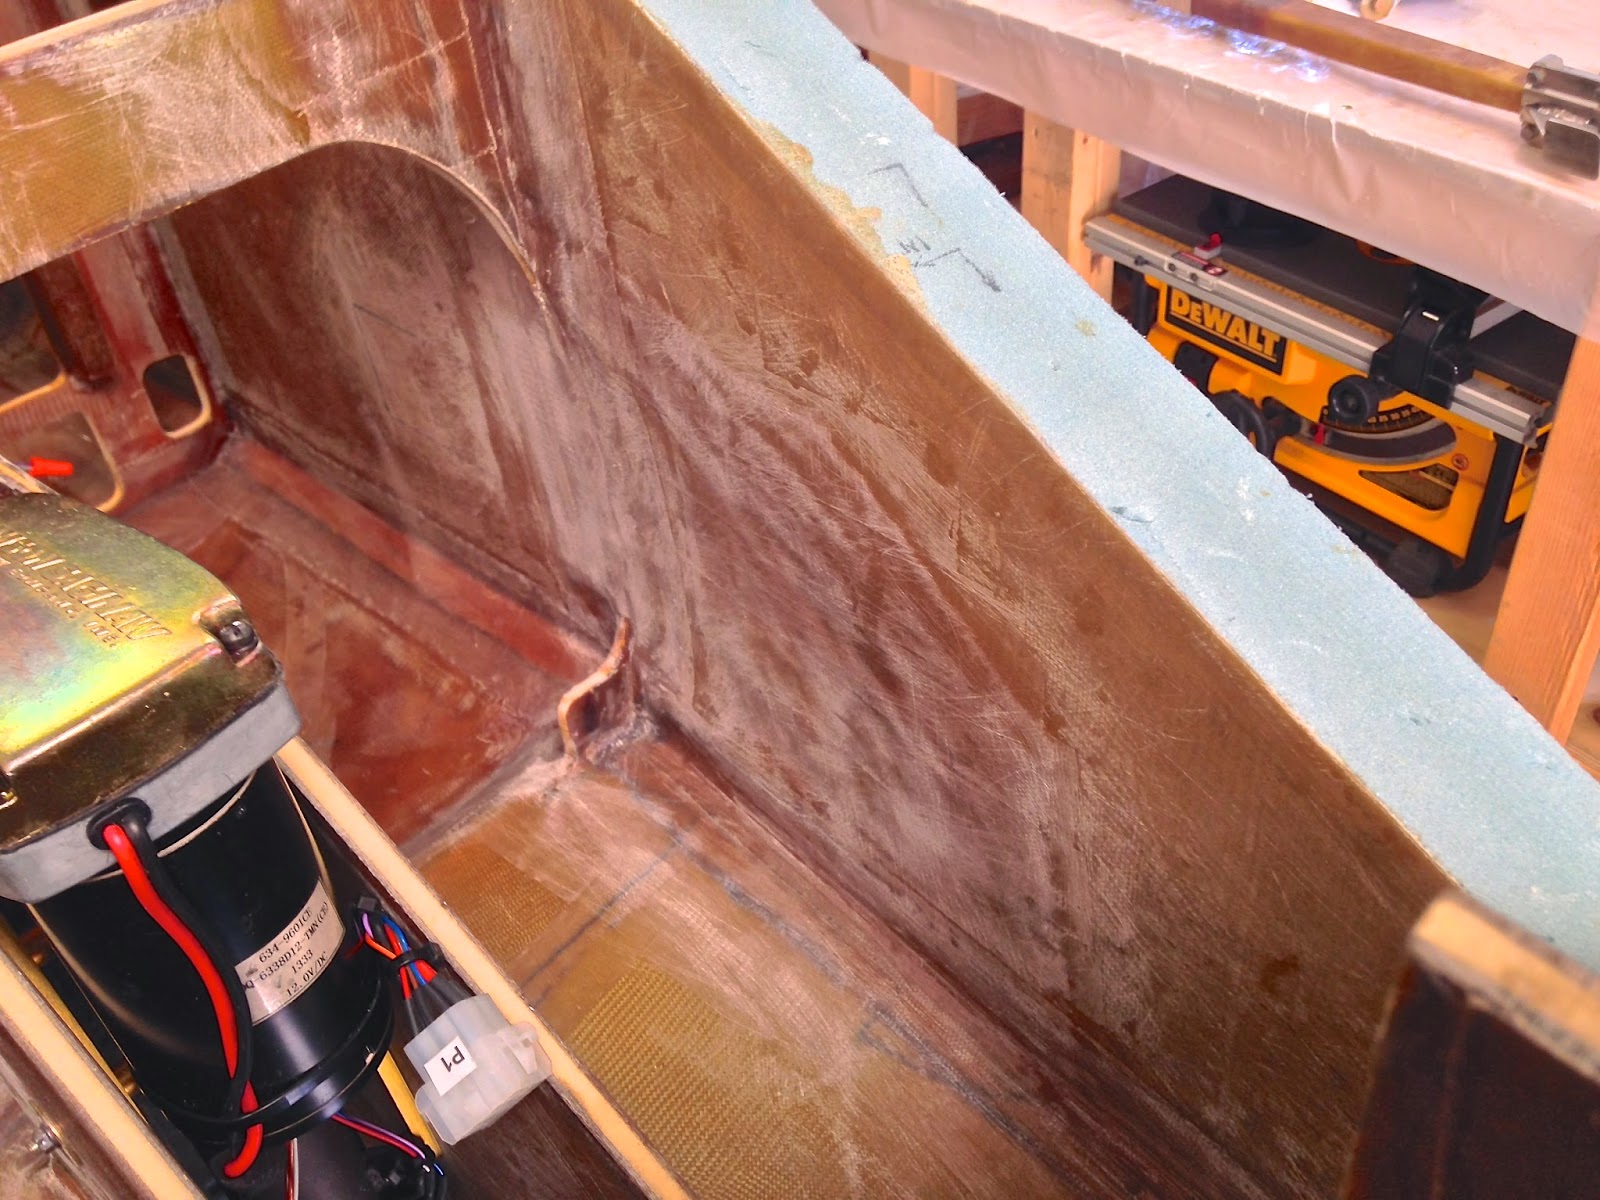
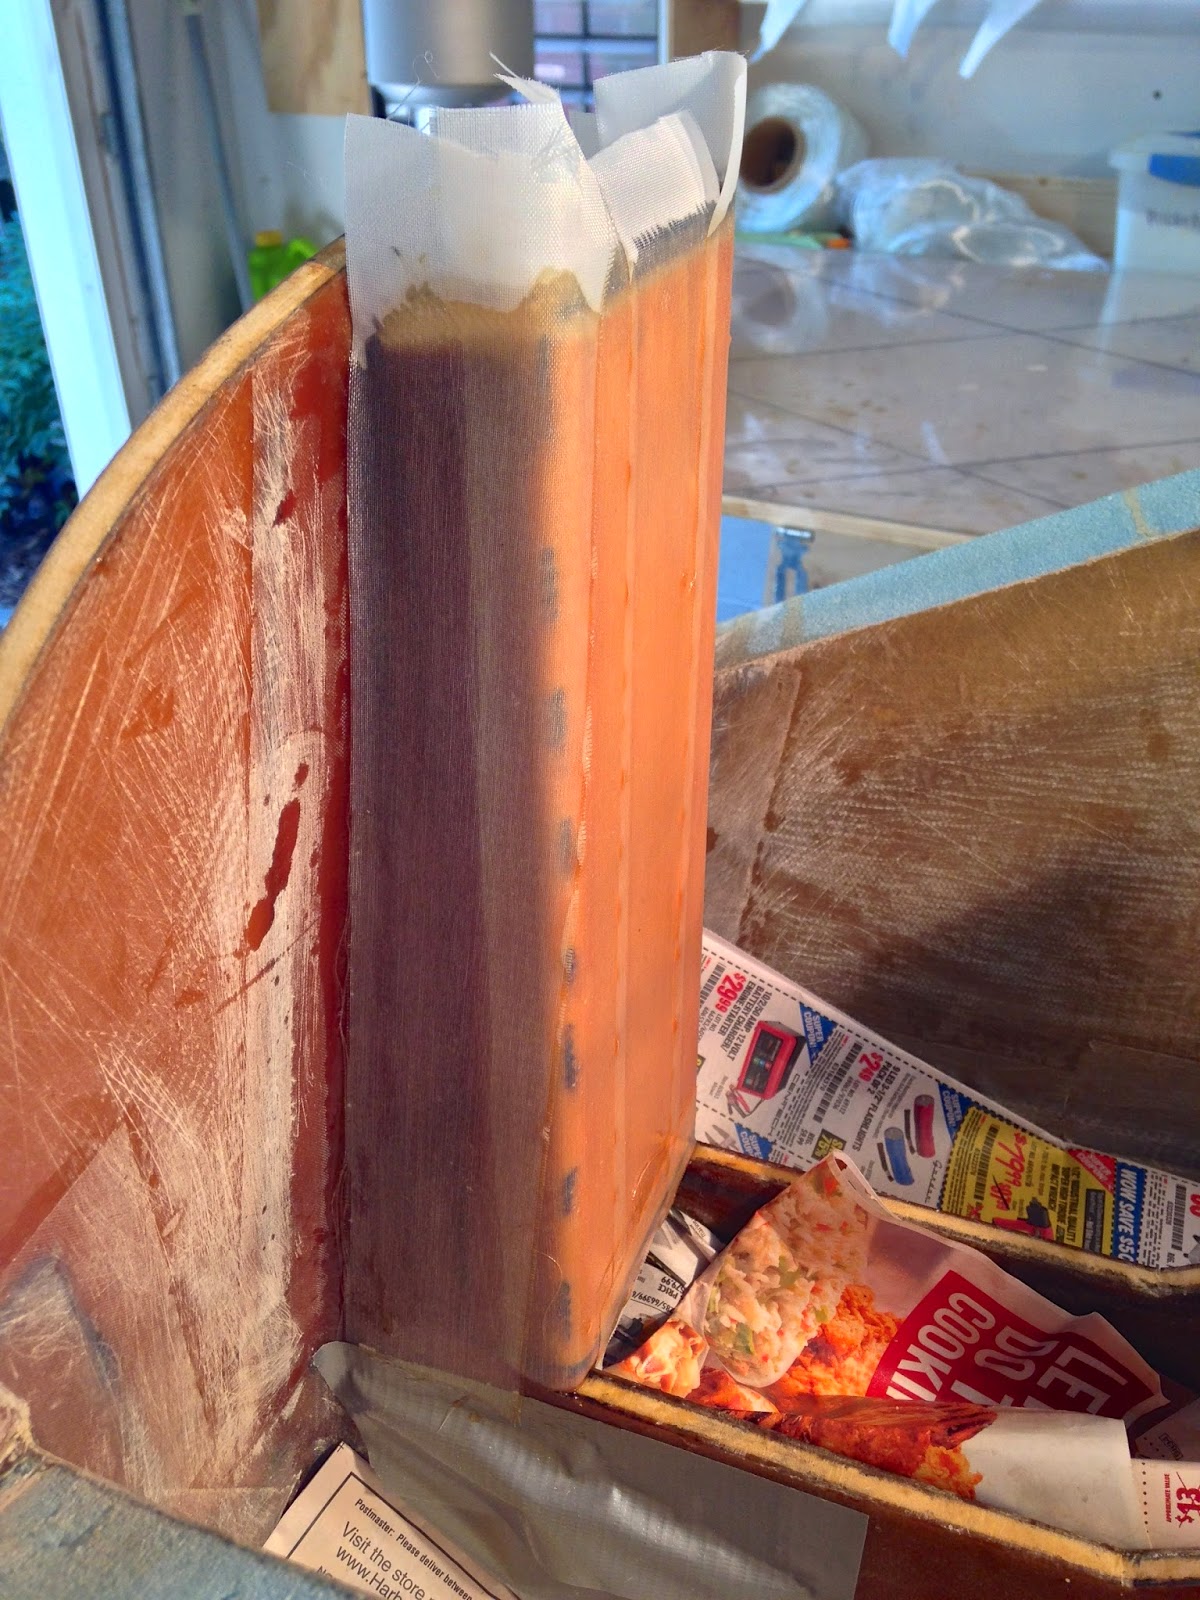
To ensure the angles would be locked in once and for all, I opted to apply the inner BID tape at this time as well.


More flox fillet action

All taped up


With all the centerline marks lined up, the overnight waiting game bagan.


Verifying all centerlines line up


Will the marks be still lined up in the morning? 

Will the nose structure remain straight after removing the elastic strap?

I am happy to report that the answer turned out to be a YES to both questions.


Cured and cleaned up


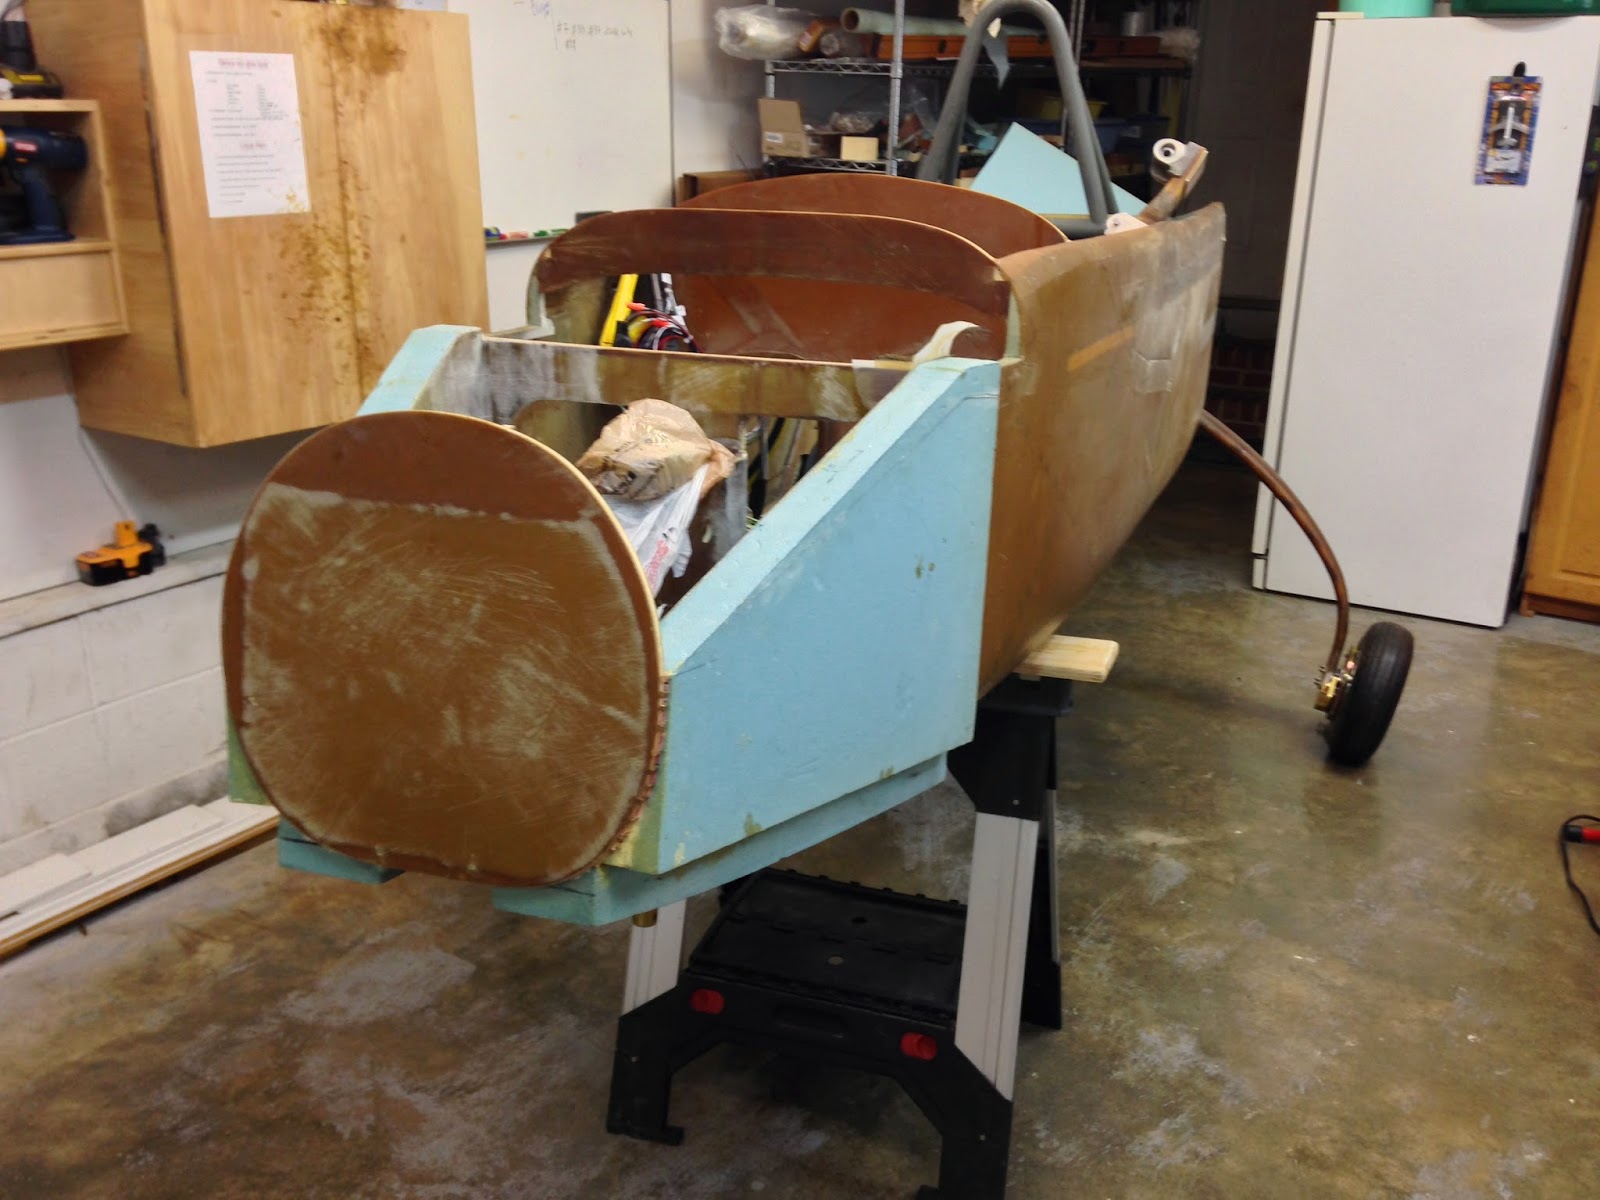
To complete the structure I added BID tape to the last joint.


Last joint to get the BID tape beauty treatment


While I was at it, I decided to add the F-6 bulkhead, and finish up the NG-30 box structure.


F-6 floxed to NG-30

F-6 glassed...

... and peel plied


Friday, July 11, 2014

Nose and nose gear - part 15

Standing tall (1.0 hrs)

It has taken nearly 3 years of work so far, and putting it all together for the first "fuselage lift" was very exciting.

I started out by greasing the nose gear top hinge bearings with Mobilgrease 28...


This is some messy goop!

Mobilgrease 28 meets the quality level of U.S. Military Specification MIL-G-81322E, General-Purpose, Aircraft.


... then bolted the gear back on the nose, and connected the car battery.

Note: Although the nose does not achieve full strength until after being glassed on the outside, the weight on the front gear (without pilot and passenger) seemed light enough to allow for this short test. 


Standing up for the first time


After disconnecting the battery leads, I gently rolled the fuselage outside on its own 3 wheels to take a few “glamour shots”.


Starting to look like something

Looking good

Proud parent


Nose and nose gear - part 14

Nose left side panel (8.0 hrs)

Luckily for me foam is easily repaired, because I had another “senior moment” while measuring the height of the left panel, and I cut the foam 1” (2.5 cm) short. I thought about cutting a new panel, but this foam is just too expensive to discard, so I cut the missing slice, then glued it back to the main piece.


Amount to add to the incorrectly cut side panel

Foam slice cut, glued, and pinned to the side panel.


After fitting and adding more scrap pieces to it, the left panel emerged just as weird looking as the right one did...


At least they are symmetric


... and since glassing it on the bench, then taping it to the nose when cured worked out so well for the right side, I decided to continue the same way.


Left panel glassed, and peel-plied.


I must have been very tired, because my quality control was terrible that day, and the next morning I found a bunch of medium to small air bubbles under the cured fiberglass (not good).


Air bubbles marked


Unfortunately there were just too many bubbles to just go drill and inject epoxy into. 

This situation was unacceptable. 

I decided to make a structural repair by sanding over the offending air bubbles all the way down to the bare foam, and glass over them with greater care.


Foam and fiber craters

2 BID plies over the depression

Peel-ply action

Peel-ply removed the next day

Trimmed, sanded, and ready for use


Waiting for the panel to cure again cost me another day of building, but I felt a lot better about the integrity of the construction, and I moved on to glueing the left side to the nose.


Very thick wet micro (to prevent running)

Left panel pushed in position

Excess micro overflow

Excess micro removed, panel shimmed and tied in position.


While the West System micro quickly hardened in the above 90℉ shop temperature (> 32℃), I got my BID tapes ready to go...


BID tape readied


... and got started on the flox fillet.


Flox fillet being applied to joint

Flox fillet following the joint


The last step of the day was applying the BID tape, and peel-plying everything.


BID tape application

Same thing looking forward

4 ply top corner reinforcement

Forward section peel-plied

A longer shot of the connections


The following morning I removed the peel-ply, sanded the leftover strands of Dacron tape off, and trimmed the excess glass.


Peel-ply removed, and leftover peel-plies strands sanded off.

Same thing looking toward F-22


So, this is what the nose looks like today (it will be shaped and glassed later on)...


Nose left side

Nose right side

Top view of both sides