Disclaimer

This blog is for entertainment purposes only, and is not meant to teach you how to build anything. The author is not responsible for any accident, injury, or loss that occurs as a result of reading this blog. Read this blog at your own risk.

Tuesday, November 27, 2012

Ch. 6 - Fuselage assembly - Part 16


Taping the floor (10.5 hrs)  

The last step in this chapter is to apply BID tape to the intersection between the floor, and the rest of the fuselage. F-22 is left alone for the time being, and the rear face of the front seat only gets a flox corner (as previously discussed).

With the fuselage bottom permanently attached, I found it useful to “bank” the fuselage 90˚ on the saw horses to gain better access without braking my back. Nearly a third of the time involved was spent sanding, cleaning up peel-ply leftover strands, and in general prepping the surfaces for the layups to come.


Getting the BID tape ready


There was nothing inherently new about this step, so I’ll just fast forward to the pictures.


Taping the "port side" of the cockpit


Forward of instrument panel taped and peel-pied


Taping the back seat


Passenger compartment "port side" taped


Front seat, left sidewall, and rear face of instrument panel taped and peel-plied


Fuselage flipped 180˚


Cockpit "starboard" side with fiberglass tape


Passenger sidewall junction with BID tape


Cockpit taped and peel-plied


Forward of instrument panel with peel-ply over BID tape


Rear compartment finished and curing


Saturday, November 24, 2012

Ch. 6 - Fuselage assembly - Part 15


Attaching the fuselage bottom (4.0 hrs)  

Today I joined the last major fuselage subassembly to the rest of the structure. It has been a long time coming, but the fuselage now resembles its final configuration. While it is still not strong enough to support any “foot traffic” yet, I am getting close to getting it done. With its outer skin is in place, it will have the much sought after structural rigidity, but for the time being, I will have to tread lightly. 

With my daughter’s help I sat the fuselage upside down on the sawhorses. This was necessary because some of the work needed to be done from inside the fuselage, as you’ll see.

  
Ready for "major surgery"


The first task of the day was taking care of old business. If you recall, last time I ended up cutting the flap of bid that extended past the edge of the rear seat floor, because I ran out of time. So, I prepared a 2 layer BID tape 4 x 20.5 inches (10 x 52 cm), attached it to the back of the rear seat, and peel-plied it.


BID flap attached to the back of the rear seat


Peel-ply in place


I spread flox on the longerons and bulkheads, and placed the fuselage bottom back on the fuselage.


Flox on longerons and bulkheads (except on rear seat).


Next, I put any heavy object I could find on top, and cleaned up the overflowing flox both inside, and outside of the fuselage.


Yes, those two tanks are full of gasoline.

Front-seat to floor

Instrument panel to floor (viewed from the back).

Instrument panel to floor (viewed from the front).


While I was at it, I added a bead of flox behind the “front seat to floor” juncture, per plans. All the bulkheads will receive the typical corner tape, but not the back of the front seat. I suspect the angle might be too acute to seat the BID tape properly anyway, furthermore the strands of fiberglass would not be able to transfer loads appropriately while bent to such a degree (remember the fibers are like little rubber bands, strong in tension, but weak in compression).


Flox bead in front-seat to floor juncture (viewed from the passenger compartment).


Meanwhile, the flap of BID I just attached to the rear seat was slowly curing. 


Semi-cured BID tape


A couple of hours later, it was tacky enough that I could attach it to the fuselage floor, and peel-ply it, without it falling back down.


BID tape epoxied and peel-plied to the floor, ahead of the rear seat


I’d say overall it was a pretty simple task. The only excitement of the day was coordinating three people in accurately placing the floor on the fuselage, as not to smear the bead of flox. 

Thank you Lou, Gina, and Cece.


Sunday, November 11, 2012

Ch. 6 - Fuselage assembly - Part 14


Glassing the fuselage bottom (12.3 hrs)  

I have been thinking for sometime how to best utilize the last yard or so of my leftover Kevlar. After seeing pictures where the fuselage broke in front of the pilot seat, as a result of a serious accident, I knew I would be using it to put more space between myself and the pavement. Sure it would add a little weight, but so do most safety devices, such as a roll bar that everyone agrees is a good idea, and this could literally “save my butt”.

With the decision made against some of my more purist friends’ objections, I spent the best part of the morning cutting Kevlar with big scissors. The key to making the whole operation even possible is taping over the cut line, so that the scissors won’t pull the fibers out of the weave turning the cloth into a useless mess. 

If you have never tried it before, it’s an unbelievable experience. The most you can hope to cut is at best 1/4” (6.4 mm) at a time, then as you progress, your scissors will become dull requiring occasional sharpening, and constant tightening. Your hands will become sore and go numb, and you’ll start questioning why you are doing it in the first place, who’s bright idea this was, and whether it was really necessary.

Eventually though, if you are persistent enough, you’ll be rewarded with a nicely fitting cloth pattern that is unfortunately a real bitch to wet with epoxy. But let’s not get ourselves too far ahead of the story.


Test fitting Kevlar addition in the front half of the fuselage floor


Before I could even consider glassing the bottom, I needed to secure it in position using 2x4s and Bondo. With the fuselage floor in its final position, I Bondoed 5 wood pieces across the foam, and two 8 foot pieces (2.4 m) over them. 


Rail in place


In a few minutes the rig was solid enough that it could be moved to the work table, while it retained the fuselage curvature.


In position for glassing


Then the process of filling cuts and scrapes with dry micro could begin.


Patching the holes


The only thing worse than cutting Kevlar, is laying it on a contoured surface, all the while trying to convince it that epoxy is good, and air bubbles are not. What a pain!

This little patch covering from the front seat to the canard bulkheads, took 2 full hours to finish. Between cutting it and laying it, working on this mod wasted most of the morning and some of the afternoon, and the original plans’ schedule layup hadn’t even started yet.


Kevlar ply wetted with epoxy


The next item I worked on was a reinforcement in front of the passenger seat, where the passenger stands getting in and out.


Passenger extra ply in position


With that done, I started applying the two layers of BID at 45˚ over the whole surface. After all the difficulties I encountered working with the Kevlar, laying fiberglass seemed so easy.


First fiberglass ply covering most of the kevlar

Locating the first ply in the passenger area

First full layer completed


After adding the second ply, I peel-plied anywhere I thought I might attach something later.


Second ply in place and peel-plied

The original plan was to leave a 2” (5.08 cm) BID overhang behind the rear seat. After a partial cure I would have floxed the bottom of the fuselage, and flipped the floor over it, attaching this flap of BID to the rear face of the rear seat, finishing the installation.


Upside down fuselage - rear seat to floor juncture detail

But after 12 hrs standing up working on this piece, I just couldn’t take it anymore, and I cut the flap off, peel-plied along all edges, and went to sleep. 

BID flap removed from the back of the foam. BID now flush with foam back.

The next day I woke up with a slight headache that I could not get rid of, no doubt from breathing in EZ-Poxy fumes all day. So, I decided to rely on a respirator from now on, anytime I have to do a big layup.


Saturday, November 10, 2012

Ch. 6 - Fuselage assembly - Part 13


Fuselage bottom - final carving (4.0 hrs)  

I have been waiting for the nose wheel cover for some time, and now that it has finally arrived from FeatherLite, I  can continue carving the floor forward of the instrument panel.

First thing I did was tracing the outside of the part in its proper position. 


Foam simulating the instrument panel (a machinist's square is in the back)


Then I traced the inside, and used a saber saw to cut the foam along the inner line.


Inner line represents the exterior wall of the nose gear recess

Cutting the inside of the wheel well


This process was very simple and resulted in a nice big hole.


If every job could be this easy...

Hole as seen from the nose wheel as it retracts


Once again, I used the router to clear as much foam as possible to the charted depth of 1” (2.54 cm).


I had to freehand the curves

Foam removed to final depth


I used a small hand saw to quickly cut the slopes of the depressions.


I tried to protect the foam bottom with a cardboard insert, I later discarded it.


A lot of sanding later, I arrived to the final configuration.


All the foam carving is done!

The next step will be the biggest layup to date


Friday, November 02, 2012

Ch. 6 - Fuselage assembly - Part 12

Fuselage bottom (17.2 hrs)  

After getting the foam panels from Wicks, I sat them in place to check their dimensions.


Foam pieces covering the bottom of the fuselage


As you can imagine, the pieces had to be first bonded together with micro.


Micro in place to bond the panels together


Bottom panel curing


Because my fuselage is 2” wider, the regular 24”x48” panels were about 1.5” too narrow to cover the complete width of the fuselage bottom.


This foam is too narrow to cover the entire bottom of  the plane


Since the plans required that I trim the rear foam panel 0.25” past the back seat, this left me with plenty of leftover foam, which I then sliced into 2” strips, and used to fill in the missing width.


Additional strips glued to the side


Coverage is now 100%


Next step was tracing the bulkheads layout onto the foam floor from the inside. To accomplish this, the fuselage had to be moved back on the sawhorses, upside down.


I had to crawl inside the fuselage with a Sharpie


This are the outlines of the bulkheads I traced while inside the fuselage


Later, I drew the outline of the new aircraft bottom 0.7” outboard of this line, and used a saber saw to cut the foam along the outer one.


The outer line represents the outer edge of the fuselage


A few more changes to the floor layout were necessary due to the fuselage width change, as well as the moving of the front seat 2” forward. 


Brainstorming session caught on paper


As far as the shapes of the parts to be scooped out are concerned, I ended up first drawing their outer edges, then calculating and drawing an inner line representing the closest place to the outer edge with a full depth of cut.


Rear seat contour lines


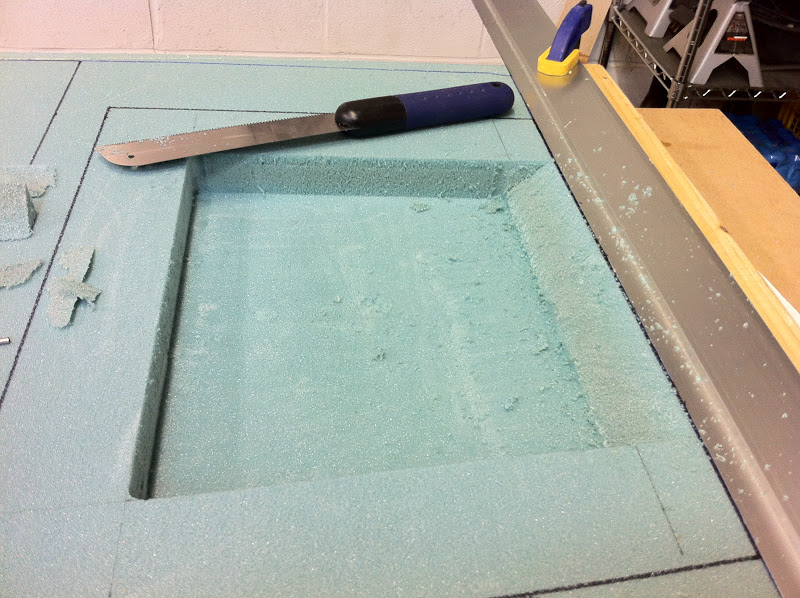
Using a router, I dug along this inner line at full published depth.


No going back now!


Then again, to clear up all the rest of the foam.


Getting the rest of the foam out was more fun


This inner lines were prepositioned to achieve the angles required by the plans, 45˚ for the back side of both seats, matching the seat slopes, and 30˚ for the front of both seats. Everywhere else the angles were left to the builder, so I just doubled the depth of the particular cut, and drew the line inboard by that amount, this turned out to be 26˚, which should be nice and shallow for the fiberglass to follow with ease.

With the math sorted out, I cut along the diagonal connecting outer and inner lines, and went on to sand, sand, sand.


Rear seat, rear slope at 45˚


Rear seat, side slope at an arbitrary 26˚


Rear seat, front slope at 30˚


I used the same process for the rest of the fuselage bottom.


A lot more router action


I ended up needing a short recess for lunch, because I started seeing crazy things in the foam...


"Behold the Long EZ Tiki God!"


With my belly full, I felt much better and the visions disappeared, so I moved on to trying different cutting implements. 

I eventually settled on coarse saw, with a pretty stiff blade. This produced a rougher finish, but it did so in a fraction of the time, and since every tool I tried still required further sanding, the initial surface finish didn’t really matter.


Having a go at it with the Dremel

This took way too long, and was pretty stressful.


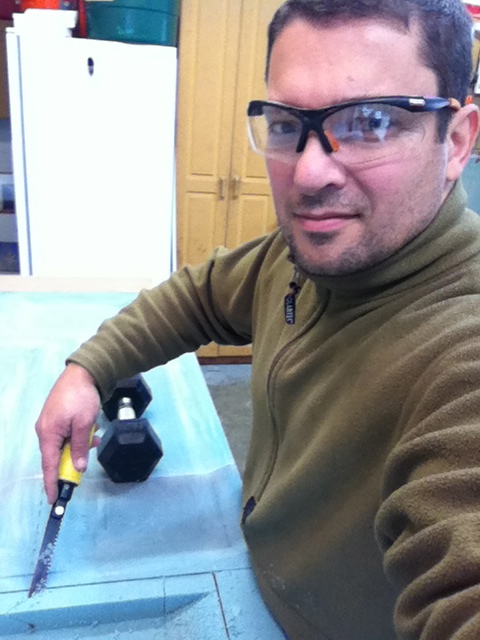
This ugly old saw did the trick


I had this roughed out in no time


It felt like sanding went on forever though, and I actually disintegrated 3 sheets of 30 grit and 2 of 80 grit.


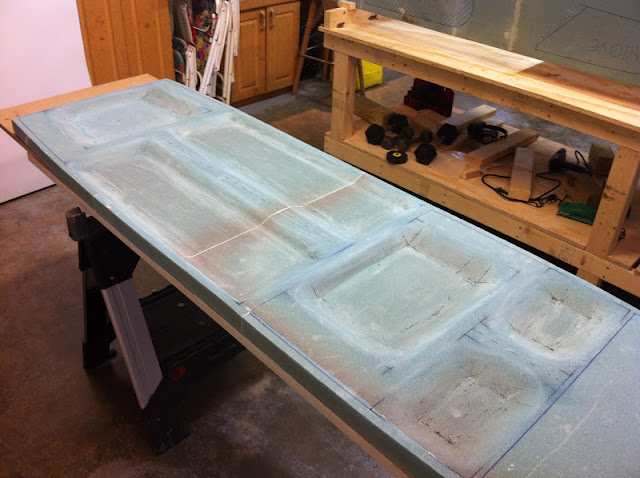
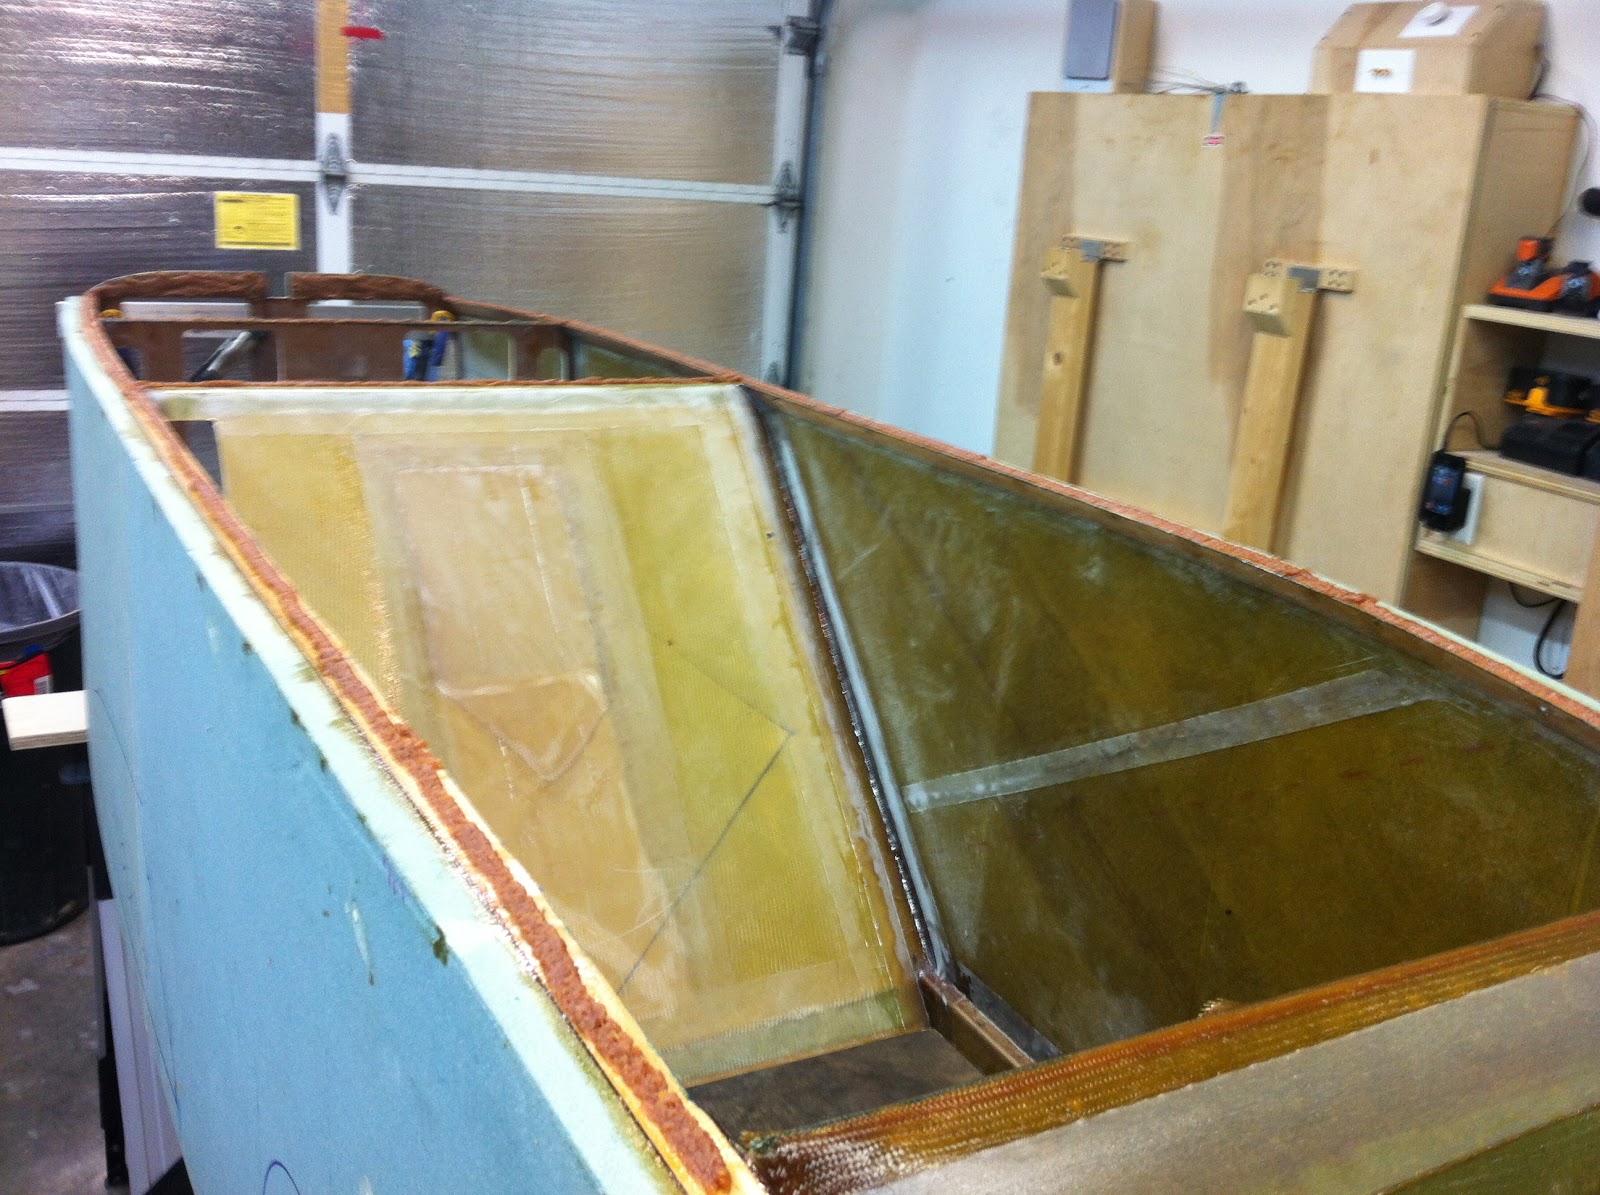
All contours aft of the instrument panel finished


It still looks a little rough now, but it will be great once micro, epoxy and fiberglass do their thing.


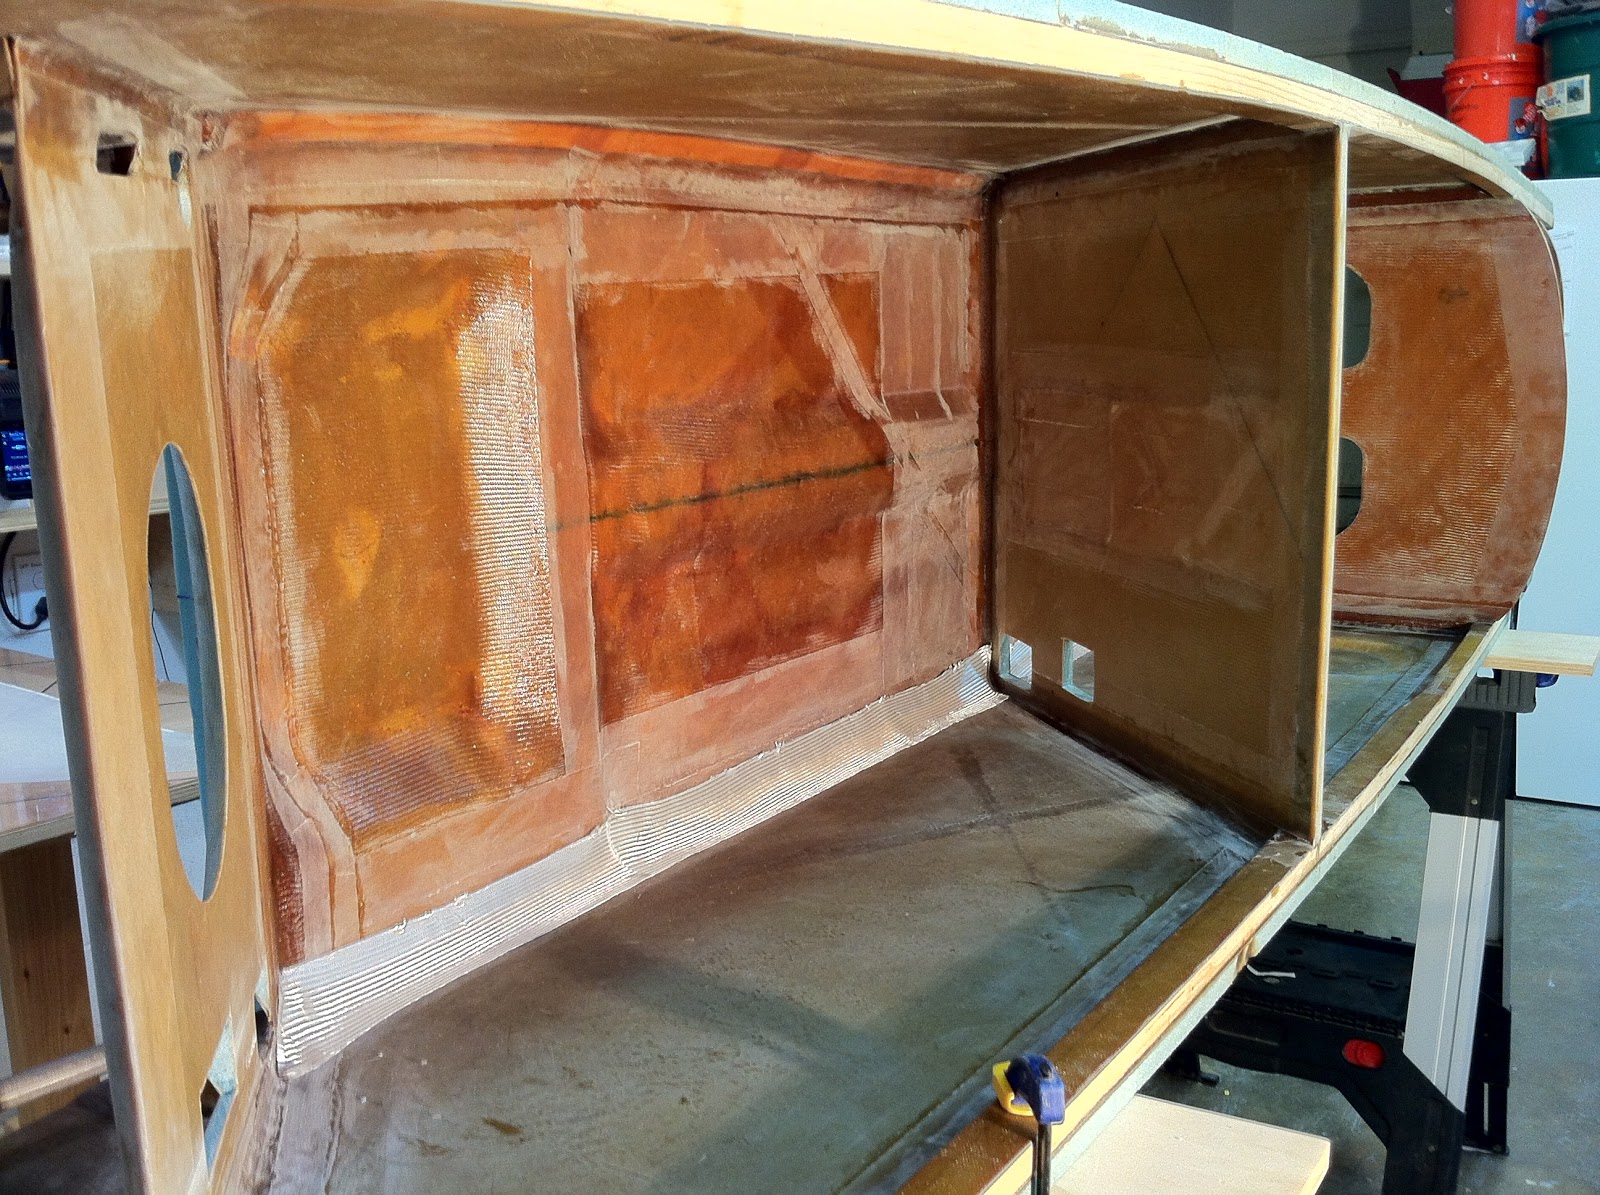
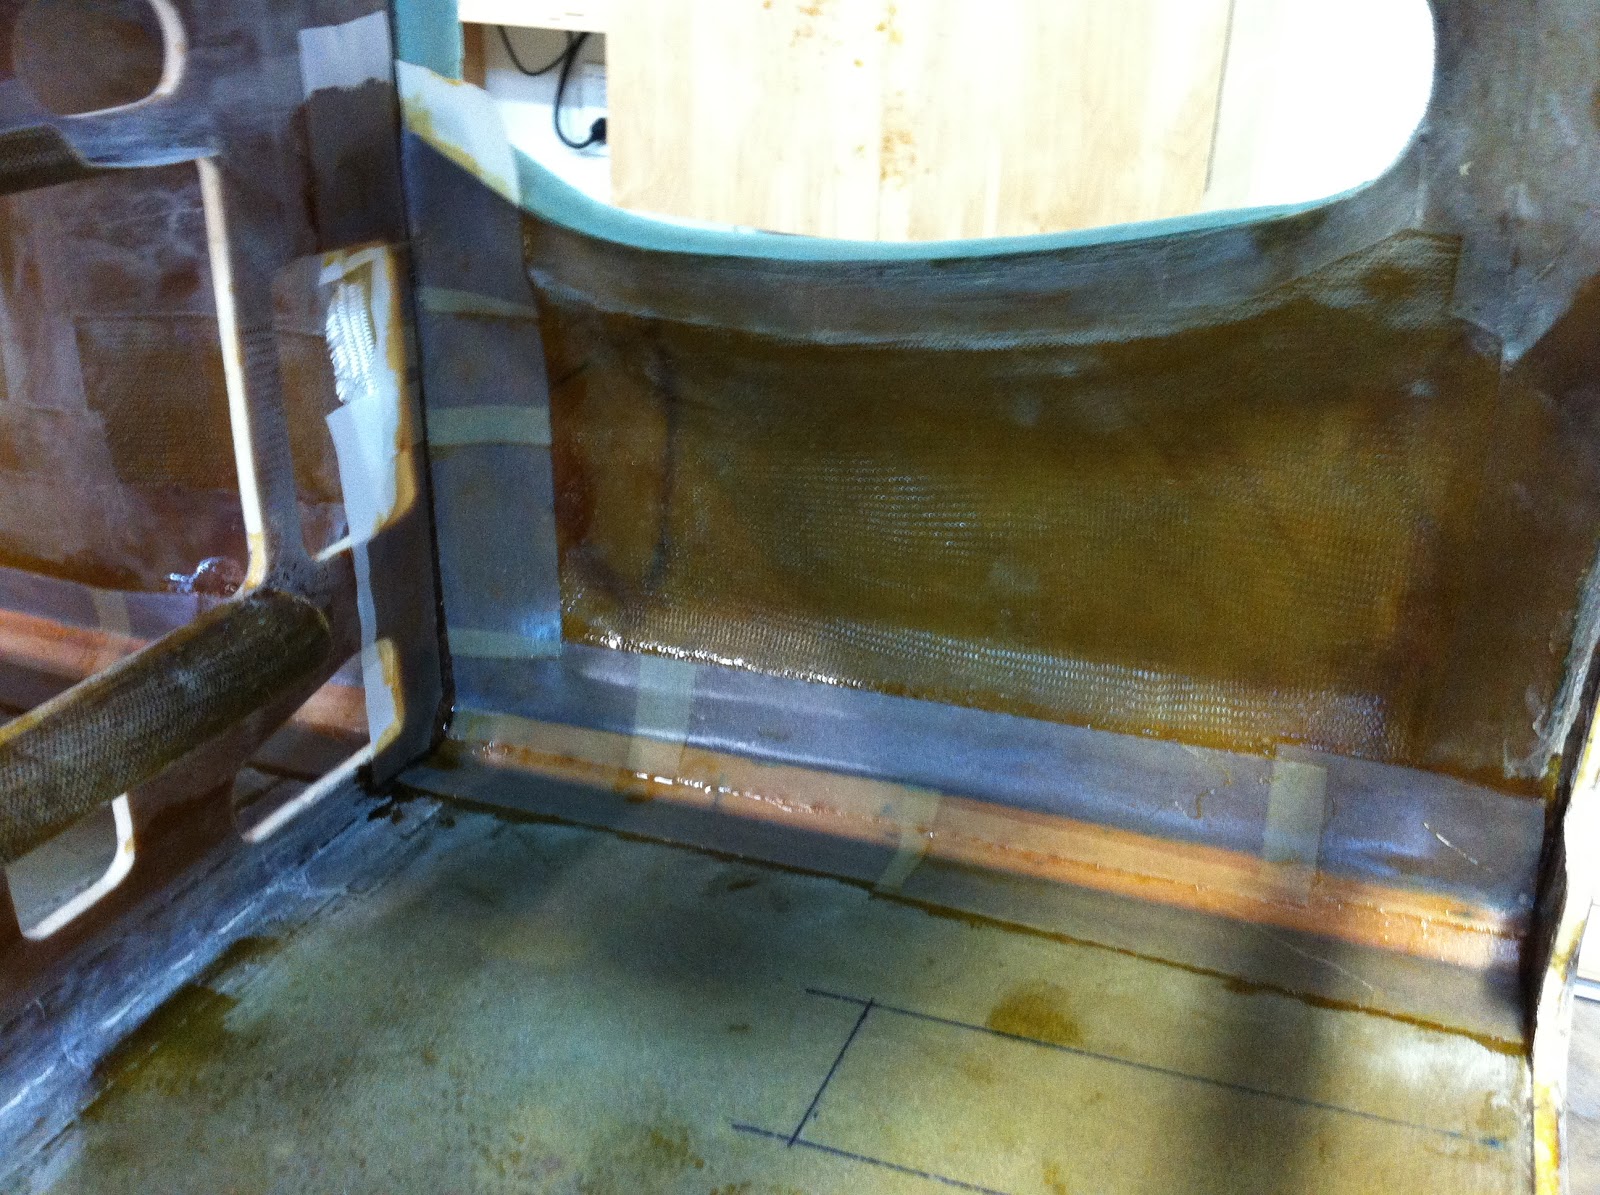
Finally I flipped the fuselage back onto the bottom piece to make sure things were fitting alright, and I was pleased with the results. The seat lines flowed smoothly into the carved foam, and all the bulkheads lined up precisely.


Looking a bit tiny, I hope I didn't screw it up! I can't wait to get in there to try it on for size.


The rear space looks palatial by contrast


I did not carve forward of the instrument panel yet, because the fiberglass nose wheel cover I need to trace on the foam, has not arrived yet but it should be home about the same time I get back, so I will get on with it next week.